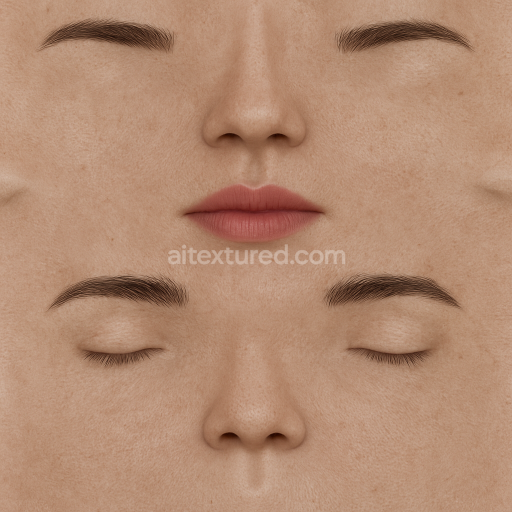
AI-Generated Seamless PBR Texture — Face texture with lips and eyebrows
. Formats: WEBP, PNG . Free for personal & commercial use.

| ID | ai-generated-seamless-pbr-texture-flat-2d-eye-texture-for-3d-model-front-view-small-violet-iris-with-10177 |
|---|---|
| Generated textures | |
| WEBP, PNG | |
| Size | 1k (1024x1024px), 2k (2048x2048px), 4k (4096x4096px), 8k (8192x8192px) |
| sRGB | |
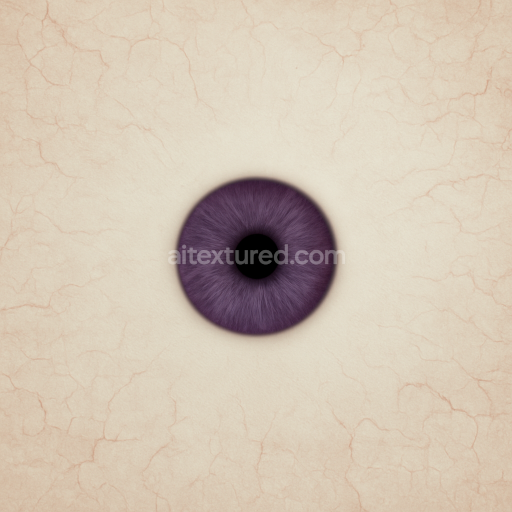
This AI-generated seamless PBR texture represents a meticulously crafted flat 2D eye texture designed specifically for 3D models showcased from a direct front view. The material emulates organic ocular tissue with a small violet iris featuring a tiny black pupil centrally positioned. The iris pigment mimics natural biological colorants akin to melanin and carotenoids creating a subtle gradient of violet hues in the BaseColor/Albedo channel. Surrounding the iris the large white sclera exhibits a smooth slightly polished surface finish that reflects the natural glossiness of a real eye’s cornea. Thin red veins originate precisely at the outer edge of the iris spreading outward across the sclera while following the eye’s curvature. These veins resemble fine capillary structures embedded within the scleral substrate enhancing realism through the Normal and Ambient Occlusion maps which emphasize the delicate surface undulations and subtle shadowing around the vascular details.
The underlying substrate can be conceptualized as an organic polymer matrix with low porosity similar to a dense collagen network found in real scleral tissue. The texture’s roughness channel captures the micro-roughness variations where the sclera’s surface is smooth but with minor irregularities around the veins to simulate light scattering and depth. The metallic channel remains neutral reflecting the non-metallic nature of the eye material while the height/displacement map provides subtle relief to the iris and veins enhancing the three-dimensional effect when used in real-time or offline rendering pipelines. The texture’s non-repeating tileable design ensures consistency and clean detail across large surfaces optimized for resolutions ranging from 1K up to 8K making it suitable for close-up renders in Blender Unreal Engine and Unity.
This seamless eye texture is ideal for a wide range of applications including realistic character models environment props and architectural visualization where accurate ocular representation is essential. The provided guidelines advise adjusting the UV scale to maintain the natural curvature of the iris and sclera preventing distortion in real-time engines. Additionally tuning the roughness map can help balance reflections under various lighting conditions ensuring a physically plausible response that enhances immersion without sacrificing performance. Whether used in high-fidelity offline rendering or real-time game engines this texture offers a neutral color balance and precise micro-roughness behavior that faithfully replicates the organic complexity of a human eye’s surface.
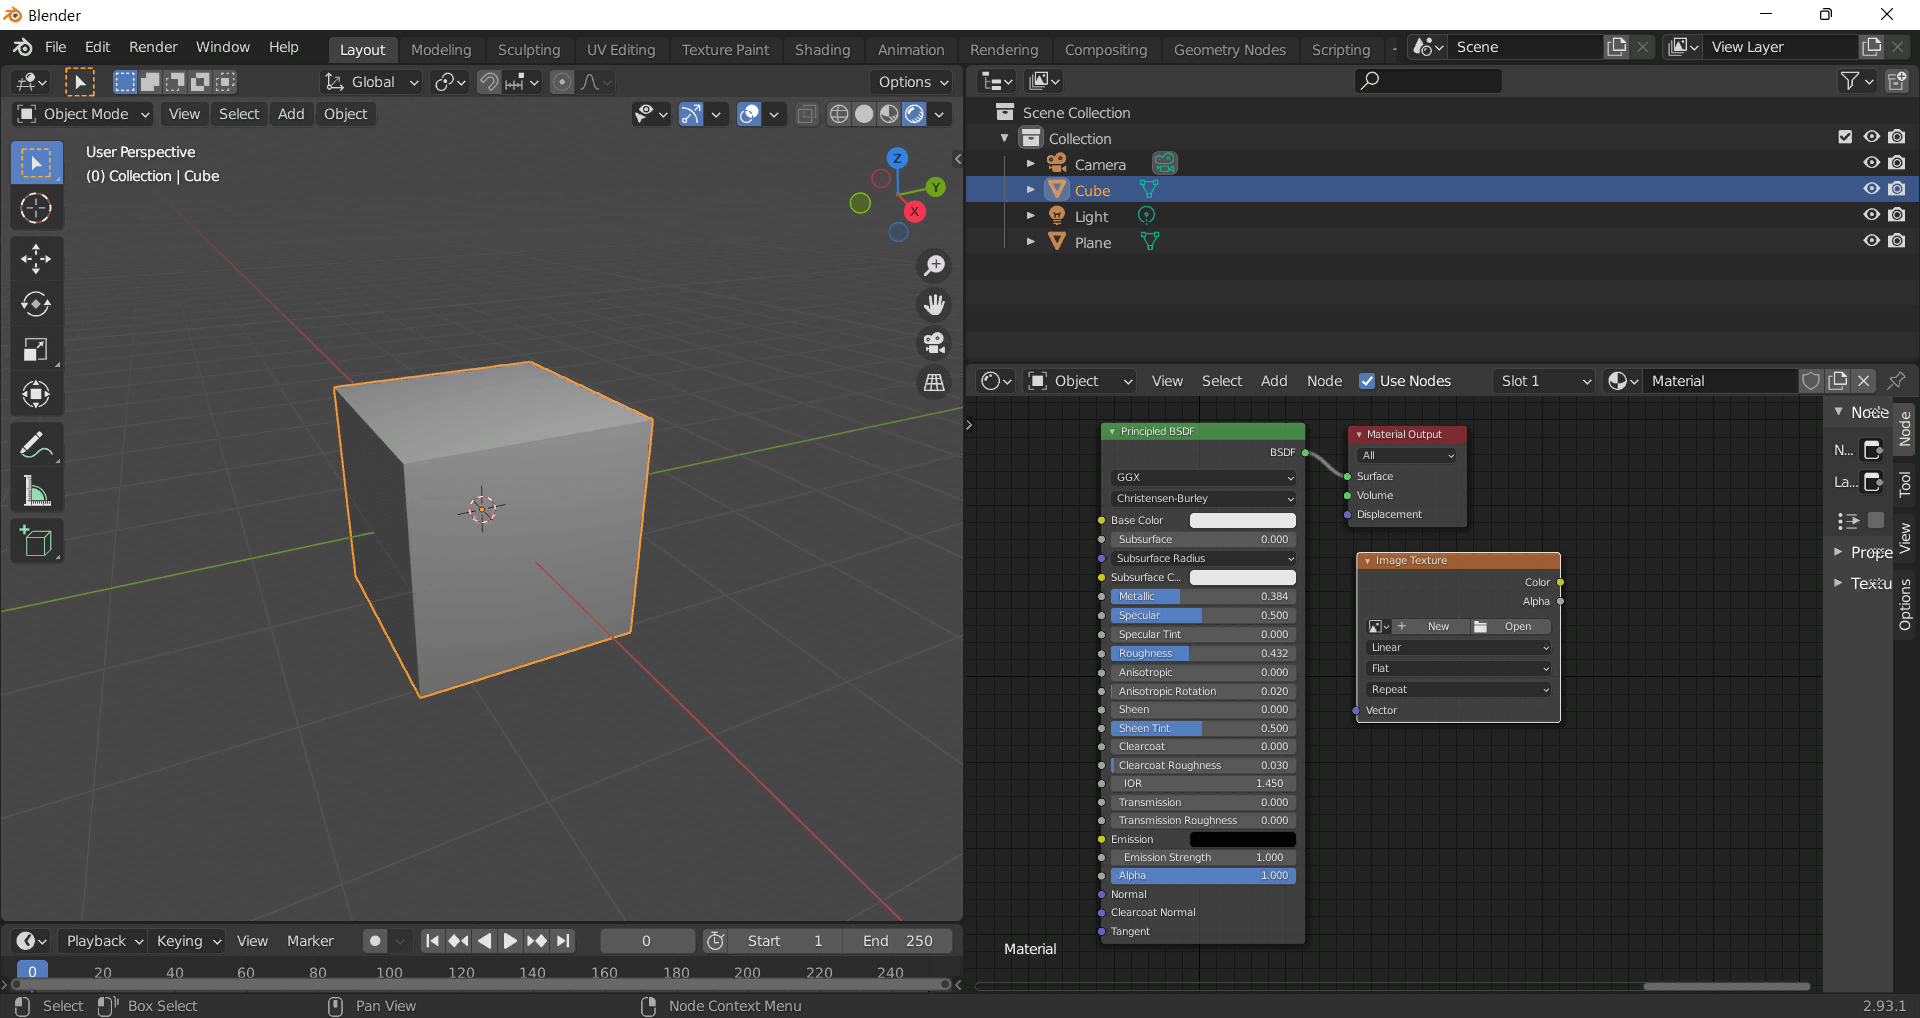
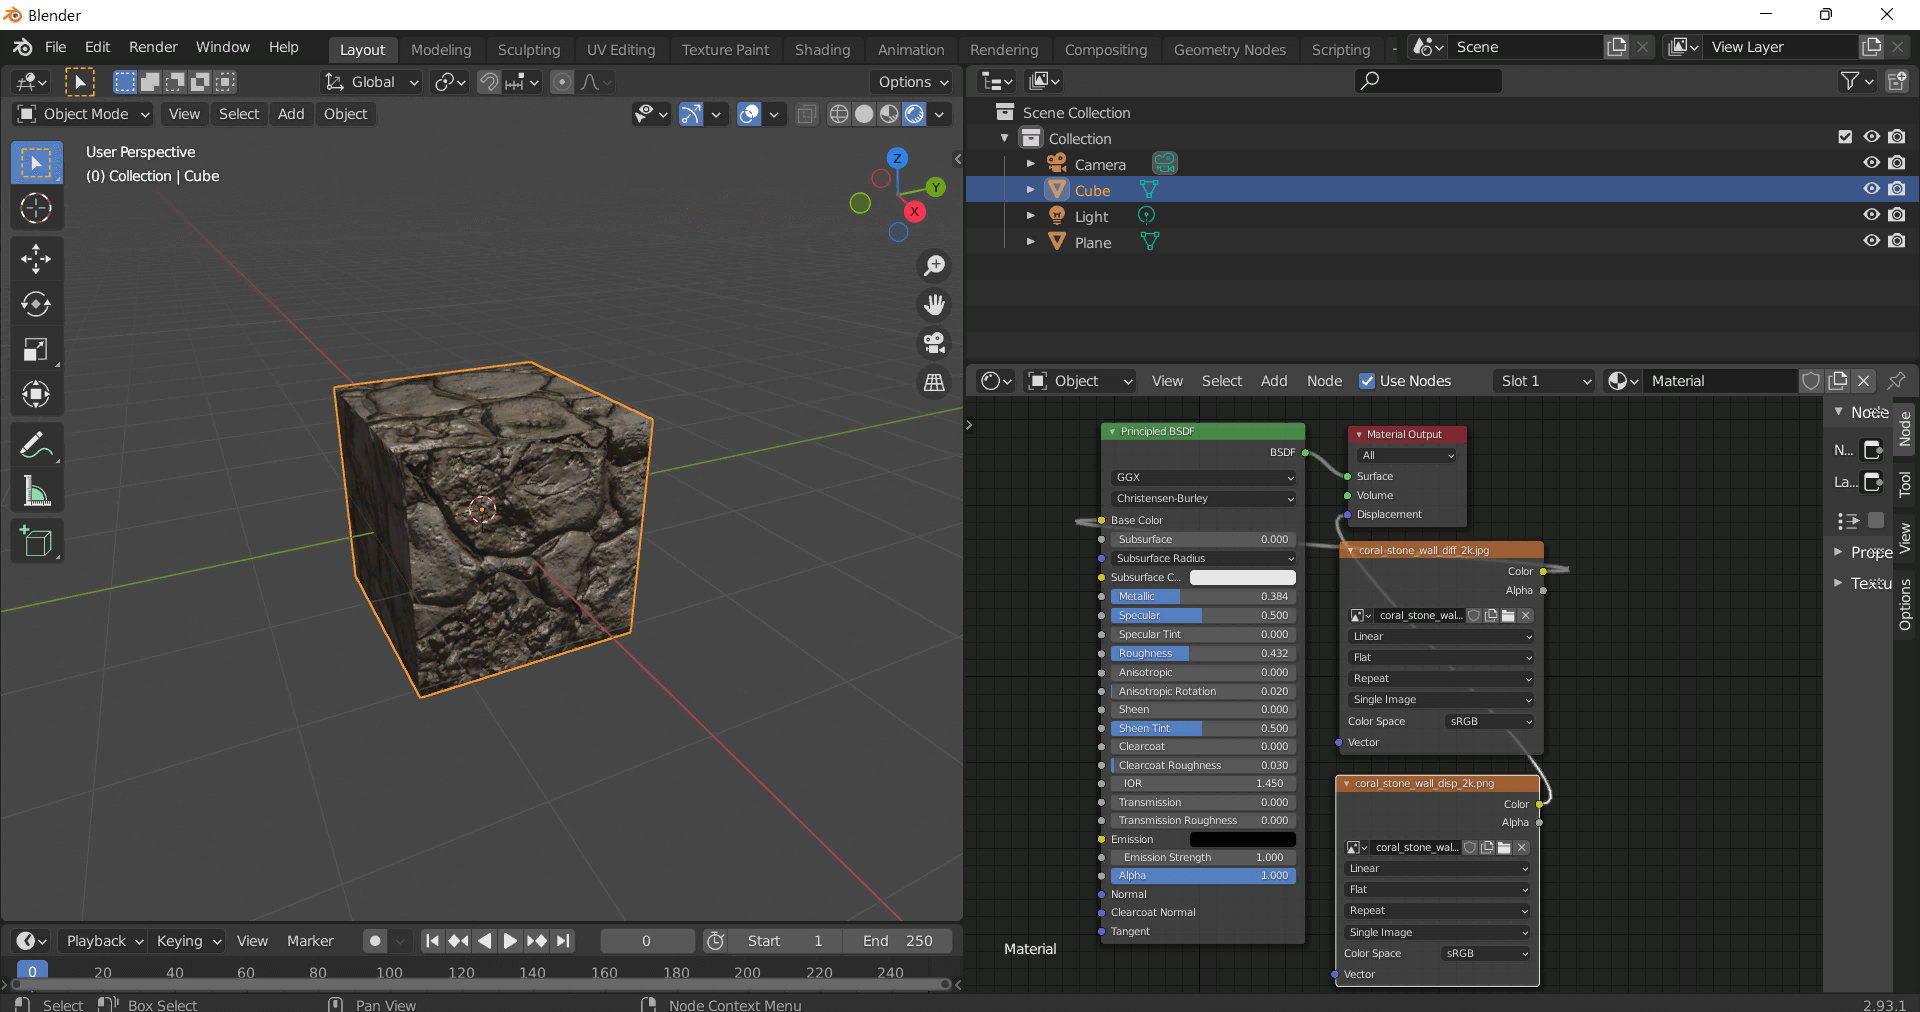
This guide shows how to connect a full PBR texture set to Principled BSDF in Blender (Cycles or Eevee). Works with any of our seamless textures free download, including PBR PNG materials for Blender / Unreal / Unity.
*_albedo.png — Base Color (sRGB)*_normal.png — Normal map (Non-Color)*_roughness.png — Roughness (Non-Color)*_metallic.png — Metallic (Non-Color)*_ao.png — Ambient Occlusion (Non-Color)*_height.png — Height / Displacement (Non-Color)*_ORM.png — Packed map (R=AO, G=Roughness, B=Metallic, Non-Color)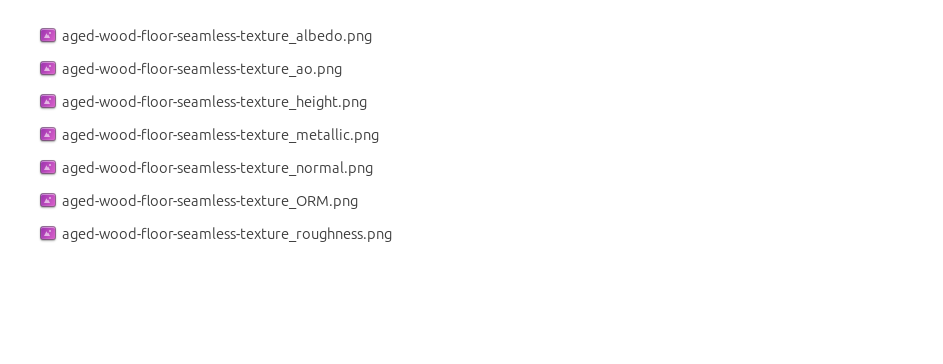
albedo → Base Colorroughness → Roughnessmetallic → Metallic (for wood this often stays near 0)normal → Normal Map node (Type: Tangent Space) → Normal of Principled.
If details look “inverted”, enable Invert Y on the Normal Map node.albedo, Input B = ao, Factor = 1.0.height → Height, set Midlevel = 0.5, Scale = 0.02–0.08 (tune to taste).height → Height.ORM texture (optional)Instead of separate AO/Roughness/Metallic maps you can use the single *_ORM.png:
Example: Download Wood Textures and instantly apply parquet or rustic planks inside Blender for architectural visualization.
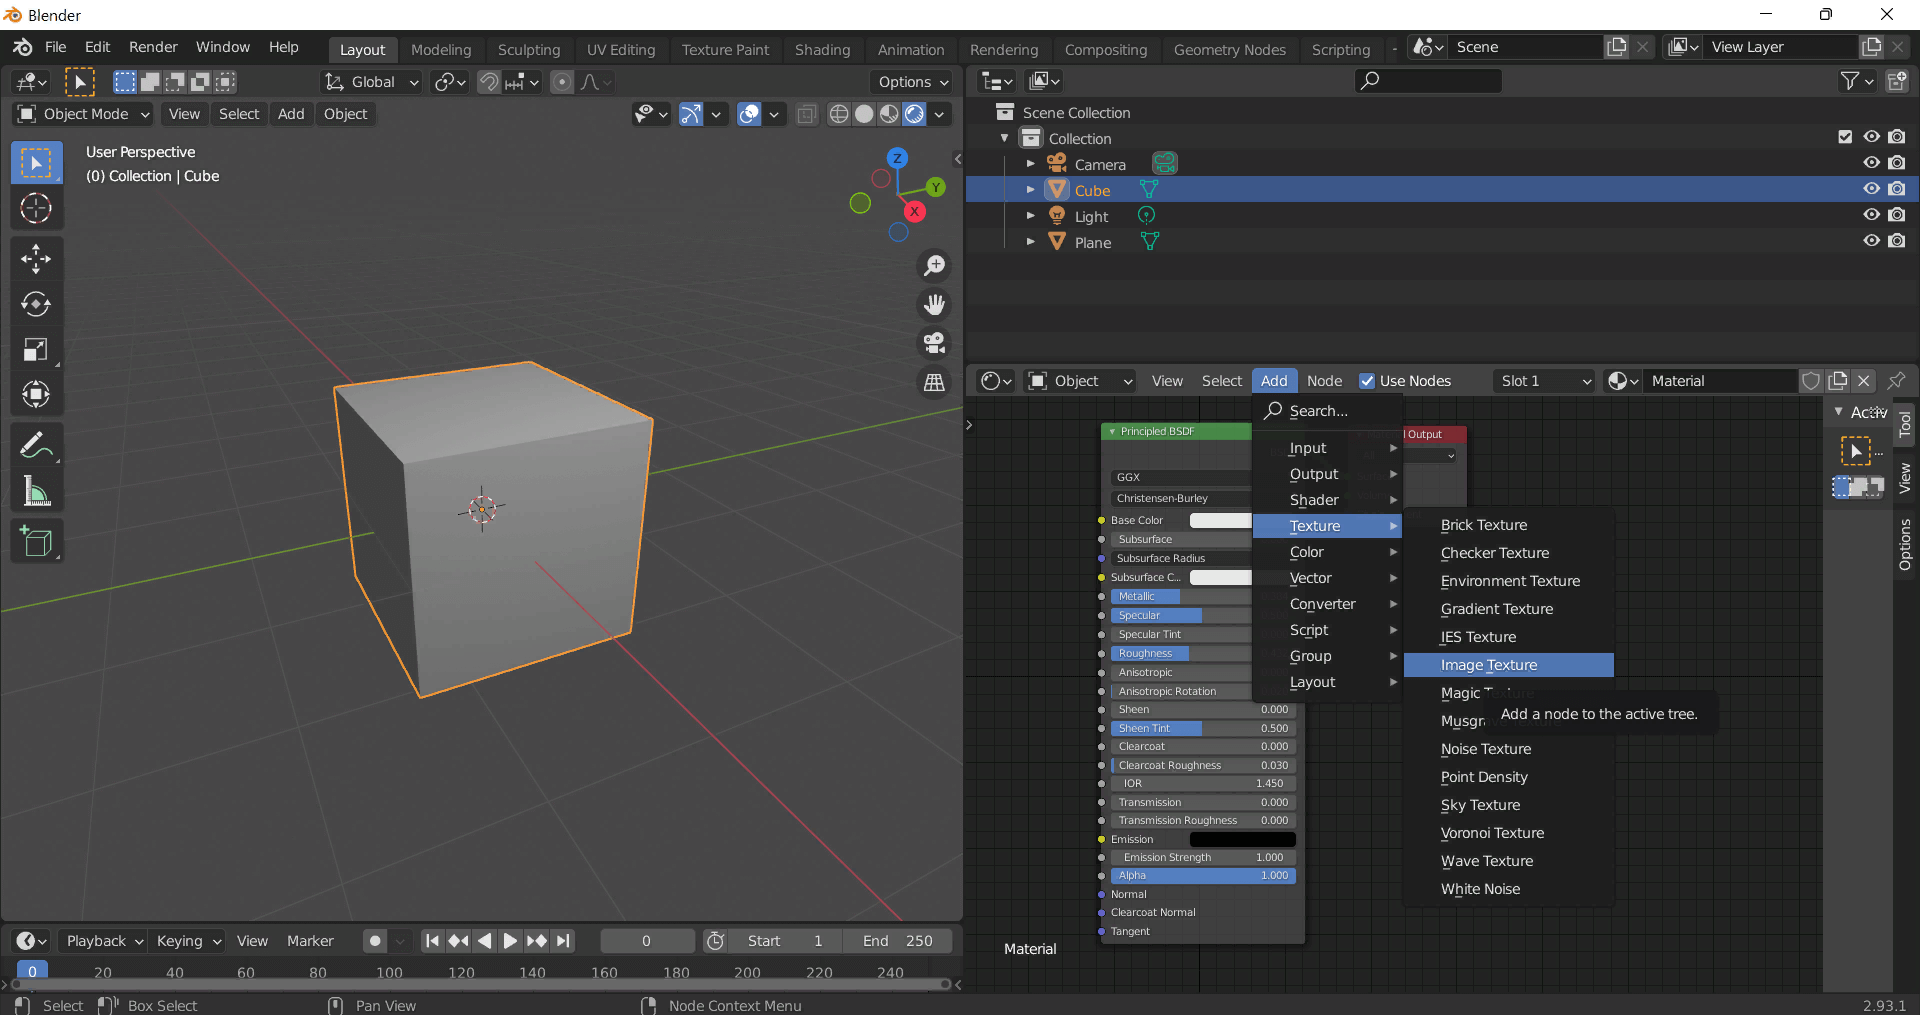
To add the downloaded texture, go to Add — Texture — Image Texture.


Build, preview, and export seamless PBR materials. Generate full map sets from a single image, inspect them in a real-time WebGL viewer, and re-package maps for Unreal, Unity, and Blender—directly in your browser.
AI text-to-texture: type a prompt and get a seamless, tileable base image ready for PBR workflows (great starting point for materials).
Create a full PBR set (Normal, Roughness, AO, Metallic, etc.) from a single image. Seamless and tiling-friendly.
Instant WebGL viewer: inspect materials on a sphere, plane, and cube. Check tiling and lighting in real time.
Re-packages maps per engine: Unreal (BaseColor + ORM), Unity (Mask/MetallicSmoothness), Blender (separate channels).
PNG ↔ JPG ↔ SVG: fast convert, SVG rasterize, embed/trace options, quality & background controls.