
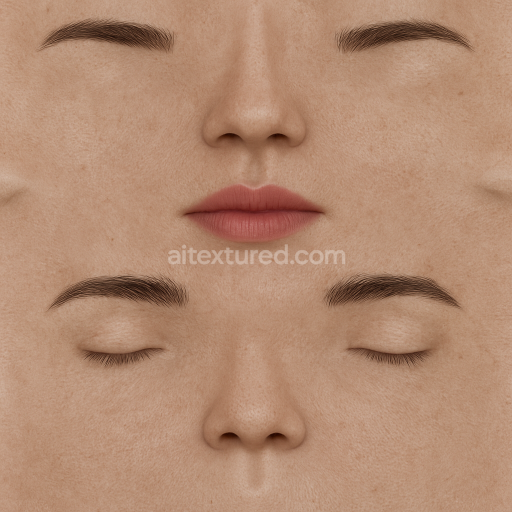
AI-Generated Seamless PBR Texture — Realistic human eye iris texture small pupil and iris violet iris with visible re…
. Formats: WEBP, PNG . Free for personal & commercial use.

| ID | ai-generated-seamless-pbr-texture-hair-texture-for-makio-s-hair-from-demon-slayer-10170 |
|---|---|
| Generated textures | |
| WEBP, PNG | |
| Size | 1k (1024x1024px), 2k (2048x2048px), 4k (4096x4096px), 8k (8192x8192px) |
| sRGB | |
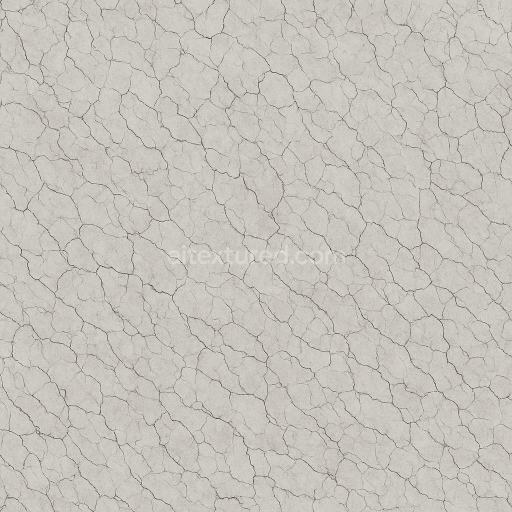
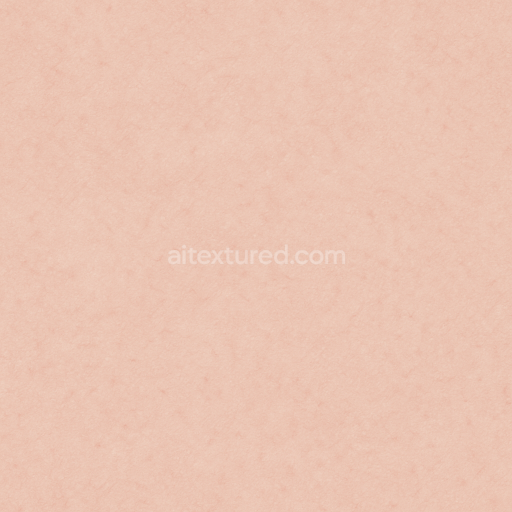
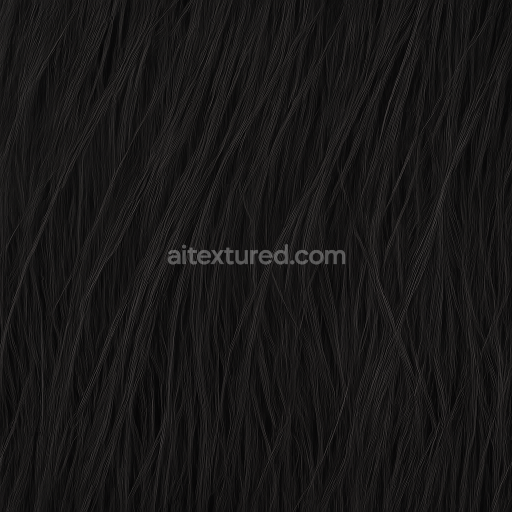
This AI-generated seamless PBR texture captures the intricate hair strands of Makio from Demon Slayer with remarkable realism designed for use in high-fidelity 3D environments. The material composition emulates organic hair fibers intertwined with natural oils and keratin proteins that create subtle variations in porosity and fiber orientation. Its surface finish is smooth yet features micro-scale roughness replicating the natural light scattering and slight sheen found in healthy hair. Colorants are represented through carefully balanced pigments that maintain a neutral yet rich tone avoiding oversaturation while preserving the character’s distinctive look. This balance is reflected across the texture’s PBR channels: the BaseColor/Albedo provides the natural hair hues; the Normal map emphasizes the fine strand details and flow direction; Roughness controls the subtle glossiness and micro-roughness behavior essential for realistic highlights; Metallic remains at zero to reflect the non-metallic nature; Ambient Occlusion enhances depth in the hair volume; and Height/Displacement offers subtle relief for added dimensionality.
Optimized for workflows from 1K up to 8K resolution this tileable texture ensures a clean consistent and non-repeating appearance suitable for both real-time and offline rendering pipelines. It is fully compatible with leading engines including Unreal Engine Unity and Blender ensuring seamless integration into various digital production environments. The texture’s organic base and physical accuracy allow for natural lighting responses making it ideal for applications in environments character props and architectural visualization where hair detail and authenticity are paramount. By maintaining correct micro-roughness and neutral color balance it delivers a physically plausible response that adapts well to different lighting setups and rendering conditions.
For practical use it is recommended to carefully adjust the UV scale to match the character’s hair geometry ensuring the fine details remain crisp without visible tiling artifacts. Additionally tuning the roughness map can help achieve the desired level of shine or matte finish depending on the scene’s lighting while subtle height map adjustments can enhance parallax effects for closer camera views. This texture provides a versatile and high-quality solution for artists seeking an AI-generated seamless hair material that meets the demanding standards of modern 3D engines and rendering pipelines.
This guide shows how to connect a full PBR texture set to Principled BSDF in Blender (Cycles or Eevee). Works with any of our seamless textures free download, including PBR PNG materials for Blender / Unreal / Unity.
*_albedo.png — Base Color (sRGB)*_normal.png — Normal map (Non-Color)*_roughness.png — Roughness (Non-Color)*_metallic.png — Metallic (Non-Color)*_ao.png — Ambient Occlusion (Non-Color)*_height.png — Height / Displacement (Non-Color)*_ORM.png — Packed map (R=AO, G=Roughness, B=Metallic, Non-Color)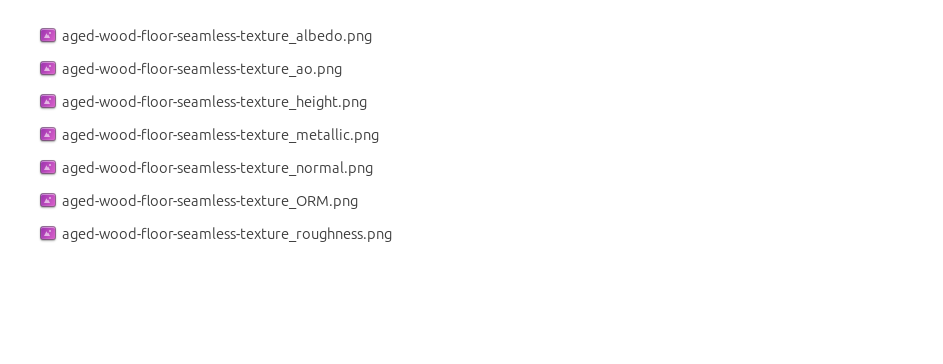
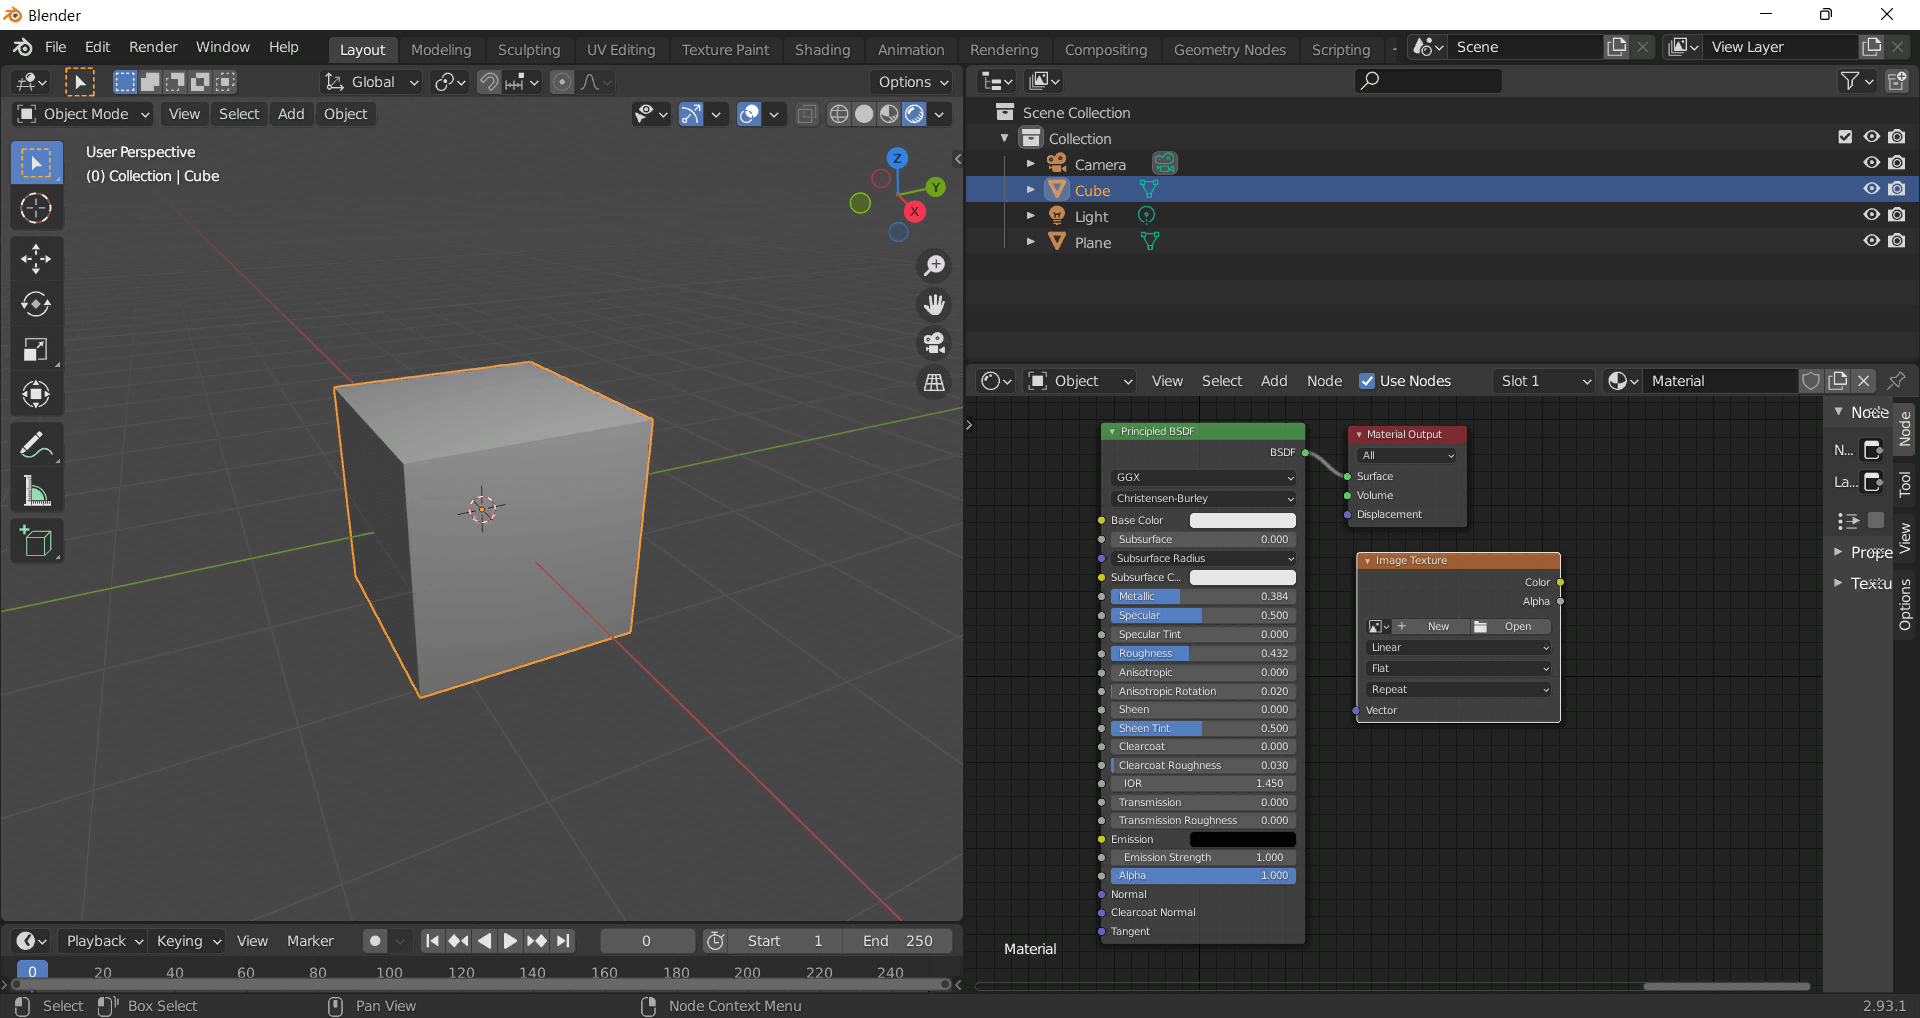
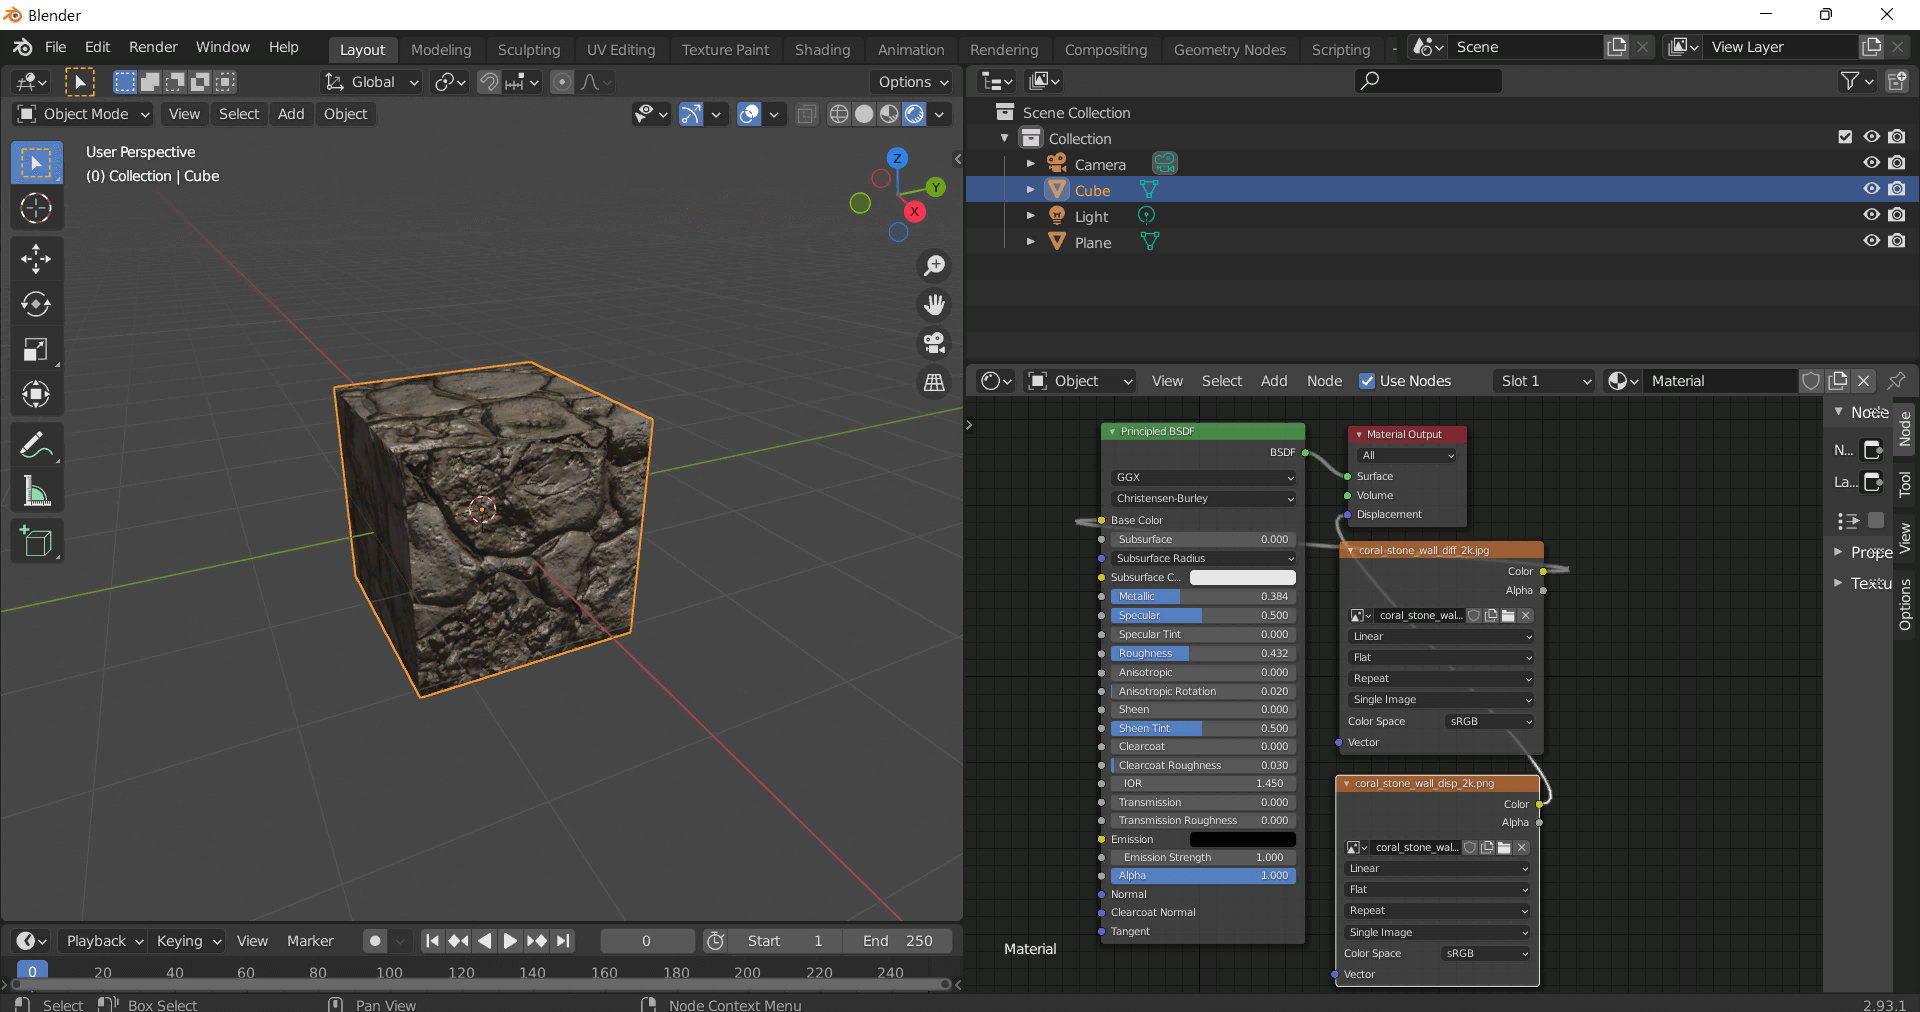
albedo → Base Colorroughness → Roughnessmetallic → Metallic (for wood this often stays near 0)normal → Normal Map node (Type: Tangent Space) → Normal of Principled.
If details look “inverted”, enable Invert Y on the Normal Map node.albedo, Input B = ao, Factor = 1.0.height → Height, set Midlevel = 0.5, Scale = 0.02–0.08 (tune to taste).height → Height.ORM texture (optional)Instead of separate AO/Roughness/Metallic maps you can use the single *_ORM.png:
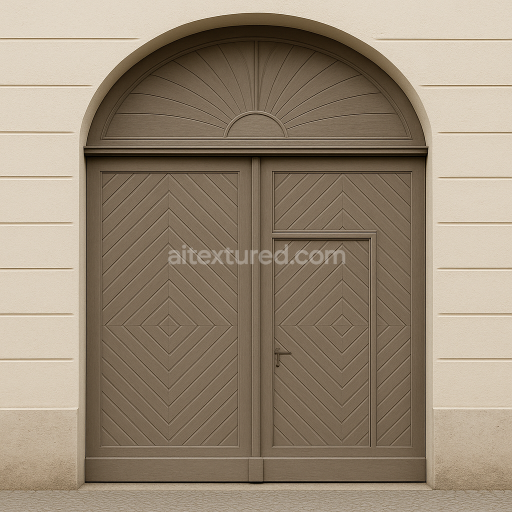
Example: Download Wood Textures and instantly apply parquet or rustic planks inside Blender for architectural visualization.
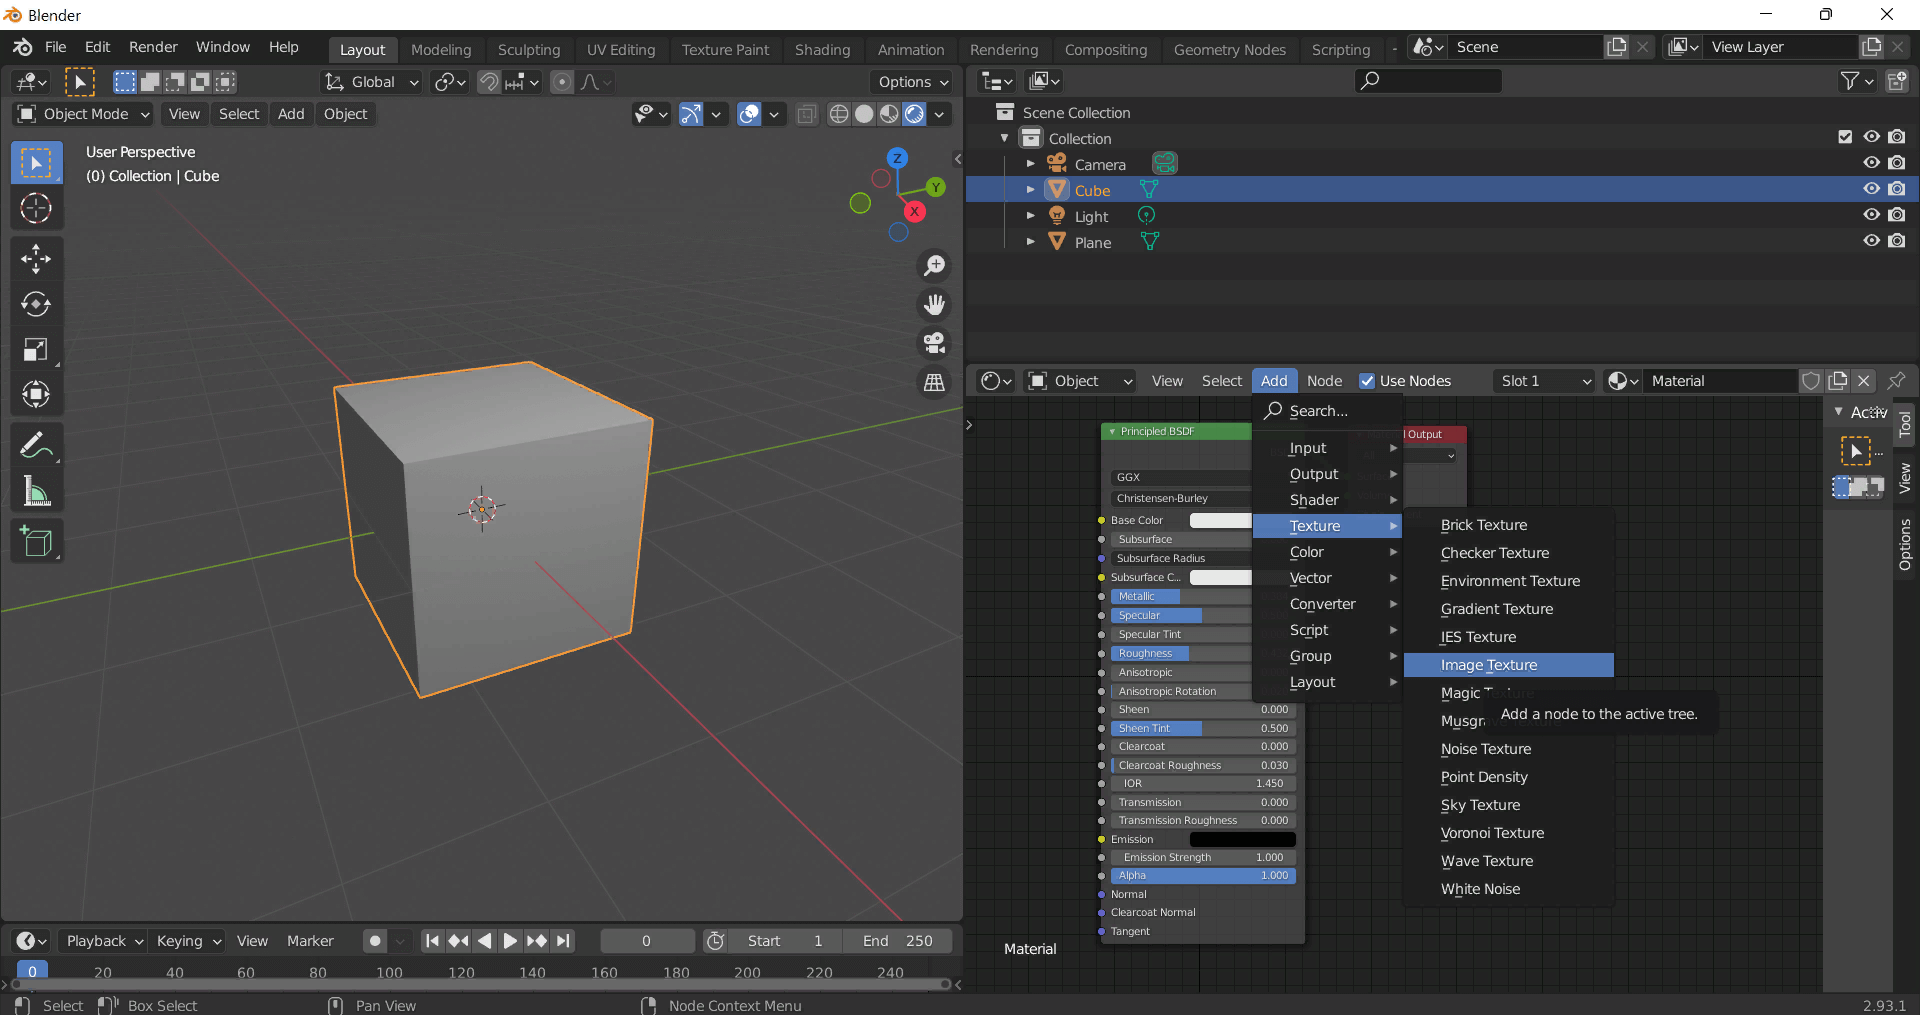
To add the downloaded texture, go to Add — Texture — Image Texture.
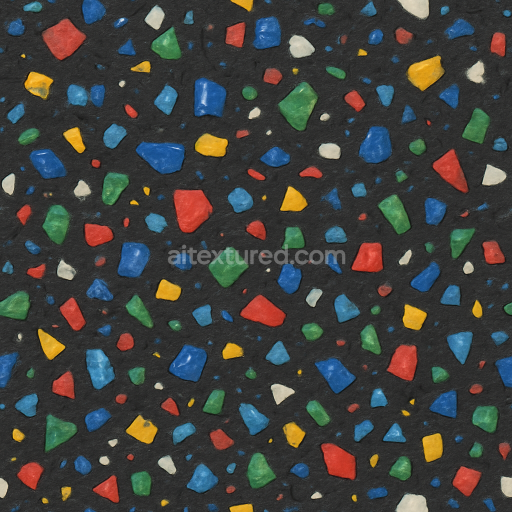
![AI-Generated Seamless PBR Texture — Seamless texture for a [Blade Master's chest armor]. Highly polished, reflective [c…](/upload/resize_cache/generated_textures/09b/afjx6z1hn6cc0tvhqinlna5f32v01g28/512_512_2495eab60d0b1a1829c4f985c490bb91c/seamless_texture_for_a_blade_masters_chest_armor_highly_poli.png)

Build, preview, and export seamless PBR materials. Generate full map sets from a single image, inspect them in a real-time WebGL viewer, and re-package maps for Unreal, Unity, and Blender—directly in your browser.
AI text-to-texture: type a prompt and get a seamless, tileable base image ready for PBR workflows (great starting point for materials).
Create a full PBR set (Normal, Roughness, AO, Metallic, etc.) from a single image. Seamless and tiling-friendly.
Instant WebGL viewer: inspect materials on a sphere, plane, and cube. Check tiling and lighting in real time.
Re-packages maps per engine: Unreal (BaseColor + ORM), Unity (Mask/MetallicSmoothness), Blender (separate channels).
PNG ↔ JPG ↔ SVG: fast convert, SVG rasterize, embed/trace options, quality & background controls.