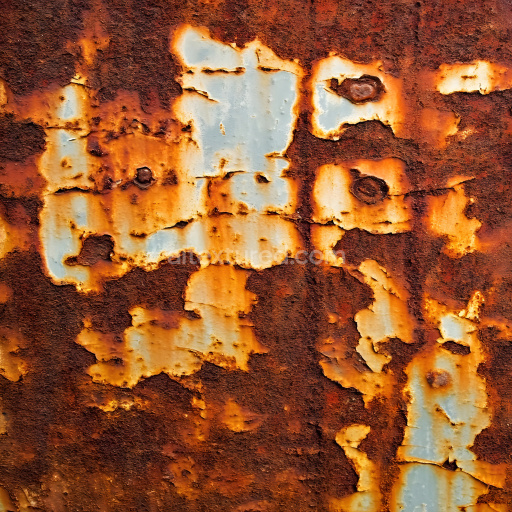
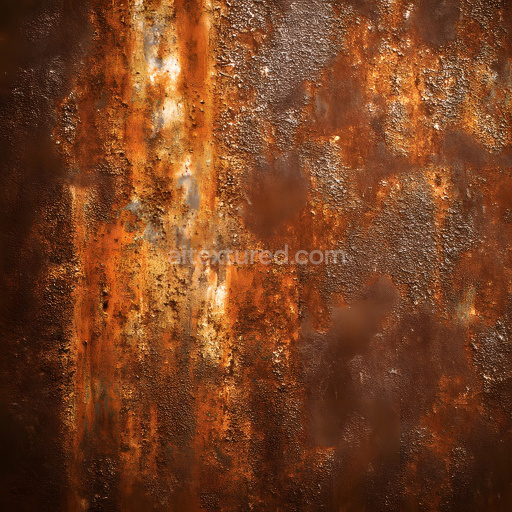
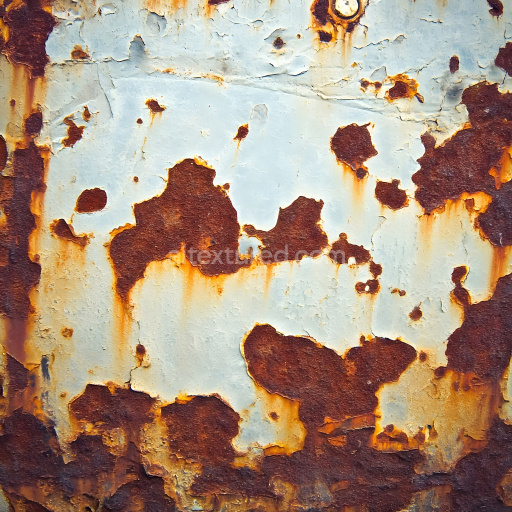
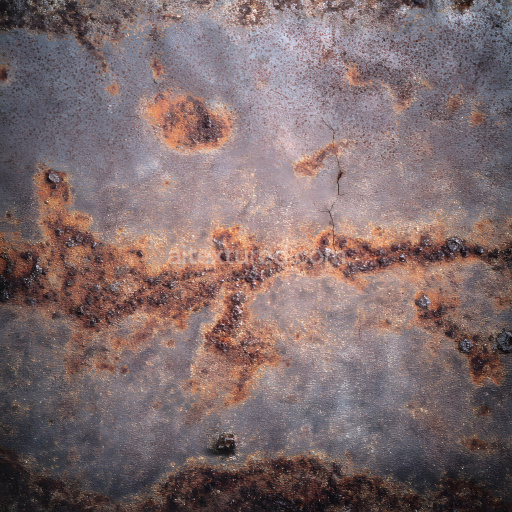
Cracked Rusty Metal Texture with Flaked Paint and Corrosion
Seamless texture (tileable) · PNG, WEBP, PBR ZIP. License: AITextured Free Commercial License (FCL) v1.1. Free personal and commercial use. Raw resale, standalone redistribution, mirroring/scraping, competing asset packs, and AI/ML training are not allowed without written permission. Attribution is not required, but appreciated..

| ID | flaky-corroded-steel-seamless-texture |
|---|---|
| Category | Rust |
| Formats | PNG, WEBP, PBR ZIP |
| Size | 1k (1024x1024px), 2k (2048x2048px), 4k (4096x4096px), 8k (8192x8192px) |
| Color | sRGB |
| Tileable | Yes |
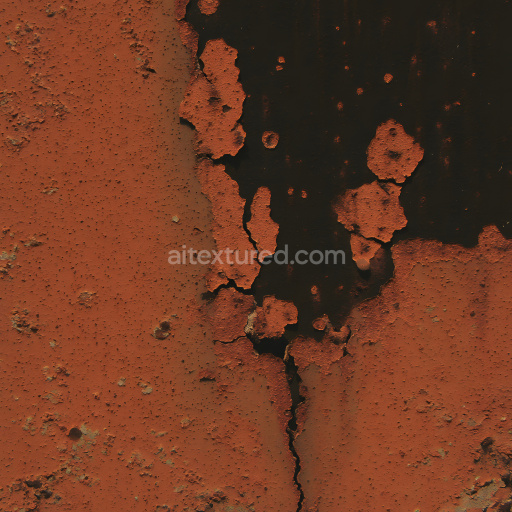
The Flaky Corroded Steel Seamless Texture is a meticulously crafted AI-generated material designed to replicate the complex surface of weathered steel subjected to prolonged oxidation and environmental exposure. The base substrate is aged steel characterized by a robust metallic core overlaid with flaky corrosion layers formed from iron oxide compounds. These rusted layers create a naturally rough uneven surface texture featuring delaminated patches and subtle porosity highlighting the granular breakdown of the metal’s protective coating. The surface finish is distinctly oxidized and flaky with visible variations in color from deep reddish-browns to muted oranges and grays illustrating the multi-layered corrosion process. This texture’s visual complexity reflects the interaction between the steel’s metallic base and its corroded outer layers including subtle adhesive residues of corrosion products that bind the flakes to the metal beneath creating a realistic tactile appearance.
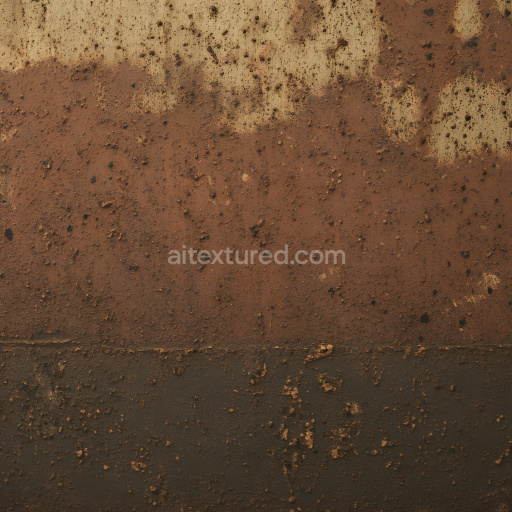
In PBR workflows this texture excels by clearly separating material properties across various channels. The BaseColor (Albedo) channel showcases the nuanced pigment variations in the rust capturing both vibrant and subdued oxide hues without direct lighting influence. The Normal map accurately conveys the flaky uneven surface geometry enhancing depth perception and light interaction for real-time and cinematic renders. Roughness values are carefully calibrated to represent the surface’s varied microstructure where some areas exhibit matte weathered corrosion and others retain faint metallic sheen. The Metallic channel emphasizes the underlying steel core contrasting with the non-metallic rust flakes. Ambient Occlusion adds subtle shadowing within crevices and flake overlaps reinforcing realism while Height or Displacement maps enable fine parallax effects to simulate the texture’s layered depth convincingly.
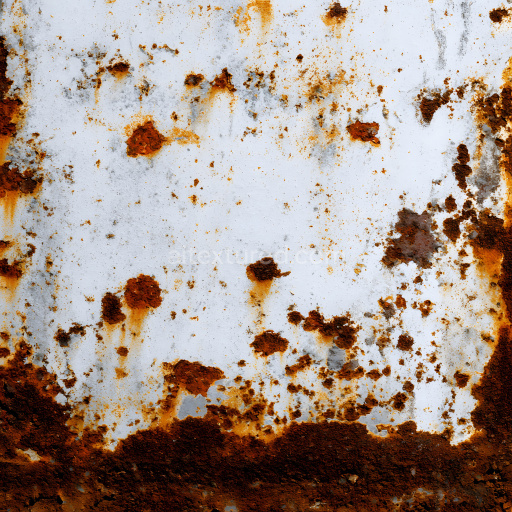
Offered in up to 8K resolution and compatible with leading 3D software such as Blender Unreal Engine and Unity this tileable flaky corroded steel seamless texture integrates smoothly into modern pipelines. It maintains exceptional clarity and cohesion even across large UV islands making it ideal for rust textures in real-time scenes level dressing cinematic renders and material studies. For optimal results it is recommended to maintain consistent texel density across assets and use uniform UV scaling to prevent distortion or stretching of the flaky details. Adjusting roughness slightly can help tailor the perceived age and weathering effect to better fit specific environmental lighting conditions enhancing the natural believable look of corroded steel surfaces in your projects.
The AI-generated flaky corroded steel seamless texture offers a highly detailed seamless flaky corroded steel seamless texture ideal for PBR applications providing a realistic 3D preview that accurately captures the material’s nuanced corrosion and layered surface composition.
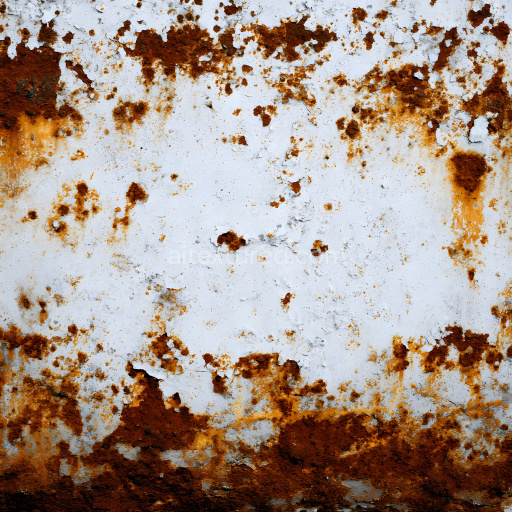
Import the texture maps into Blender with sRGB color space for albedo/base color and Non-Color for normal, roughness, metallic, AO, height, and ORM maps. Connect normal maps through a Normal Map node, then adjust UV scale with a Mapping node so the material repeats naturally on your model.
For the full step-by-step setup, see How to Use Seamless Textures in Blender. Browse related material examples in wood, concrete, and metal.
Yes. This texture is designed as a seamless tileable PBR material, so it can repeat across large surfaces without visible borders.
You can download PNG/WEBP versions and use 1K, 2K, 4K and 8K download options when available on the page.
Yes. The download options and engine-mapped ZIP workflow are designed for Blender, Unreal Engine, Unity Standard, URP and HDRP material pipelines.
Yes. The texture is available under the AITextured free commercial license. Review the license page for redistribution and AI-training restrictions.

Build, preview, and export seamless PBR materials. Generate full map sets from a single image, inspect them in a real-time WebGL viewer, and re-package maps for Unreal, Unity, and Blender—directly in your browser.
AI text-to-texture: type a prompt and get a seamless, tileable base image ready for PBR workflows (great starting point for materials).
Create a full PBR set (Normal, Roughness, AO, Metallic, etc.) from a single image. Seamless and tiling-friendly.
Instant WebGL viewer: inspect materials on a sphere, plane, and cube. Check tiling and lighting in real time.
Re-packages maps per engine: Unreal (BaseColor + ORM), Unity (Mask/MetallicSmoothness), Blender (separate channels).
PNG ↔ JPG ↔ SVG: fast convert, SVG rasterize, embed/trace options, quality & background controls.