
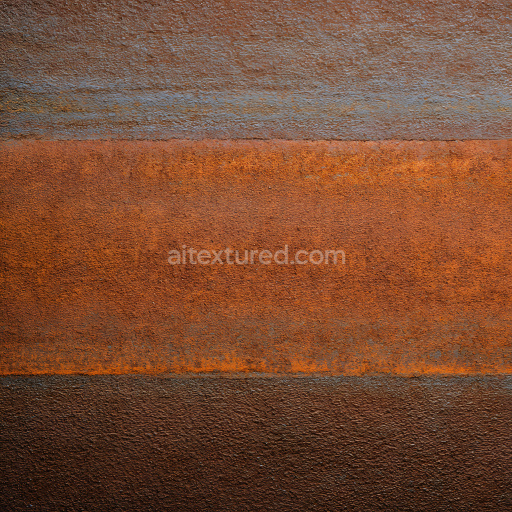
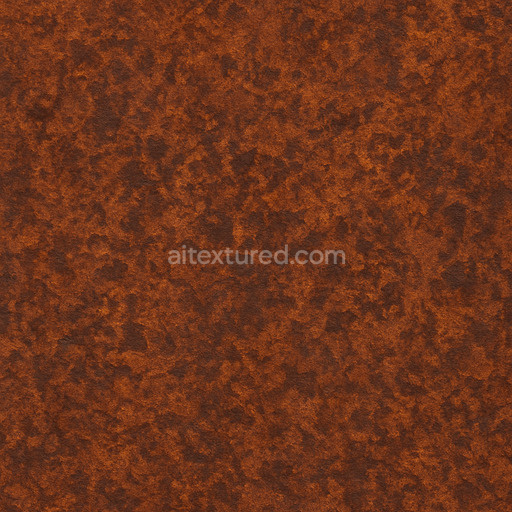
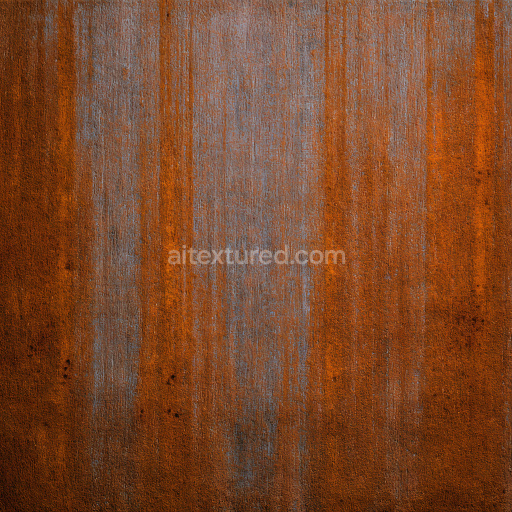
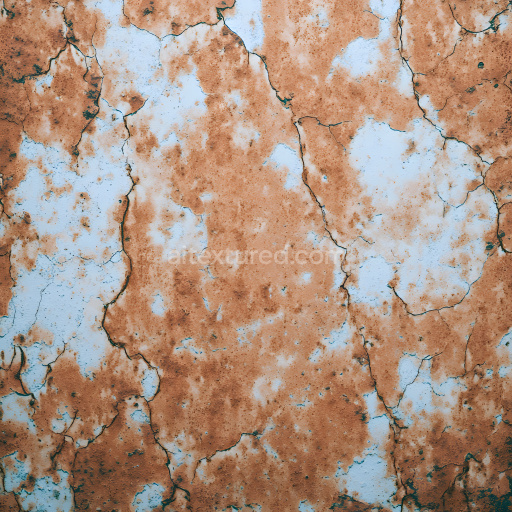
Rusted Metal Texture Featuring Intense Orange-Brown Corrosion and Peeling Surface
Seamless texture (tileable) · PNG, WEBP, PBR ZIP. License: AITextured Free Commercial License (FCL) v1.1. Free personal and commercial use. Raw resale, standalone redistribution, mirroring/scraping, competing asset packs, and AI/ML training are not allowed without written permission. Attribution is not required, but appreciated..

| ID | grunge-rusted-surface-seamless-texture |
|---|---|
| Category | Rust |
| Formats | PNG, WEBP, PBR ZIP |
| Size | 1k (1024x1024px), 2k (2048x2048px), 4k (4096x4096px), 8k (8192x8192px) |
| Color | sRGB |
| Tileable | Yes |
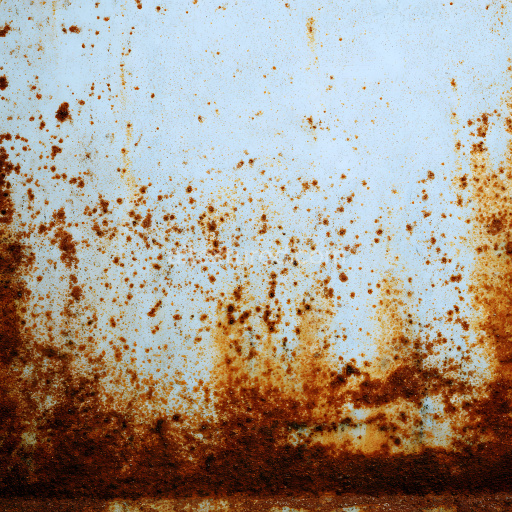
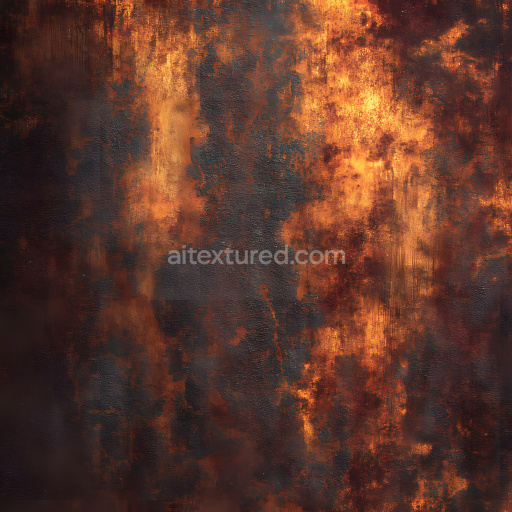
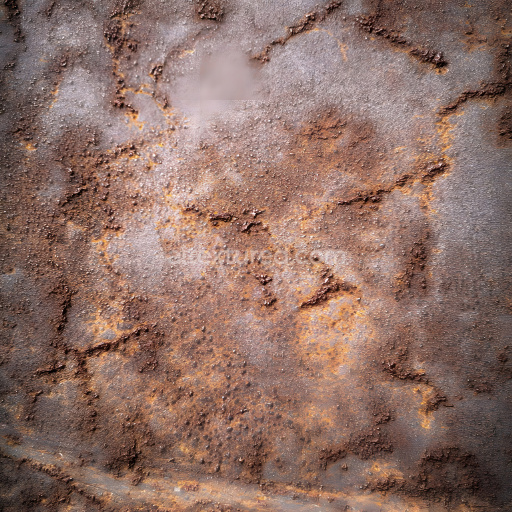
The Grunge Rusted Surface Seamless Texture captures the authentic appearance of weathered metal with a complex composition rooted in oxidized iron substrates. This texture exhibits a heavily corroded surface where iron-based minerals have undergone extensive weathering resulting in a rich patina of reddish-brown rust intermixed with dark roughened patches. The base metal shows through in subtle areas revealing a metallic core beneath layers of flaky porous rust deposits. These deposits act as natural binders loosely adhering fine aggregates of iron oxide and other corrosion byproducts. The surface finish is distinctly oxidized and uneven with micro-cracks and pitted corrosion marks that convey long-term environmental exposure and material degradation. Colorants arise from various iron oxides creating a dynamic blend of reds oranges and browns that shift naturally across the surface enhancing the grunge aesthetic.
In terms of PBR channels this grunge rusted surface is designed to convey maximum realism and structural fidelity. The BaseColor (Albedo) channel presents the complex interplay of rust pigments and exposed metal hues. Normal maps emphasize the rugged micro-geometry of the pitted flaky surface while Roughness maps capture the varying glossiness—from dull powdery oxidized areas to faintly reflective metal remnants. The Metallic channel highlights exposed iron substrate regions differentiating them from non-metallic rust layers. Ambient Occlusion enhances depth perception around crevices and rust clusters and Height or Displacement maps deliver realistic surface relief for enhanced parallax effects. This seamless grunge rusted surface texture is optimized at up to 8K resolution ensuring crisp detail on large UV islands without loss of clarity or cohesion.
Built to integrate seamlessly with modern pipelines this tileable grunge rusted surface texture is ideal for environment art architectural visualization concept prototyping and quick look development. It works effortlessly within Blender Unity and Unreal Engine delivering predictable repeatable results that accelerate material iteration. For best results maintain consistent texel density across assets and adjust UV scaling to avoid pattern repetition. Fine-tuning roughness values can further control how light interacts with the oxidized metal allowing for precise customization of surface reflectivity and weathering effects. Incorporating this AI-generated texture into your material library brings both micro-detail and structural consistency providing a convincing production-ready rust texture for any 3D project.
The tileable grunge rusted surface seamless texture offers a highly detailed PBR texture grunge rusted surface seamless texture ideal for rust textures with a realistic 3D preview that enhances PBR material fidelity.
Import the texture maps into Blender with sRGB color space for albedo/base color and Non-Color for normal, roughness, metallic, AO, height, and ORM maps. Connect normal maps through a Normal Map node, then adjust UV scale with a Mapping node so the material repeats naturally on your model.
For the full step-by-step setup, see How to Use Seamless Textures in Blender. Browse related material examples in wood, concrete, and metal.
Yes. This texture is designed as a seamless tileable PBR material, so it can repeat across large surfaces without visible borders.
You can download PNG/WEBP versions and use 1K, 2K, 4K and 8K download options when available on the page.
Yes. The download options and engine-mapped ZIP workflow are designed for Blender, Unreal Engine, Unity Standard, URP and HDRP material pipelines.
Yes. The texture is available under the AITextured free commercial license. Review the license page for redistribution and AI-training restrictions.


Build, preview, and export seamless PBR materials. Generate full map sets from a single image, inspect them in a real-time WebGL viewer, and re-package maps for Unreal, Unity, and Blender—directly in your browser.
AI text-to-texture: type a prompt and get a seamless, tileable base image ready for PBR workflows (great starting point for materials).
Create a full PBR set (Normal, Roughness, AO, Metallic, etc.) from a single image. Seamless and tiling-friendly.
Instant WebGL viewer: inspect materials on a sphere, plane, and cube. Check tiling and lighting in real time.
Re-packages maps per engine: Unreal (BaseColor + ORM), Unity (Mask/MetallicSmoothness), Blender (separate channels).
PNG ↔ JPG ↔ SVG: fast convert, SVG rasterize, embed/trace options, quality & background controls.