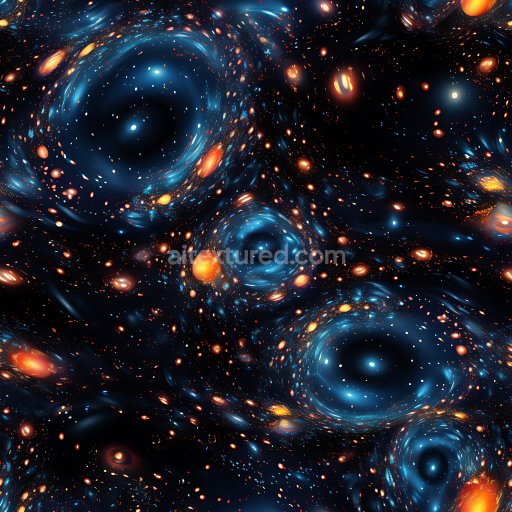
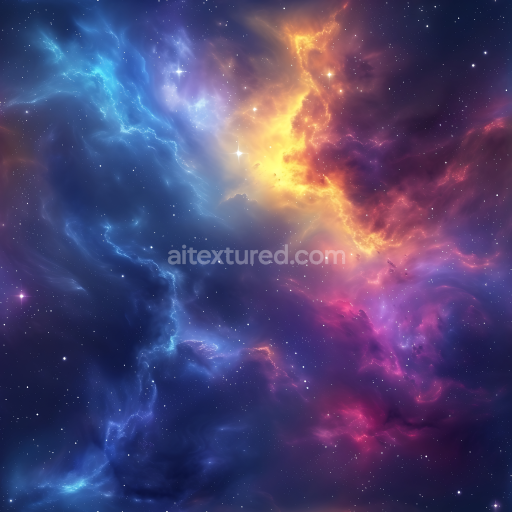
Space PBR Texture Featuring Swirling Cosmic Vortexes and Glowing Galaxy Clouds
Seamless texture (tileable) · PNG, WEBP, PBR ZIP. License: AITextured Free Commercial License (FCL) v1.1. Free personal and commercial use. Raw resale, standalone redistribution, mirroring/scraping, competing asset packs, and AI/ML training are not allowed without written permission. Attribution is not required, but appreciated..

| ID | seamless-3d-texture-pbr-8k-black-hole-accretion-disk-with-quasar-jets-and-dark-energy-glow |
|---|---|
| Category | Star, space, planets |
| Formats | PNG, WEBP, PBR ZIP |
| Size | 1k (1024x1024px), 2k (2048x2048px), 4k (4096x4096px), 8k (8192x8192px) |
| Color | sRGB |
| Tileable | Yes |
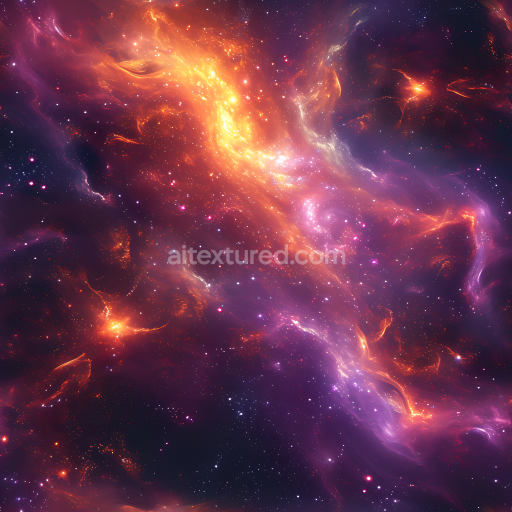
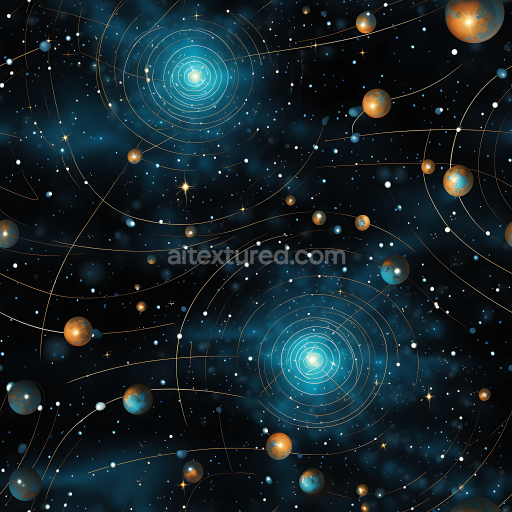
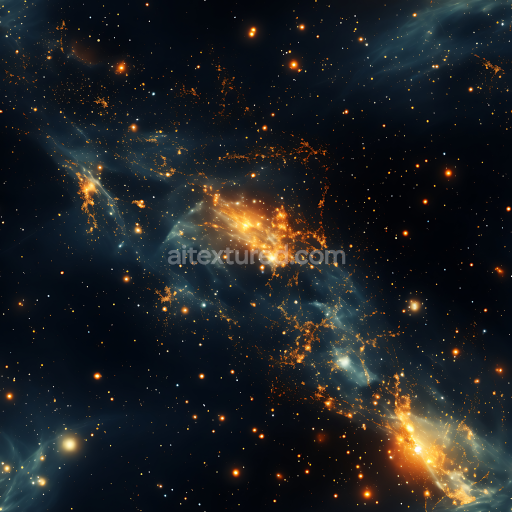
This seamless 3D PBR texture presents an ultra-high-definition 8K representation of a black hole accretion disk complete with dynamic quasar jets and a subtle dark energy glow. The material composition simulates a complex cosmic substrate resembling a highly energized plasma field with embedded cosmic dust and ionized particles. The base color channel (Albedo) captures the intense black and deep blue hues of the accretion disk infused with glowing orange and white highlights that mimic energetic emissions. Normal maps encode fine-grained turbulent flows and swirling patterns reflecting the chaotic fiber-like structures and magnetic field lines within the disk. Roughness is carefully balanced to reproduce a semi-glossy finish representing the interplay between dense matter and diffuse radiation while the metallic channel remains minimal to convey the non-metallic plasma-based nature of the environment. Ambient Occlusion subtly enhances crevices and folds in the accretion disk’s structure adding depth and realism without harsh shadows or lighting artifacts. Height and displacement maps simulate the surface undulations and warped spacetime distortions caused by gravity lensing effects lending a three-dimensional feel crucial for astrophysical accuracy.
Designed specifically for scientific visualization and space art projects this texture achieves a highly detailed and realistic portrayal of cosmic phenomena. The seamless tiling ensures smooth repetition in any 3D environment making it ideal for large-scale black hole environment representations in Blender Unreal Engine or Unity. The advanced PBR workflow compatibility allows artists and developers to easily integrate this texture into their materials adjusting parameters to simulate varying energy intensities and cosmic ray interactions. Colorants within the texture mimic the natural pigments and ionization levels found in accretion disks offering a vivid yet scientifically grounded appearance. The surface finish is polished in certain regions to reflect energetic jets while other areas maintain a more diffuse glow enhancing the ambient dark energy effect around the black hole’s event horizon.
For best results it’s recommended to fine-tune the roughness slider to emphasize the glowing jets’ contrast against the darker disk regions and to carefully scale UV coordinates to maintain the texture’s high-resolution detail without visible repetition. Using the height map with parallax occlusion mapping can further amplify the sense of warped spacetime and gravitational lensing enriching the immersive quality of cosmic visualizations. This texture excels in environments demanding scientific precision combined with artistic expression providing a versatile and realistic black hole accretion disk surface that is fully optimized for seamless use in real-time engines and high-end rendering workflows.
Import the texture maps into Blender with sRGB color space for albedo/base color and Non-Color for normal, roughness, metallic, AO, height, and ORM maps. Connect normal maps through a Normal Map node, then adjust UV scale with a Mapping node so the material repeats naturally on your model.
For the full step-by-step setup, see How to Use Seamless Textures in Blender. Browse related material examples in wood, concrete, and metal.
Yes. This texture is designed as a seamless tileable PBR material, so it can repeat across large surfaces without visible borders.
You can download PNG/WEBP versions and use 1K, 2K, 4K and 8K download options when available on the page.
Yes. The download options and engine-mapped ZIP workflow are designed for Blender, Unreal Engine, Unity Standard, URP and HDRP material pipelines.
Yes. The texture is available under the AITextured free commercial license. Review the license page for redistribution and AI-training restrictions.


Build, preview, and export seamless PBR materials. Generate full map sets from a single image, inspect them in a real-time WebGL viewer, and re-package maps for Unreal, Unity, and Blender—directly in your browser.
AI text-to-texture: type a prompt and get a seamless, tileable base image ready for PBR workflows (great starting point for materials).
Create a full PBR set (Normal, Roughness, AO, Metallic, etc.) from a single image. Seamless and tiling-friendly.
Instant WebGL viewer: inspect materials on a sphere, plane, and cube. Check tiling and lighting in real time.
Re-packages maps per engine: Unreal (BaseColor + ORM), Unity (Mask/MetallicSmoothness), Blender (separate channels).
PNG ↔ JPG ↔ SVG: fast convert, SVG rasterize, embed/trace options, quality & background controls.