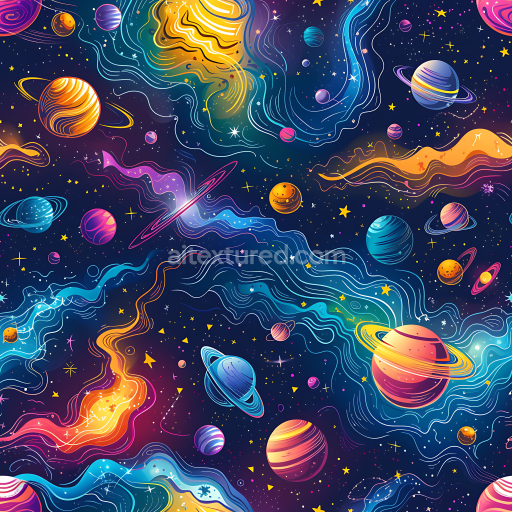
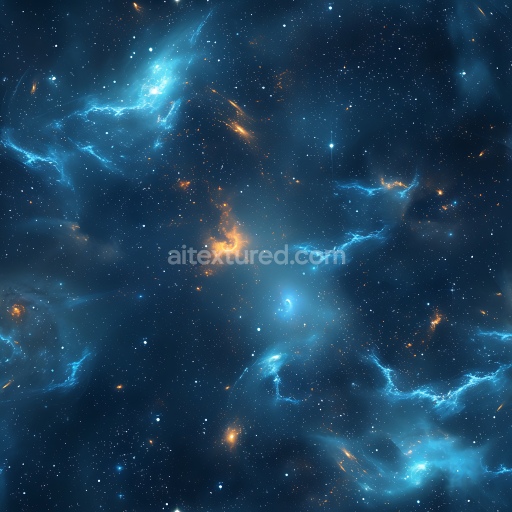
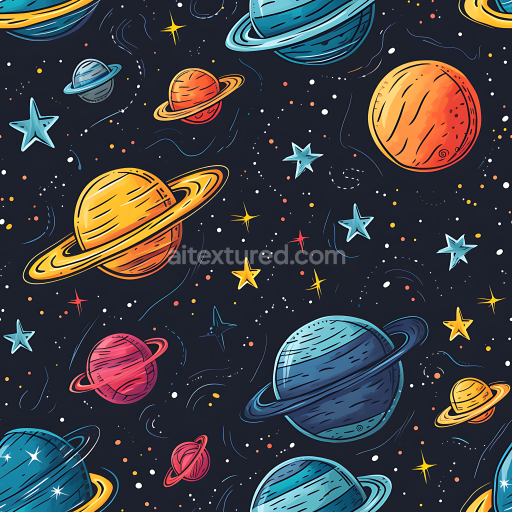
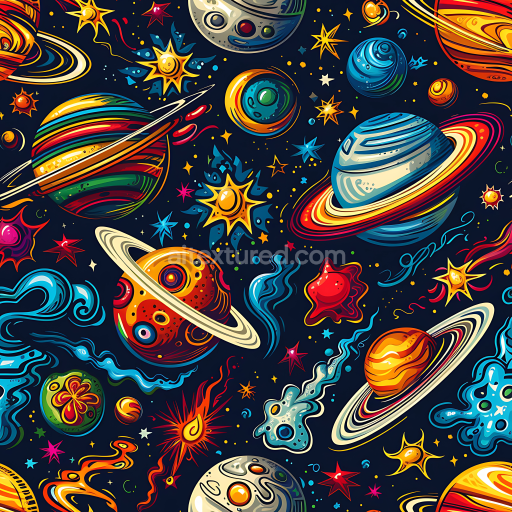
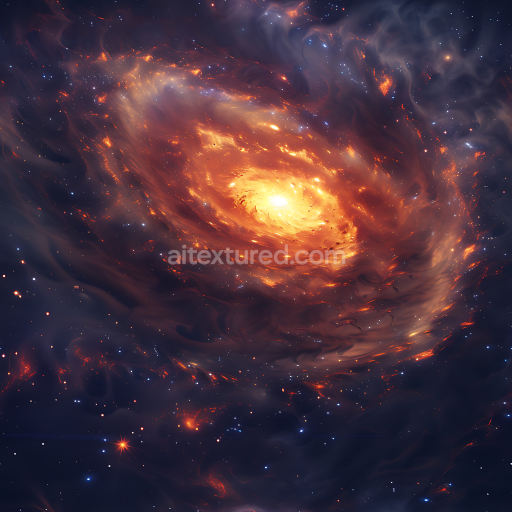
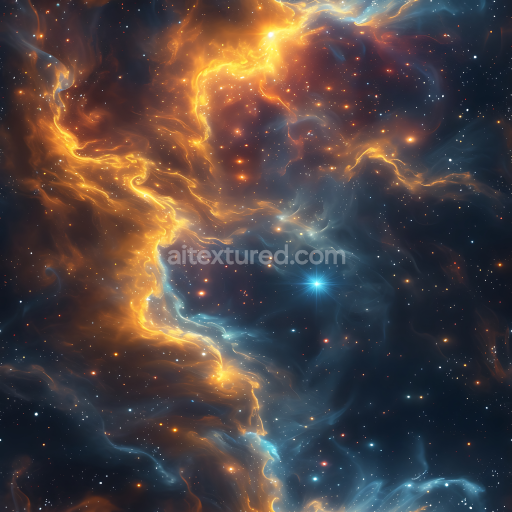
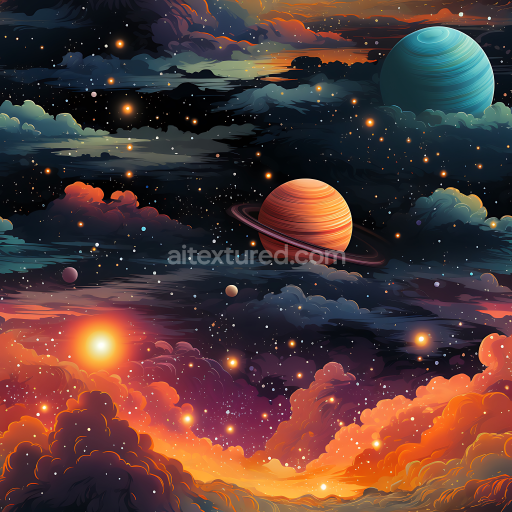
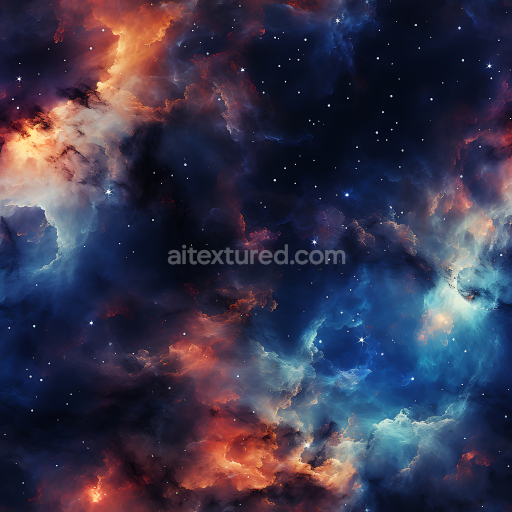
Space PBR Texture with Colorful Planets and Stylized Cosmic Clouds
Seamless texture (tileable) · PNG, WEBP, PBR ZIP. License: AITextured Free Commercial License (FCL) v1.1. Free personal and commercial use. Raw resale, standalone redistribution, mirroring/scraping, competing asset packs, and AI/ML training are not allowed without written permission. Attribution is not required, but appreciated..

| ID | seamless-3d-texture-pbr-8k-icy-frosted-surface-with-frosted-minerals-and-translucent-ice-layers |
|---|---|
| Category | Star, space, planets |
| Formats | PNG, WEBP, PBR ZIP |
| Size | 1k (1024x1024px), 2k (2048x2048px), 4k (4096x4096px), 8k (8192x8192px) |
| Color | sRGB |
| Tileable | Yes |
This seamless PBR 8K texture presents an exquisitely detailed icy frosted surface meticulously crafted to capture the intricate interplay of frosted minerals embedded within translucent ice layers. The base material composition reflects a naturally occurring mineral substrate akin to finely grained crystalline formations bonded by compacted ice that forms a semi-organic composite. The surface exhibits subtle porosity and delicate weathering effects simulating the slow accretion and sublimation processes typical of polar ice sheets on planetary bodies or moons. Visually the finish is matte with a lightly frosted sheen emphasizing the pristine and cold aesthetic without any polished gloss while the translucent ice layers add depth and complexity by refracting light softly through their stratified structure. Faint oxide layers and mineral inclusions introduce natural color variation within the predominantly pale blue and white hues enhancing the photorealistic appeal for scientific or artistic applications.
Within the PBR workflow the BaseColor (Albedo) channel faithfully reproduces the subtle tint shifts between mineral flecks and translucent ice free of shadows or lighting artifacts ensuring maximum flexibility in diverse lighting environments. The Normal map encodes fine crystalline textures and frost ridges contributing to realistic surface microgeometry. Roughness values vary across the texture with smoother areas on the translucent ice contrasting against the slightly rougher mineral aggregates providing nuanced reflectivity without metallic characteristics thus Metallic channels remain near zero. Ambient Occlusion enhances crevices between mineral grains and ice layers adding depth and realism. Height or Displacement maps emphasize subtle undulations and layered stratification perfect for enhancing parallax effects in real-time engines. This texture’s ultra-high 8k resolution ensures exceptional detail retention even in close-up renders and it is fully optimized and Unreal Blender and Unity ready for seamless integration into photorealistic game scenes scientific visualizations or environmental simulations.
For practical usage it is recommended to adjust the UV scale to maintain the fine frost details without pixelation especially in close camera views. Additionally fine-tuning the roughness parameter can help achieve the desired balance between frosted matte and subtle ice glossiness enhancing the immersion in cold environment renderings. This versatile texture is ideal for replicating polar planetary surfaces icy moonscapes or any frozen environment requiring high-fidelity seamless materials that combine crystalline mineral complexity with translucent ice layering effects.
Import the texture maps into Blender with sRGB color space for albedo/base color and Non-Color for normal, roughness, metallic, AO, height, and ORM maps. Connect normal maps through a Normal Map node, then adjust UV scale with a Mapping node so the material repeats naturally on your model.
For the full step-by-step setup, see How to Use Seamless Textures in Blender. Browse related material examples in wood, concrete, and metal.
Yes. This texture is designed as a seamless tileable PBR material, so it can repeat across large surfaces without visible borders.
You can download PNG/WEBP versions and use 1K, 2K, 4K and 8K download options when available on the page.
Yes. The download options and engine-mapped ZIP workflow are designed for Blender, Unreal Engine, Unity Standard, URP and HDRP material pipelines.
Yes. The texture is available under the AITextured free commercial license. Review the license page for redistribution and AI-training restrictions.


Build, preview, and export seamless PBR materials. Generate full map sets from a single image, inspect them in a real-time WebGL viewer, and re-package maps for Unreal, Unity, and Blender—directly in your browser.
AI text-to-texture: type a prompt and get a seamless, tileable base image ready for PBR workflows (great starting point for materials).
Create a full PBR set (Normal, Roughness, AO, Metallic, etc.) from a single image. Seamless and tiling-friendly.
Instant WebGL viewer: inspect materials on a sphere, plane, and cube. Check tiling and lighting in real time.
Re-packages maps per engine: Unreal (BaseColor + ORM), Unity (Mask/MetallicSmoothness), Blender (separate channels).
PNG ↔ JPG ↔ SVG: fast convert, SVG rasterize, embed/trace options, quality & background controls.