7 Proven Ways to Break Texture Repetition on Large Surfaces
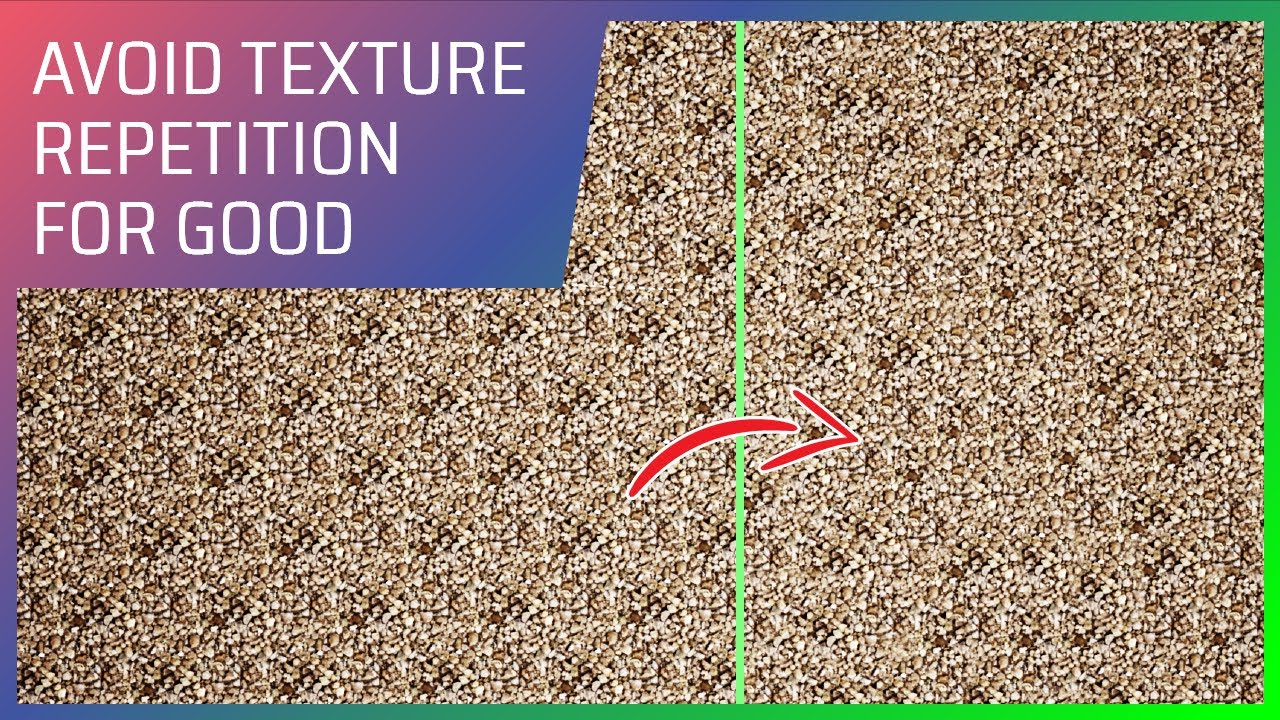
Even perfectly seamless textures can look repetitive when tiled across big walls, floors, or terrains. This guide shows seven production-ready techniques to hide repetition in Blender, with practical notes for Unity and Unreal. Combine two or more methods for best results.
1) Add a Macro-Detail Layer (Low-Frequency Variation)
Idea: Blend a very low-frequency noise or a broad second texture to introduce slow color/roughness changes over meters, not centimeters.
- Blender nodes: Noise Texture (Scale ≈ 1–3) → MixRGB (Overlay/Multiply, Fac 0.2–0.35) over Base Color.
- Drive Roughness with a ColorRamp to keep physically plausible values (avoid pure 0/1).
Pitfall: Keep it subtle; macro variation should be barely perceptible but cumulative.
2) UV Randomization per Object/Instance
Idea: Slightly offset/rotate UVs differently for each instance so neighbors don’t share the same tile phase.
- Blender: Object Info → Random → drive Mapping Location (0.0–1.0) and Rotation Z (±6°; convert via Math → Radians).
- Unity/Unreal: Use Material Property Blocks (Unity) or Per-Instance Custom Data (UE) to offset Mapping in the material.
3) Two-Texture Blend (Same Material Family)
Idea: Blend two sibling textures (e.g., two concretes) using a low-frequency mask so the surface doesn’t repeat identically.
- Two PBR stacks (A/B) → MixRGB with a Noise Texture mask (Scale ≈ 0.3–1).
- Blend Roughness similarly (lower Fac). For Normal, keep one primary normal; add detail normal at 0.2–0.4 strength.
Tip: Keep albedo ranges close so the blend doesn’t look patchy.
4) Decals for Hero Breakup
Idea: Localized decals (leaks, cracks, stains) break uniformity exactly where the camera reads detail.
- Blender: Decal meshes with alpha, or scatter small decal cards via Geometry Nodes using slope/curvature masks.
- Unity/Unreal: Use decal materials (Deferred Decals in UE; Decal Projectors in HDRP/URP) tinting AO/roughness.
5) Triplanar Mapping for Irregular Geometry
Idea: Remove UV stretching by blending three planar projections (X/Y/Z) based on surface normal.
- Blender: Sample texture three times (aligned to X/Y/Z), compute weights from Normal:
wx=|Nx|, wy=|Ny|, wz=|Nz|, normalize and mix. - Use when: Rocks, cliffs, pipes — where unwrap is expensive or messy.
6) Distance/Height-Based Variation (Layering by Masks)
Idea: Use world/mesh masks to drive subtle overlays.
- Top-down dirt: Geometry → Position → Separate XYZ → Z → ColorRamp.
- Cavity/curvature: baked AO/curvature for dirt/darkening.
- Distance to edges: vertex-color mask near wall bottoms for dampness/soil.
Unity/Unreal: HeightLerp / World Aligned Blend (UE) or TriPlanar/Height Blend (Unity Shader Graph).
7) Atlas & Rotation Randomization (For Repeating Elements)
Idea: If the surface is made of discrete tiles (bricks, planks), use a texture atlas and pick a random cell + rotation per instance.
- Blender: Prepare N×N atlas (e.g., 4×4). Use Object Info → Random to pick index, offset UV by
1/N; quantize rotation (0/90/180/270). - Engines: Per-instance “index” to select atlas cell (HISM in UE; GPU Instancing + MPB in Unity).
Practical Node Stack (Reference Order)
- Base PBR (albedo/roughness/normal/displacement) from your seamless texture
- Macro-detail overlay (low-frequency) into Base Color & Roughness
- Two-texture blend (optional) using a low-frequency mask
- Per-object UV randomization (Object Info → Random → Mapping)
- Triplanar if UVs are unreliable (otherwise standard UVs)
- Local decals on hero areas
- Mask-based gradients (top/bottom dirt, AO/curvature tint)
Rule of thumb: keep each layer subtle (Fac ≈ 0.1–0.35). The sum creates organic non-uniformity without noise.
Export & Engine Notes
- Channel packing: pack AO/Roughness/Metallic into RGB; keep Normal separate.
- Mipmap/Anisotropy: enable anisotropic filtering (8–16) for grazing angles.
- Streaming: Virtual Textures (UE) or Streaming Mipmaps/Addressables (Unity) for huge surfaces.
- Scale: validate against real size (e.g., a brick ≈ 200 mm).
Common Pitfalls (and Fixes)
- Too much high-frequency noise → looks dirty/repeated → prefer low-frequency macro variation.
- Extreme roughness ranges → plastic/metallic artifacts → clamp via ColorRamp (e.g., 0.1–0.9).
- Flat normals → fake bump → re-derive from better height or add subtle detail normal (0.2–0.4).
- Identical instances → always offset/rotate UVs per object.
Checklist
- Macro-detail overlay added (color + roughness)
- Per-instance UV offsets/rotations set
- Optional two-texture blend in the same family
- Decals placed at camera-readable spots
- Triplanar used where UVs stretch
- Masked gradients (top-down dirt / AO tint)
- Engine import set (mipmaps, anisotropy, packing)
- Real-world scale validated
Ready-Made Textures
Speed things up by starting with AI-generated seamless textures and then layering the techniques above. On AITextured.com you’ll find tileable bases for Brick, Parquet, Concrete, Bark, Fabric/Leather, Patterns, Roofing, Sand/Soil, Snow/Ice, Ceramic Tile, Rubber, Glass and more — ideal to customize with macro detail, decals, and blends.
FAQ
What is covered in this guide?
This guide explains 7 Proven Ways to Break Texture Repetition on Large Surfaces with practical notes for seamless PBR materials, texture setup, and production use.
Can I use these texture techniques in Blender, Unreal Engine, and Unity?
Yes. The workflow focuses on standard PBR maps and tileable materials that can be used in Blender, Unreal Engine, Unity, archviz, games, and VFX pipelines.
Where can I find textures for this workflow?
Use the AITextured texture library and the related texture links on this page to find seamless PBR materials and preview them before download.
Related Textures
 Procedural Stamped Sidewalk Concrete PBR Texture
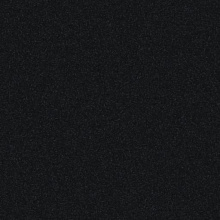 Procedural Fine Asphalt Road PBR Texture
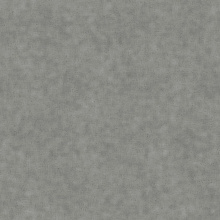 Procedural Pitted Concrete PBR Texture
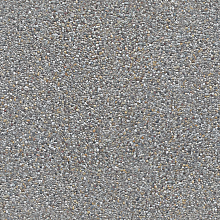 Seamless Concrete Pebble PBR Texture in 4K Resolution
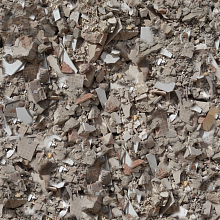 Seamless PBR Concrete Rubble Texture with Debris and Fragments
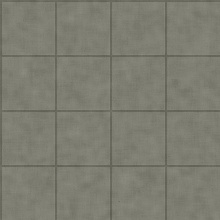
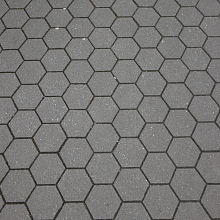 Seamless Hexagonal Concrete Tile PBR Texture 4K
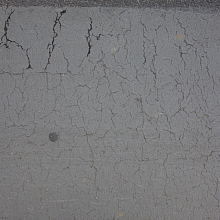 Cracked Asphalt Texture with Weathering