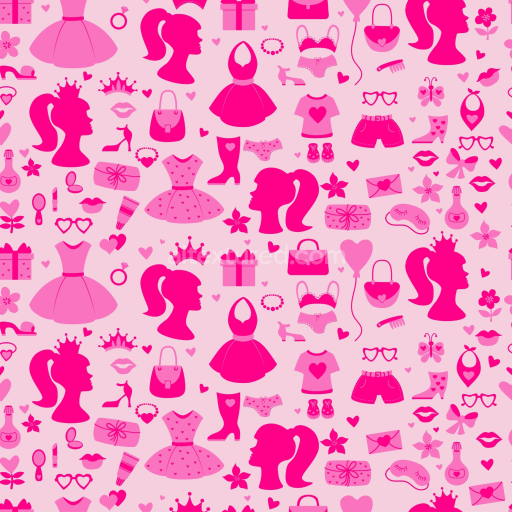
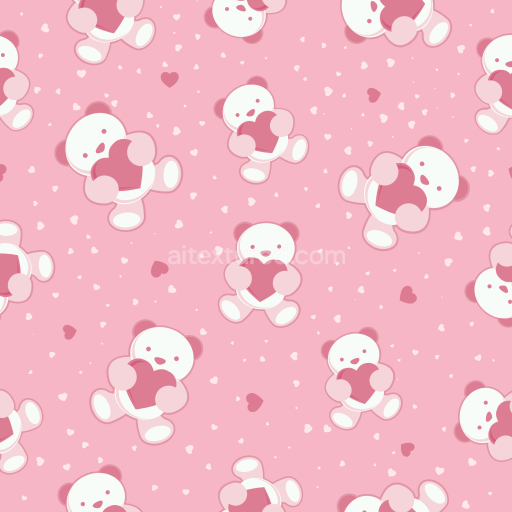
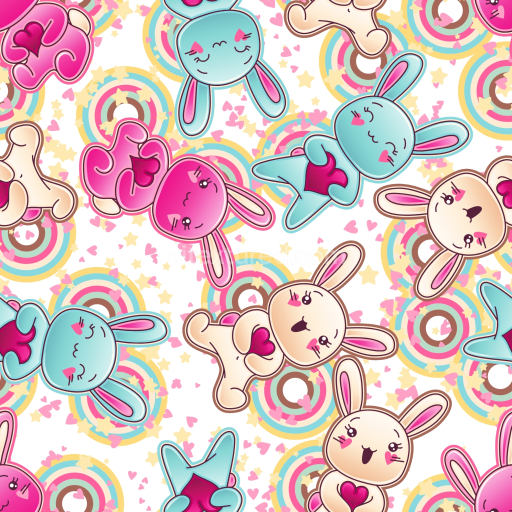
Seamless 3D PBR Texture Featuring Cute Cartoon Bunnies with Hearts free download

. Formats: PNG . Free for personal & commercial use.

Preview — Seamless 3D PBR Texture Featuring Cute Cartoon Bunnies with Hearts

IDbaby-girl-seamless-pbr-cute-bunny-pattern-texture-for-3d-art
Baby girl
PNG
Size1k (1024x1024px), 2k (2048x2048px), 4k (4096x4096px), 8k (8192x8192px)
sRGB
This seamless 3D PBR texture presents an enchanting pattern of kawaii-style cartoon bunnies, each holding a heart symbol, rendered in a soft palette of pastel colors including pink, cream, blue, and magenta shades. The bunnies display charming facial expressions with blushed cheeks and engaging eyes, enhancing the overall joyful and affectionate mood. Surrounding these characters are whimsical circular targets of concentric rings in muted tones of aqua, brown, cream, and pastel pink, interspersed with various star shapes and tiny heart motifs scattered across a clean white background. The texture has a smooth, flat, and matte finish, suitable for stylized and illustrative visual styles rather than photorealistic surfaces. It is seamless and tileable at 4K resolution, providing high fidelity details in any scale of use. This PBR-ready pattern is excellent for 3D modeling, game development, and product visualization focused on baby or kid-related themes, such as nursery decorations, clothing textures, toys, or playful virtual environments. Compatible with rendering and game engines like Blender, Unreal Engine, Unity, and Cinema 4D, it lends a warm, friendly, and inviting atmosphere to scenes requiring heartwarming and adorable visuals without complex material properties. This unique texture captures a lighthearted and youthful spirit with its clean outlines and harmonious pastel tones, perfect for projects aimed at children or joyful experiences.

How to Use These Seamless PBR Textures in Blender

This guide shows how to connect a full PBR texture set to Principled BSDF in Blender (Cycles or Eevee). Works with any of our seamless textures free download, including PBR PNG materials for Blender / Unreal / Unity.

What’s inside the download

  • *_albedo.png — Base Color (sRGB)
  • *_normal.png — Normal map (Non-Color)
  • *_roughness.png — Roughness (Non-Color)
  • *_metallic.png — Metallic (Non-Color)
  • *_ao.png — Ambient Occlusion (Non-Color)
  • *_height.png — Height / Displacement (Non-Color)
  • *_ORM.png — Packed map (R=AO, G=Roughness, B=Metallic, Non-Color)

Quick start (Node Wrangler, 30 seconds)

  1. Enable the addon: Edit → Preferences → Add-ons → Node Wrangler.
  2. Create a material and select the Principled BSDF node.
  3. Press Ctrl + Shift + T and select the maps albedo, normal, roughness, metallic (skip height and ORM for now) → Open. The addon wires Base Color, Normal (with a Normal Map node), Roughness, and Metallic automatically.
  4. Add AO and Height using the “Manual wiring” steps below (5 and 6).

Manual wiring (full control)

  1. Create a material (Material Properties → New) and open the Shader Editor.
  2. Add an Image Texture node for each map. Set Color Space:
    • AlbedosRGB
    • AO, Roughness, Metallic, Normal, Height, ORMNon-Color
  3. Connect to Principled BSDF:
    • albedoBase Color
    • roughnessRoughness
    • metallicMetallic (for wood this often stays near 0)
    • normalNormal Map node (Type: Tangent Space) → Normal of Principled. If details look “inverted”, enable Invert Y on the Normal Map node.
  4. Ambient Occlusion (AO):
    • Add a MixRGB (or Mix Color) node in mode Multiply.
    • Input A = albedo, Input B = ao, Factor = 1.0.
    • Output of Mix → Base Color of Principled (replaces the direct albedo connection).
  5. Height / Displacement:
    Cycles — true displacement
    1. Material Properties → SettingsDisplacement: Displacement and Bump.
    2. Add a Displacement node: connect heightHeight, set Midlevel = 0.5, Scale = 0.02–0.08 (tune to taste).
    3. Output of Displacement → Material Output → Displacement.
    4. Add geometry density (e.g., Subdivision Surface) so displacement has polygons to work with.
    Eevee (or lightweight Cycles) — bump only
    1. Add a Bump node: heightHeight.
    2. Set Strength = 0.2–0.5, Distance = 0.05–0.1, and connect Normal output to Principled’s Normal.

Using the packed ORM texture (optional)

Instead of separate AO/Roughness/Metallic maps you can use the single *_ORM.png:

  1. Add one Image Texture (Non-Color) → Separate RGB (or Separate Color).
  2. R (red) → AO (use it in the Multiply node with albedo as above).
  3. G (green) → Roughness of Principled.
  4. B (blue) → Metallic of Principled.

UVs & seamless tiling

  1. These textures are seamless. If your mesh has no UVs, go to UV EditingSmart UV Project.
  2. For scale/repeat, add Texture Coordinate (UV)Mapping and plug it into all texture nodes. Increase Mapping → Scale (e.g., 2/2/2) to tile more densely.

Recommended starter values

  • Normal Map Strength: 0.5–1.0
  • Bump Strength: ~0.3
  • Displacement Scale (Cycles): ~0.03

Common pitfalls

  • Wrong Color Space (normals/roughness/etc. must be Non-Color).
  • “Inverted” details → enable Invert Y on the Normal Map node.
  • Over-strong relief → lower Displacement Scale or Bump Strength.

Example: Download Wood Textures and instantly apply parquet or rustic planks inside Blender for architectural visualization.

To add the downloaded texture, go to Add — Texture — Image Texture.


Add a node and click the Open button.


Select the required texture on your hard drive and connect Color to Base Color.


::contentReference[oaicite:0]{index=0}

AITEXTURED Tools

Build, preview, and export seamless PBR materials. Generate full map sets from a single image, inspect them in a real-time WebGL viewer, and re-package maps for Unreal, Unity, and Blender—directly in your browser.