
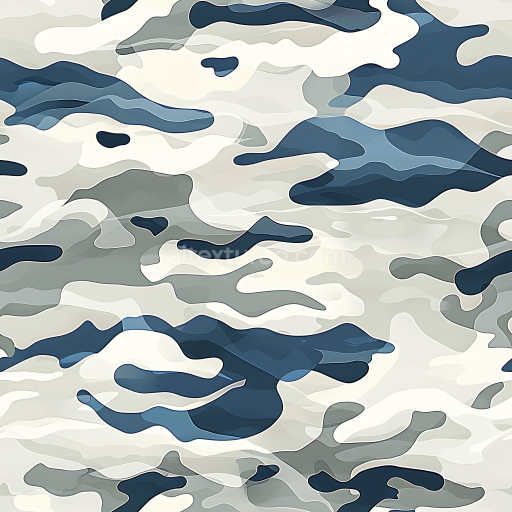
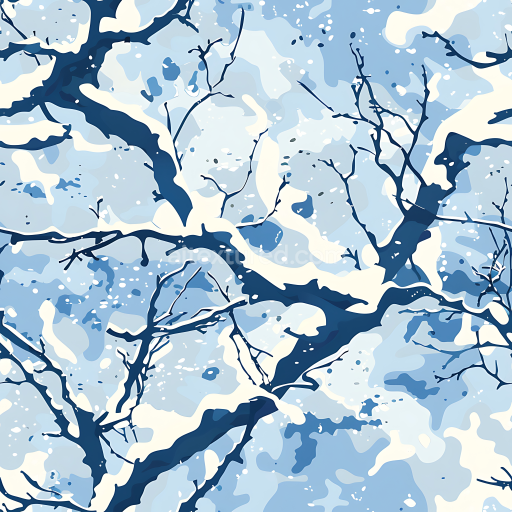
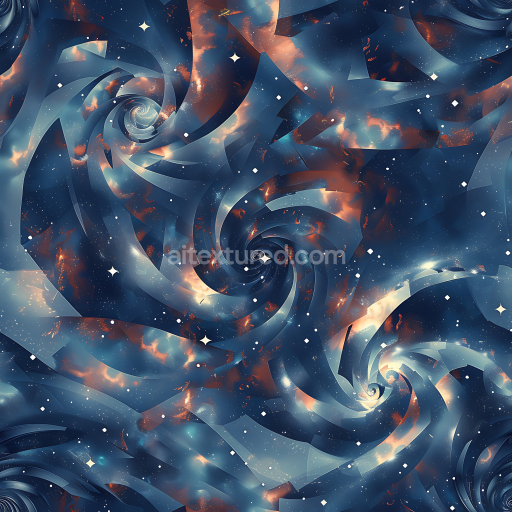
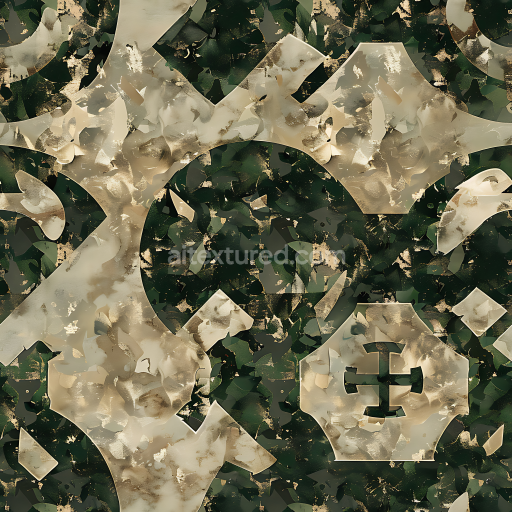
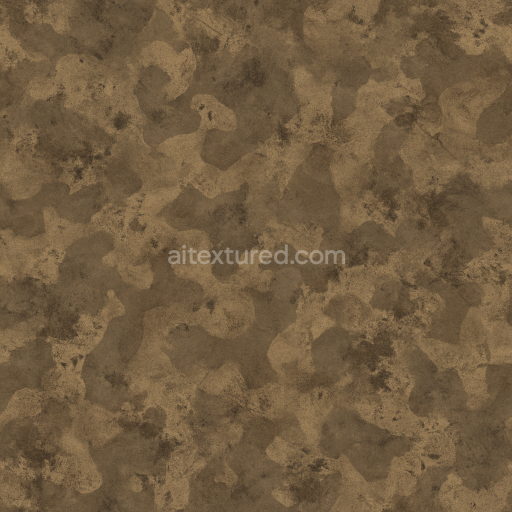
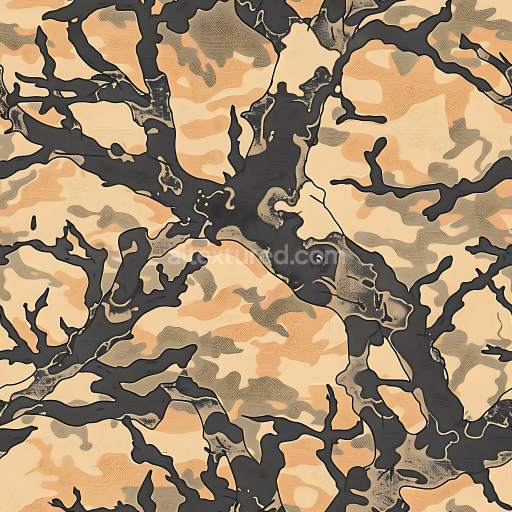
Stylized Urban Camouflage PBR Texture with Bright Blue, Pink and Yellow Blobs
Seamless texture (tileable) · PNG, WEBP, PBR ZIP. License: AITextured Free Commercial License (FCL) v1.1. Free personal and commercial use. Raw resale, standalone redistribution, mirroring/scraping, competing asset packs, and AI/ML training are not allowed without written permission. Attribution is not required, but appreciated..

| ID | seamless-3d-texture-pbr-8k-bark-texture-nylon-weave-camouflage-fabric |
|---|---|
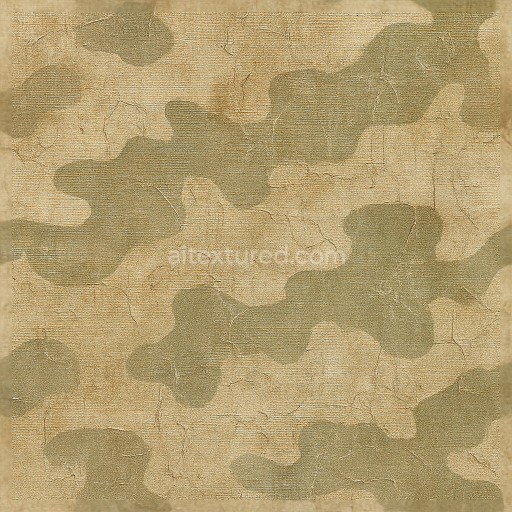
| Category | Color Camouflage |
| Formats | PNG, WEBP, PBR ZIP |
| Size | 1k (1024x1024px), 2k (2048x2048px), 4k (4096x4096px), 8k (8192x8192px) |
| Color | sRGB |
| Tileable | Yes |
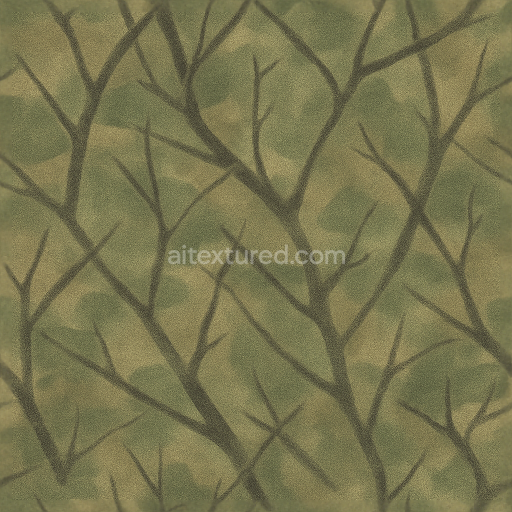
This seamless 8K resolution 3D texture showcases a highly detailed bark texture combined with a synthetic nylon weave fabric designed for physically based rendering (PBR) applications. The material composition mimics organic bark’s rough porous surface with natural bark-like shapes while integrating the distinctive grid and interlaced fibers of a durable nylon substrate. The base substrate is a polymer nylon fabric providing structural strength onto which bark-inspired pigments and organic colorants are applied to replicate the rich earth tones and subtle variations found in real bark. A matte finish enhances the realistic look by diffusing light softly across the surface avoiding unwanted glossiness. This texture’s fibers orient in a tight weave pattern creating a tactile fabric impression that complements the bark’s irregular grain and weathered appearance perfect for outdoor and tactical gear simulations requiring both natural and synthetic detail fidelity.
Within the PBR workflow this texture’s high-resolution 8K maps deliver exceptional detail across all channels. The BaseColor (Albedo) map captures the nuanced browns greys and subtle greens of bark combined with the muted nylon’s color tone ensuring natural variation without artificial shine. The Normal map replicates the bark’s uneven surface and fabric weave relief adding depth and realistic shadows when lit dynamically. Roughness values are carefully balanced to emphasize the matte non-reflective surface typical of weathered bark and synthetic fibers. The Metallic map remains close to zero reflecting the non-metallic nature of both bark and nylon. Ambient Occlusion enhances crevices between bark ridges and fabric weave intersections adding contrast and dimensionality. Height or Displacement maps provide fine surface undulations that support parallax effects or tessellation for close-up renders.
Optimized for seamless tiling this texture repeats flawlessly across 3D models with no visible borders making it ideal for large-scale applications in Unreal Engine Blender or Unity. Its high resolution preserves intricate detail even on large surfaces such as outdoor apparel backpacks or camouflage gear which require realistic bark-inspired aesthetics combined with synthetic fabric durability. For best results adjusting the UV scale to maintain natural bark proportions and tuning roughness slightly higher can enhance the worn weather-resistant look. This texture is a versatile asset for designers seeking authentic bark texture nylon weave fabric with realistic PBR qualities ensuring natural appearance and robust material behavior in real-time or offline rendering environments.
Import the texture maps into Blender with sRGB color space for albedo/base color and Non-Color for normal, roughness, metallic, AO, height, and ORM maps. Connect normal maps through a Normal Map node, then adjust UV scale with a Mapping node so the material repeats naturally on your model.
For the full step-by-step setup, see How to Use Seamless Textures in Blender. Browse related material examples in wood, concrete, and metal.
Yes. This texture is designed as a seamless tileable PBR material, so it can repeat across large surfaces without visible borders.
You can download PNG/WEBP versions and use 1K, 2K, 4K and 8K download options when available on the page.
Yes. The download options and engine-mapped ZIP workflow are designed for Blender, Unreal Engine, Unity Standard, URP and HDRP material pipelines.
Yes. The texture is available under the AITextured free commercial license. Review the license page for redistribution and AI-training restrictions.
Generate, preview, and export seamless PBR materials for Blender, Unity, and Unreal Engine—directly in your browser.
AI text-to-texture: type a prompt and get a seamless, tileable base image ready for PBR workflows (great starting point for materials).
Create a full PBR set (Normal, Roughness, AO, Metallic, etc.) from a single image. Seamless and tiling-friendly.
Instant WebGL viewer: inspect materials on a sphere, plane, and cube. Check tiling and lighting in real time.
Re-packages maps per engine: Unreal (BaseColor + ORM), Unity (Mask/MetallicSmoothness), Blender (separate channels).
PNG ↔ JPG ↔ SVG: fast convert, SVG rasterize, embed/trace options, quality & background controls.