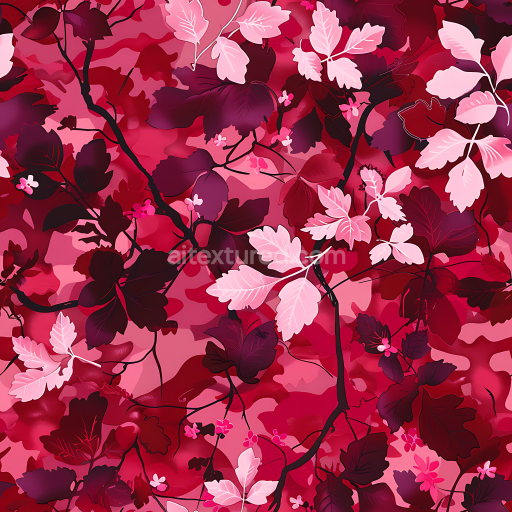
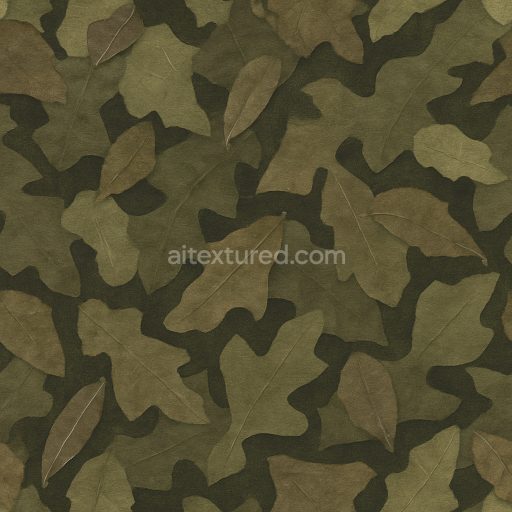
stylized red floral camouflage PBR texture with layered leaves and branches
Seamless texture (tileable) · PNG, WEBP, PBR ZIP. License: AITextured Free Commercial License (FCL) v1.1. Free personal and commercial use. Raw resale, standalone redistribution, mirroring/scraping, competing asset packs, and AI/ML training are not allowed without written permission. Attribution is not required, but appreciated..

| ID | seamless-3d-texture-pbr-8k-desert-sand-splinter-camo-canvas-fabric |
|---|---|
| Category | Color Camouflage |
| Formats | PNG, WEBP, PBR ZIP |
| Size | 1k (1024x1024px), 2k (2048x2048px), 4k (4096x4096px), 8k (8192x8192px) |
| Color | sRGB |
| Tileable | Yes |
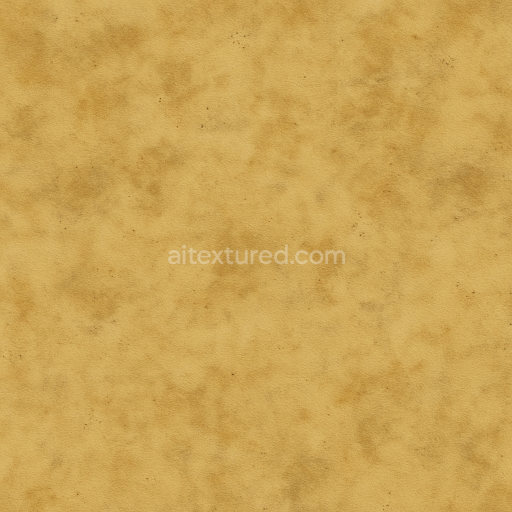
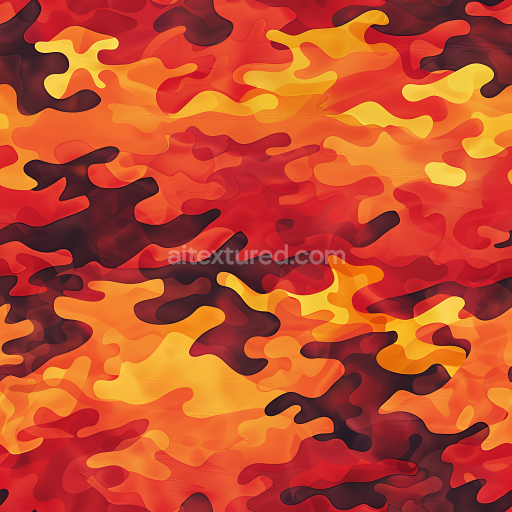
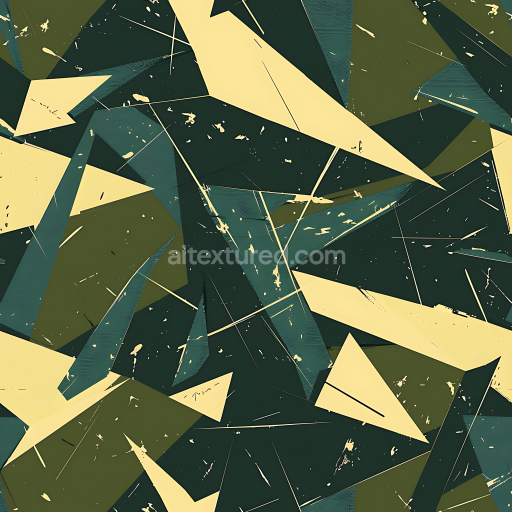
This seamless 3D texture in 8K resolution showcases a meticulously crafted desert sand splinter camouflage pattern applied to a robust canvas fiber fabric substrate. The base material is a tightly woven organic cotton canvas known for its durability and tactile roughness enhanced by natural fibers that create subtle porosity and grain orientation visible across the surface. The splinter camo pattern is composed of sharp angular disruptive shapes rendered in a natural desert sand color palette blending warm ochres muted tans and soft beige pigments. These colorants are integrated through multiple pigment layers that simulate the organic fading and weathering effects typical of prolonged outdoor exposure giving the fabric a worn realistic appearance. The texture’s surface finish mimics a slightly coarse matte canvas with visible fiber strands and irregularities emphasizing authenticity and physicality.
In physically based rendering (PBR) channels the BaseColor or Albedo map conveys the faded dusty desert sand hues and subtle pigment variations that define the splinter camo’s distinctive pattern. The Normal map captures the intricate weave and fiber relief of the canvas enhancing the tactile feel by simulating fine surface bumps and directional grain. Roughness values highlight the fabric’s matte finish and its naturally non-reflective quality fluctuating subtly to replicate areas of wear and dirt accumulation. The Metallic channel is effectively zeroed out to reflect the purely organic non-metallic nature of the canvas material. Ambient Occlusion maps deepen shadowed crevices within the weave and pattern edges adding dimensionality while the Height or Displacement map accentuates fiber elevation and fabric texture depth crucial for realistic parallax effects in close-up visualizations.
This 8K resolution desert sand splinter camo texture is fully optimized and ready for seamless tiling in Blender Unreal Engine and Unity ensuring high-fidelity detail and performance in game assets or visual effects tailored for arid or desert environment simulations. For practical application adjusting the UV scale to maintain natural fabric grain proportions is recommended as overly large or small UVs can distort the splinter shapes and reduce realism. Additionally fine-tuning roughness values can simulate varying fabric conditions from freshly laundered to heavily weathered enhancing material versatility across different scenarios.
Import the texture maps into Blender with sRGB color space for albedo/base color and Non-Color for normal, roughness, metallic, AO, height, and ORM maps. Connect normal maps through a Normal Map node, then adjust UV scale with a Mapping node so the material repeats naturally on your model.
For the full step-by-step setup, see How to Use Seamless Textures in Blender. Browse related material examples in wood, concrete, and metal.
Yes. This texture is designed as a seamless tileable PBR material, so it can repeat across large surfaces without visible borders.
You can download PNG/WEBP versions and use 1K, 2K, 4K and 8K download options when available on the page.
Yes. The download options and engine-mapped ZIP workflow are designed for Blender, Unreal Engine, Unity Standard, URP and HDRP material pipelines.
Yes. The texture is available under the AITextured free commercial license. Review the license page for redistribution and AI-training restrictions.


Generate, preview, and export seamless PBR materials for Blender, Unity, and Unreal Engine—directly in your browser.
AI text-to-texture: type a prompt and get a seamless, tileable base image ready for PBR workflows (great starting point for materials).
Create a full PBR set (Normal, Roughness, AO, Metallic, etc.) from a single image. Seamless and tiling-friendly.
Instant WebGL viewer: inspect materials on a sphere, plane, and cube. Check tiling and lighting in real time.
Re-packages maps per engine: Unreal (BaseColor + ORM), Unity (Mask/MetallicSmoothness), Blender (separate channels).
PNG ↔ JPG ↔ SVG: fast convert, SVG rasterize, embed/trace options, quality & background controls.