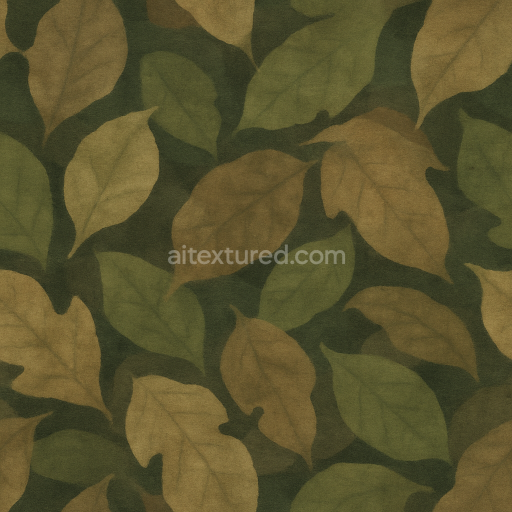
Jungle Camouflage Leaf Litter Fabric
Seamless texture (tileable) · PNG, WEBP, PBR ZIP. License: AITextured Free Commercial License (FCL) v1.1. Free personal and commercial use. Raw resale, standalone redistribution, mirroring/scraping, competing asset packs, and AI/ML training are not allowed without written permission. Attribution is not required, but appreciated..

| ID | seamless-3d-texture-pbr-8k-dry-grass-splinter-pattern-camouflage-fabric |
|---|---|
| Category | Color Camouflage |
| Formats | PNG, WEBP, PBR ZIP |
| Size | 1k (1024x1024px), 2k (2048x2048px), 4k (4096x4096px), 8k (8192x8192px) |
| Color | sRGB |
| Tileable | Yes |
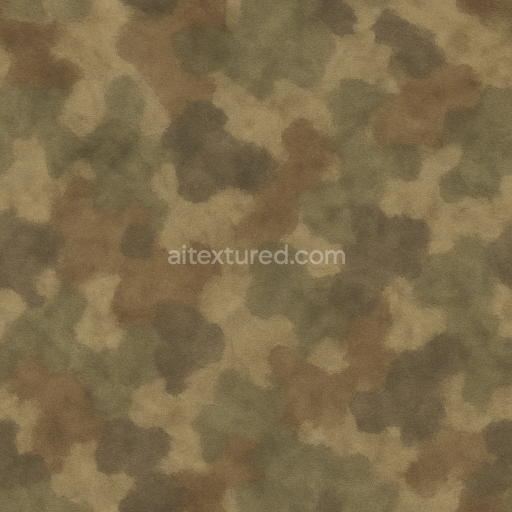
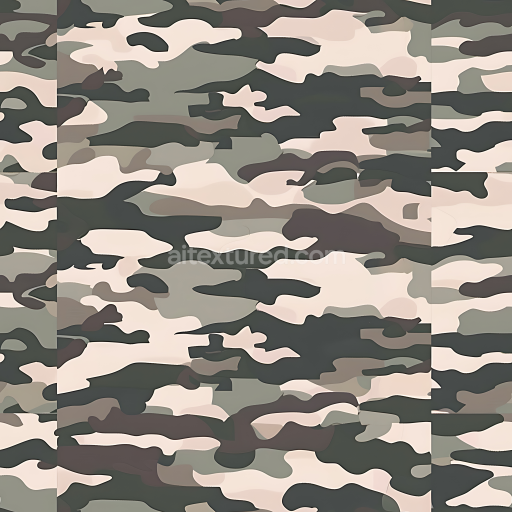
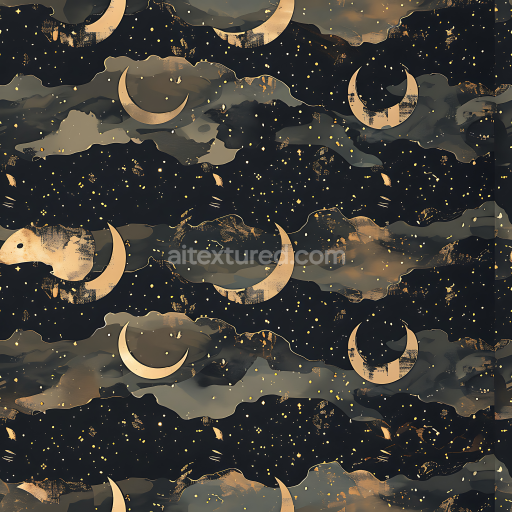
This seamless 3D texture showcases a meticulously crafted dry grass splinter camouflage pattern rendered in ultra-high 8K resolution designed to simulate the complex interplay of natural elements on a canvas fiber fabric base. The substrate mimics organic woven fibers typical of durable canvas composed of tightly interlaced natural polymers that provide a subtle roughness and tactile depth. This base is enhanced with carefully applied binders and pigments that replicate faded earth-toned colors characteristic of weathered dry grass environments. The splinter camo pattern features sharp angular disruptions achieved through precise grain orientation and layered overlays which blend naturally with outdoor surroundings while maintaining a visually compelling fabric surface. The surface finish emulates slight abrasions and natural wear contributing to a realistic portrayal of aged and exposed textile with porosity subtly captured through micro-variations in fiber thickness and color saturation.
In the physically based rendering (PBR) workflow this texture excels by offering detailed channel data that accurately represents its material properties. The BaseColor (Albedo) map delivers muted sun-bleached tones with nuanced color shifts reflecting the faded pigments embedded within the canvas fibers. The Normal map captures the fine-grained texture of the rough canvas weave and the raised splinter camo pattern giving the surface a convincing three-dimensional feel in lighting simulations. Roughness values vary across the fabric with worn areas showing increased matte diffusion to simulate weathered fibers while less exposed regions maintain subtle sheen. The Metallic channel remains minimal to none consistent with the organic non-metallic nature of the fabric. Ambient Occlusion enhances the depth perception by accentuating fiber intersections and pattern crevices while the Height/Displacement map allows for realistic surface relief emphasizing the tactile interplay between canvas weave and splinter camo elements.
This photorealistic PBR texture is fully optimized and ready for seamless integration into modern 3D workflows including Unreal Engine Blender and Unity supporting detailed environment assets and outdoor gear visualization. Its continuous tileable design ensures no visible seams making it ideal for large-scale applications such as terrain covers camouflage clothing and prop surfaces requiring authentic natural blending. For best results adjusting the UV scale to match real-world fabric densities helps maintain the intricate detail of the splinter pattern without pixelation. Additionally fine-tuning the roughness channel can simulate varying degrees of fabric wear and environmental exposure enhancing realism in different lighting conditions.
Import the texture maps into Blender with sRGB color space for albedo/base color and Non-Color for normal, roughness, metallic, AO, height, and ORM maps. Connect normal maps through a Normal Map node, then adjust UV scale with a Mapping node so the material repeats naturally on your model.
For the full step-by-step setup, see How to Use Seamless Textures in Blender. Browse related material examples in wood, concrete, and metal.
Yes. This texture is designed as a seamless tileable PBR material, so it can repeat across large surfaces without visible borders.
You can download PNG/WEBP versions and use 1K, 2K, 4K and 8K download options when available on the page.
Yes. The download options and engine-mapped ZIP workflow are designed for Blender, Unreal Engine, Unity Standard, URP and HDRP material pipelines.
Yes. The texture is available under the AITextured free commercial license. Review the license page for redistribution and AI-training restrictions.


Generate, preview, and export seamless PBR materials for Blender, Unity, and Unreal Engine—directly in your browser.
AI text-to-texture: type a prompt and get a seamless, tileable base image ready for PBR workflows (great starting point for materials).
Create a full PBR set (Normal, Roughness, AO, Metallic, etc.) from a single image. Seamless and tiling-friendly.
Instant WebGL viewer: inspect materials on a sphere, plane, and cube. Check tiling and lighting in real time.
Re-packages maps per engine: Unreal (BaseColor + ORM), Unity (Mask/MetallicSmoothness), Blender (separate channels).
PNG ↔ JPG ↔ SVG: fast convert, SVG rasterize, embed/trace options, quality & background controls.