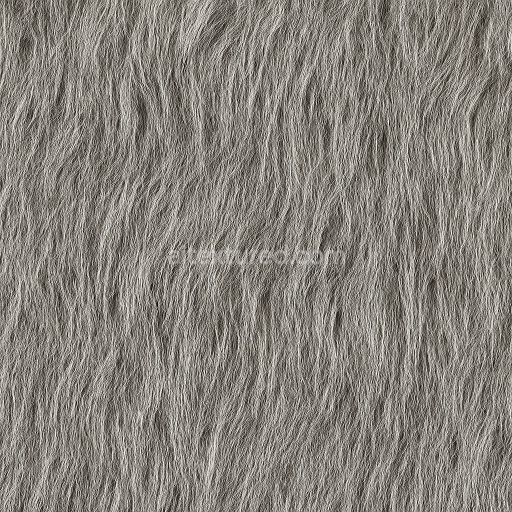
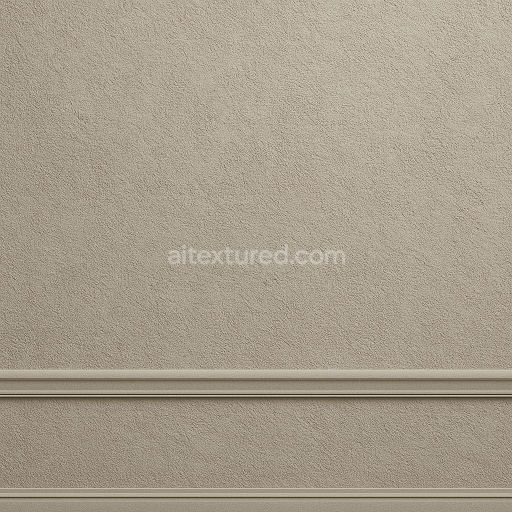
AI-Generated Seamless PBR Texture — Create an ultra-photorealistic, seamless PBR texture of the sandstone-like foundati…
. Formats: WEBP, PNG . Free for personal & commercial use.

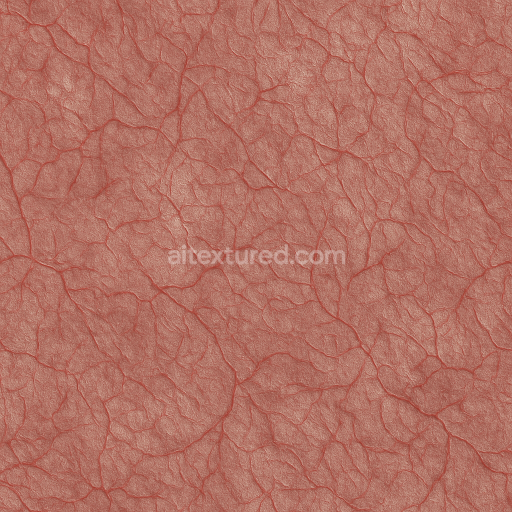
| ID | ai-generated-seamless-pbr-texture-realistic-human-eye-texture-map-for-3d-model-front-view-small-viol-10176 |
|---|---|
| Generated textures | |
| WEBP, PNG | |
| Size | 1k (1024x1024px), 2k (2048x2048px), 4k (4096x4096px), 8k (8192x8192px) |
| sRGB | |
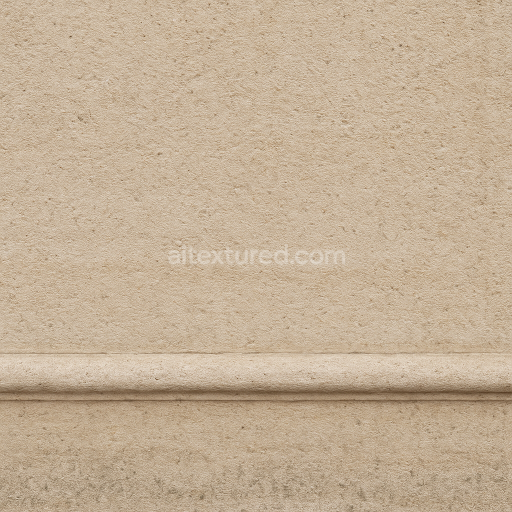
This AI-generated seamless PBR texture represents a highly realistic human eye texture map designed specifically for 3D models viewed from the front. The material composition mimics organic ocular tissue with a base substrate resembling the soft fibrous structure of the sclera and iris. The large white sclera exhibits a subtle pink tint indicative of delicate blood vessel networks rendered as visible red veins that form a circular ring close around the violet iris’s edge—without touching the texture borders to ensure seamless tiling. The small violet iris contains intricate pigment layers and fine radial fibers while the pupil is compact and sharply defined. These organic colorants and vein structures contribute to the natural variation seen in the BaseColor/Albedo channel delivering a neutral color balance that avoids oversaturation and enhances realism.
The texture’s surface finish is flat and smooth emulating the natural moisture and slight glossiness of a real human eye. This is accurately captured through the Roughness channel which controls micro-roughness behavior to reflect light subtly but consistently. The Normal map encodes fine details such as the raised iris fibers and the delicate veins on the sclera adding depth without harsh bumps. There is no metallic component so the Metallic channel remains neutral keeping the organic non-reflective character intact. Ambient Occlusion enhances shadowing around vein intersections and the iris perimeter for added depth while the Height/Displacement map provides subtle relief that supports parallax effects when used in real-time engines or offline renderers.
Optimized for resolutions ranging from 1K up to 8K this tileable texture ensures crisp detail on close inspection making it suitable for high-end workflows in Blender Unreal Engine and Unity. The seamless design guarantees non-repeating patterns across UV maps ideal for archviz environment creation and prop detailing where realism and consistency are paramount. When integrating this texture it is recommended to adjust the UV scale carefully to maintain proportional size of the iris relative to the 3D model’s eye geometry. Additionally fine-tuning the roughness parameter can help balance specular highlights under different lighting conditions enhancing the natural wetness effect without overpowering the subtle organic details.
This guide shows how to connect a full PBR texture set to Principled BSDF in Blender (Cycles or Eevee). Works with any of our seamless textures free download, including PBR PNG materials for Blender / Unreal / Unity.
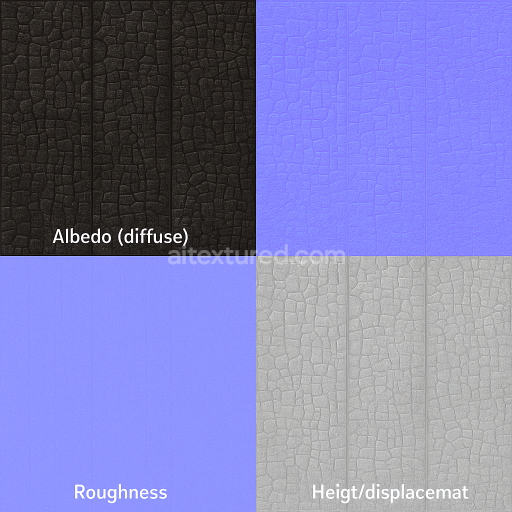
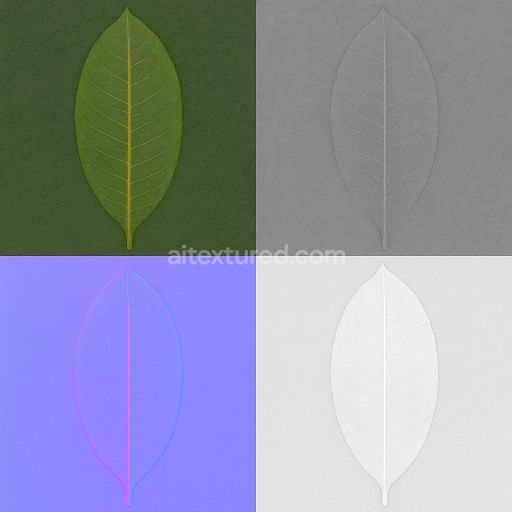
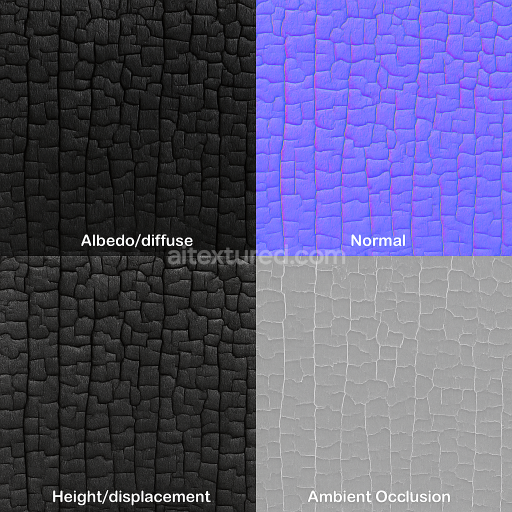
*_albedo.png — Base Color (sRGB)*_normal.png — Normal map (Non-Color)*_roughness.png — Roughness (Non-Color)*_metallic.png — Metallic (Non-Color)*_ao.png — Ambient Occlusion (Non-Color)*_height.png — Height / Displacement (Non-Color)*_ORM.png — Packed map (R=AO, G=Roughness, B=Metallic, Non-Color)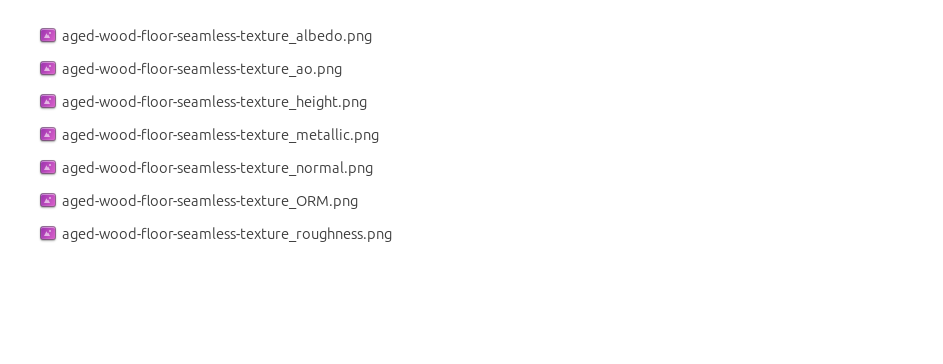
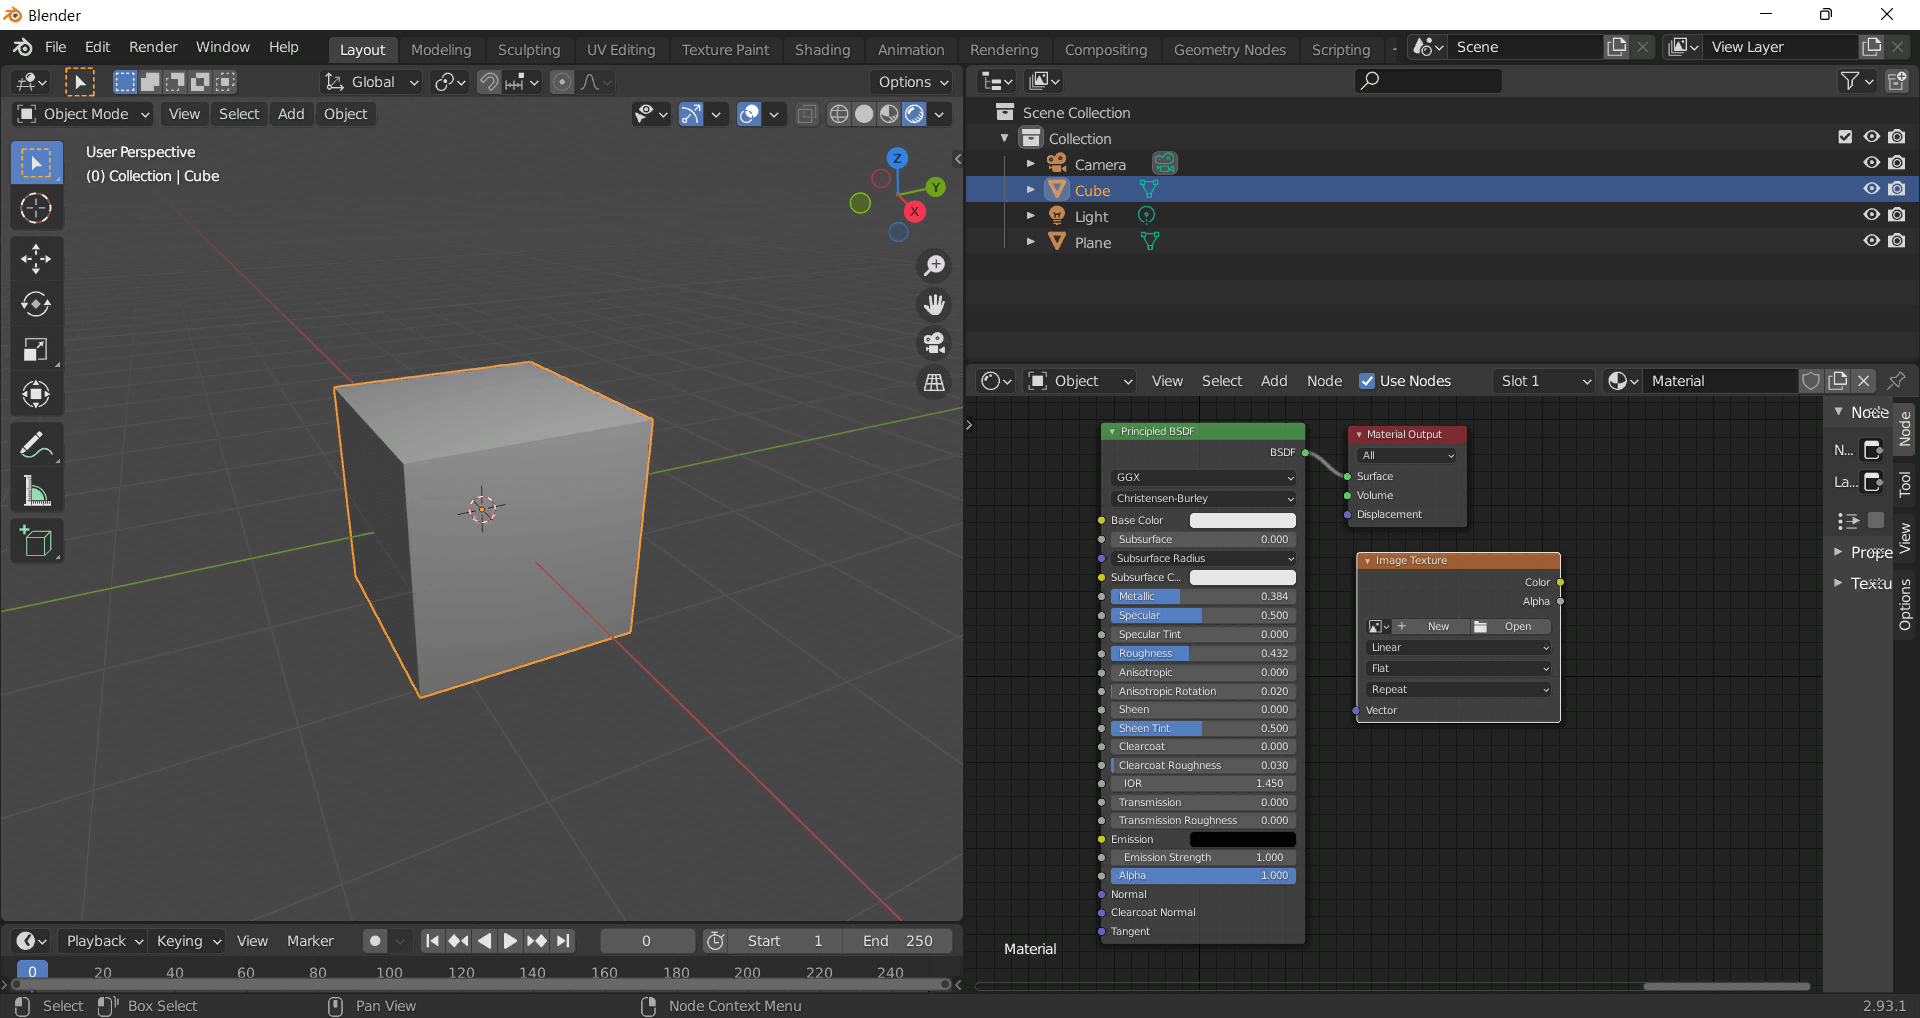
albedo → Base Colorroughness → Roughnessmetallic → Metallic (for wood this often stays near 0)normal → Normal Map node (Type: Tangent Space) → Normal of Principled.
If details look “inverted”, enable Invert Y on the Normal Map node.albedo, Input B = ao, Factor = 1.0.height → Height, set Midlevel = 0.5, Scale = 0.02–0.08 (tune to taste).height → Height.ORM texture (optional)Instead of separate AO/Roughness/Metallic maps you can use the single *_ORM.png:
Example: Download Wood Textures and instantly apply parquet or rustic planks inside Blender for architectural visualization.
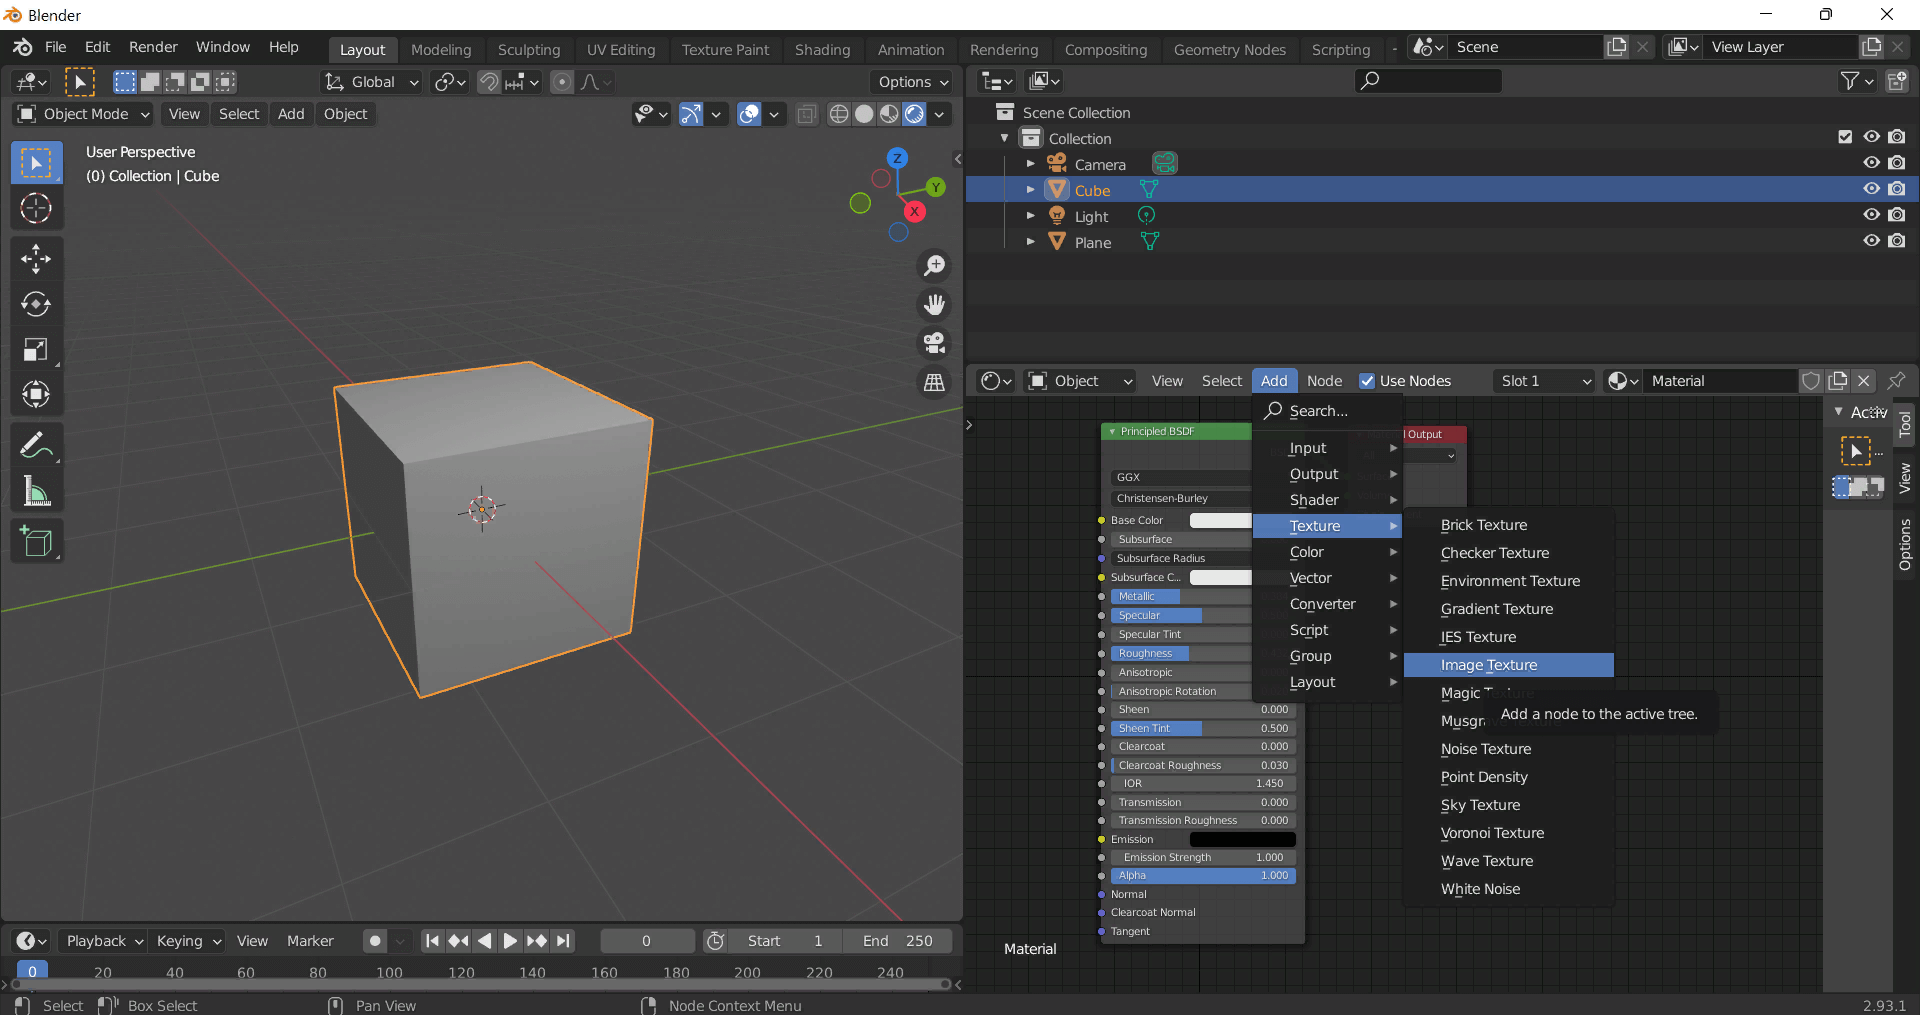
To add the downloaded texture, go to Add — Texture — Image Texture.


Build, preview, and export seamless PBR materials. Generate full map sets from a single image, inspect them in a real-time WebGL viewer, and re-package maps for Unreal, Unity, and Blender—directly in your browser.
AI text-to-texture: type a prompt and get a seamless, tileable base image ready for PBR workflows (great starting point for materials).
Create a full PBR set (Normal, Roughness, AO, Metallic, etc.) from a single image. Seamless and tiling-friendly.
Instant WebGL viewer: inspect materials on a sphere, plane, and cube. Check tiling and lighting in real time.
Re-packages maps per engine: Unreal (BaseColor + ORM), Unity (Mask/MetallicSmoothness), Blender (separate channels).
PNG ↔ JPG ↔ SVG: fast convert, SVG rasterize, embed/trace options, quality & background controls.