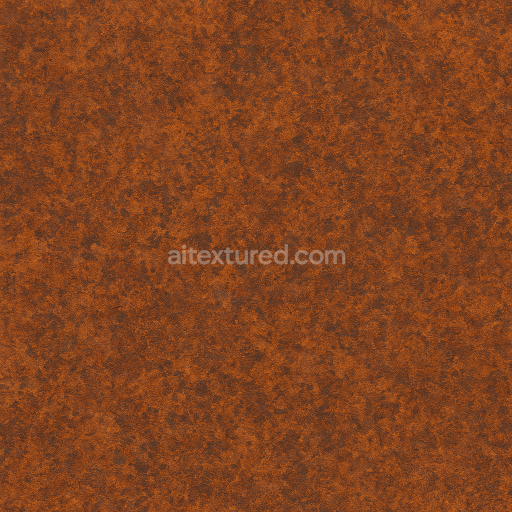
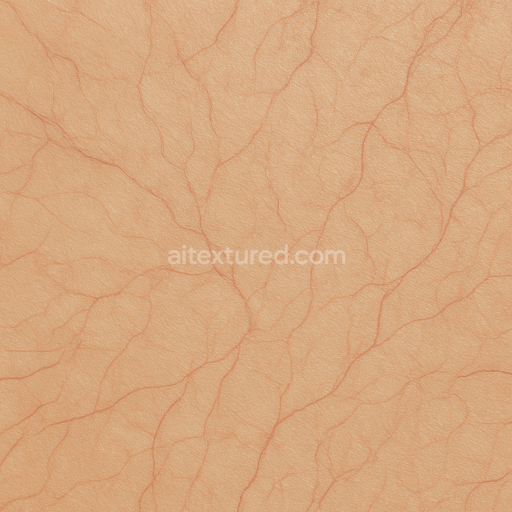
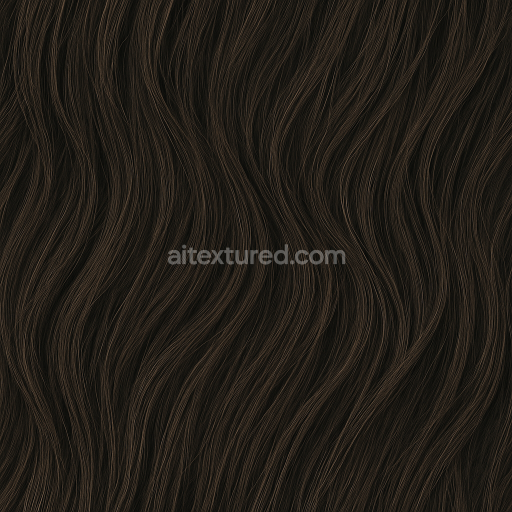
AI-Generated Seamless PBR Texture — dark forged carbon fiber, random small flakes, glossy but slightly rough, seamless
. Formats: WEBP, PNG . Free for personal & commercial use.

| ID | ai-generated-seamless-pbr-texture-realistic-single-human-fingernail-natural-shape-soft-lighting-high-10183 |
|---|---|
| Generated textures | |
| WEBP, PNG | |
| Size | 1k (1024x1024px), 2k (2048x2048px), 4k (4096x4096px), 8k (8192x8192px) |
| sRGB | |
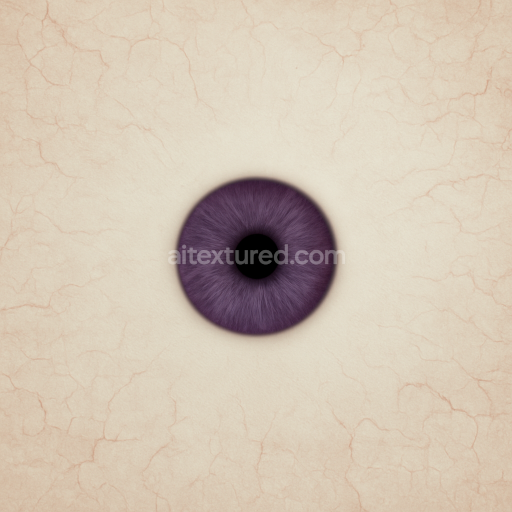
This AI-generated seamless PBR texture features a highly realistic depiction of a single human fingernail meticulously crafted to display natural shape and soft diffused lighting. The texture’s organic base substrate mimics the keratinous composition of a natural nail exhibiting subtle translucency and fine fibrous layering that emulate authentic nail structure. The surface finish is smooth with a soft sheen reflecting the polished yet delicate nature of real nails. Colorants within the texture simulate the natural pigmentation and slight variations in hue found in human nails creating a neutral color balance that avoids artificial saturation. This texture is engineered with clean consistent detail free from visual repetition ensuring a photorealistic look when tiled or viewed up close in complex 3D scenes.
In terms of PBR channels the BaseColor (Albedo) captures the nuanced tonal range of the nail’s surface including natural gradients and subtle color shifts. The Normal map conveys the fine ridges and micro-roughness variations that define the nail’s texture and slight curvature enhancing depth without the need for excessive geometry. Roughness is carefully calibrated to produce a soft semi-glossy finish that realistically responds to lighting conditions while the Metallic channel remains near zero to reflect the organic non-metallic nature of the material. Ambient Occlusion subtly enhances shadowing around the nail’s edges and pores adding realism in both real-time and offline rendering. Height or Displacement maps are included to emphasize the micro-geometry of the nail surface and improve parallax effects for close-up views.
Optimized for high-resolution workflows this texture supports up to 8K detail providing exceptional fidelity for close inspection in Blender Unreal Engine and Unity projects. Its seamless and tileable design ensures flexibility across diverse use cases such as architectural visualization props or detailed environmental assets. When implementing this texture it is recommended to adjust the UV scale thoughtfully to maintain the natural grain and avoid stretching as well as to fine-tune roughness values to suit specific lighting setups and achieve a balanced physically-plausible response. This makes the texture ideal for integration into both real-time game engines and offline rendering pipelines ensuring consistent realistic results across platforms.
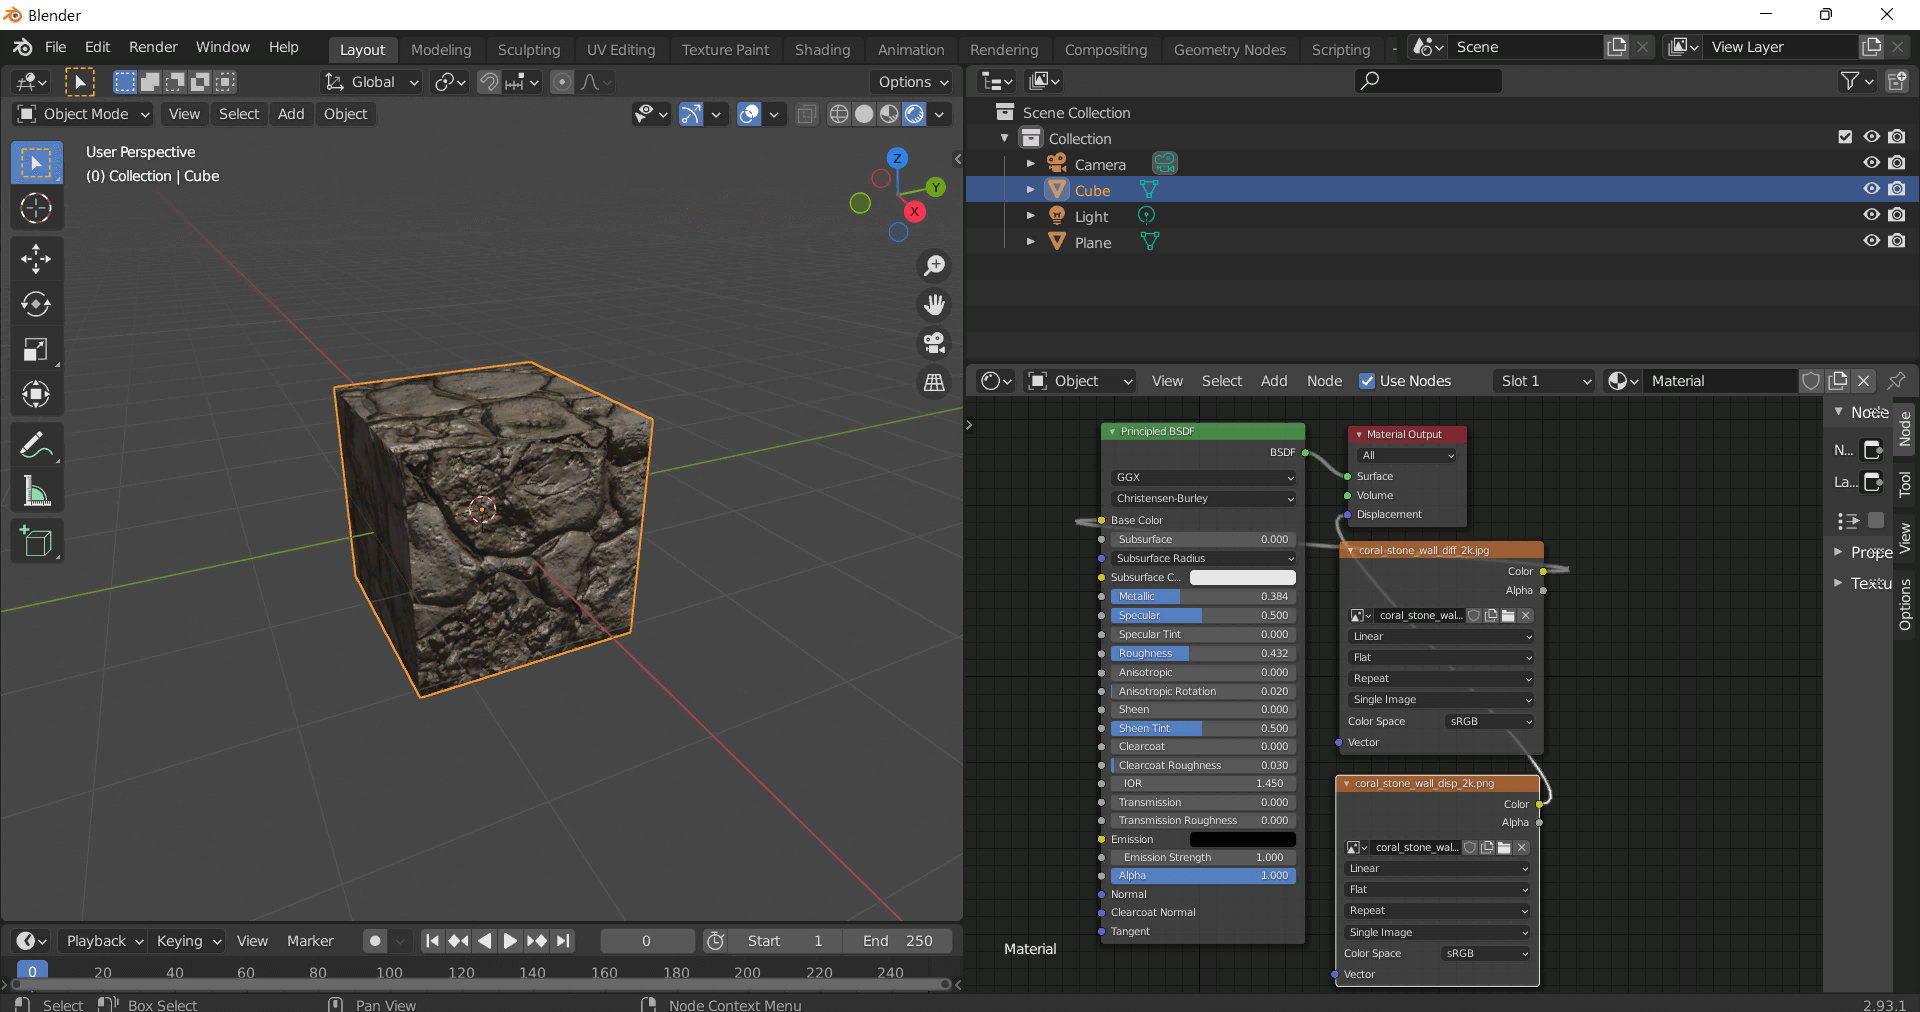
This guide shows how to connect a full PBR texture set to Principled BSDF in Blender (Cycles or Eevee). Works with any of our seamless textures free download, including PBR PNG materials for Blender / Unreal / Unity.
*_albedo.png — Base Color (sRGB)*_normal.png — Normal map (Non-Color)*_roughness.png — Roughness (Non-Color)*_metallic.png — Metallic (Non-Color)*_ao.png — Ambient Occlusion (Non-Color)*_height.png — Height / Displacement (Non-Color)*_ORM.png — Packed map (R=AO, G=Roughness, B=Metallic, Non-Color)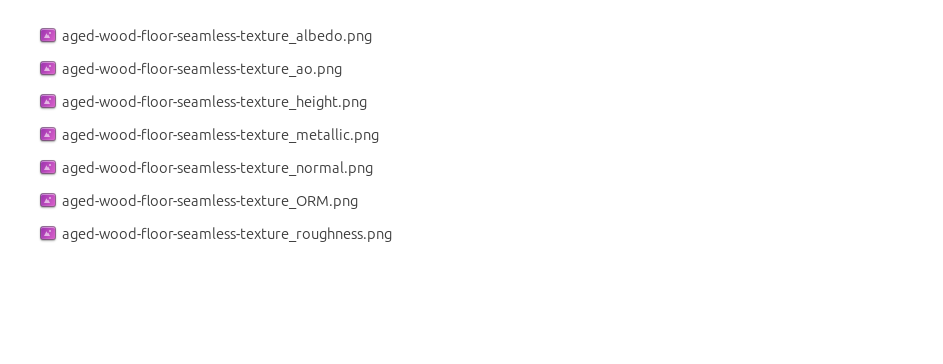
albedo → Base Colorroughness → Roughnessmetallic → Metallic (for wood this often stays near 0)normal → Normal Map node (Type: Tangent Space) → Normal of Principled.
If details look “inverted”, enable Invert Y on the Normal Map node.albedo, Input B = ao, Factor = 1.0.height → Height, set Midlevel = 0.5, Scale = 0.02–0.08 (tune to taste).height → Height.ORM texture (optional)Instead of separate AO/Roughness/Metallic maps you can use the single *_ORM.png:
Example: Download Wood Textures and instantly apply parquet or rustic planks inside Blender for architectural visualization.
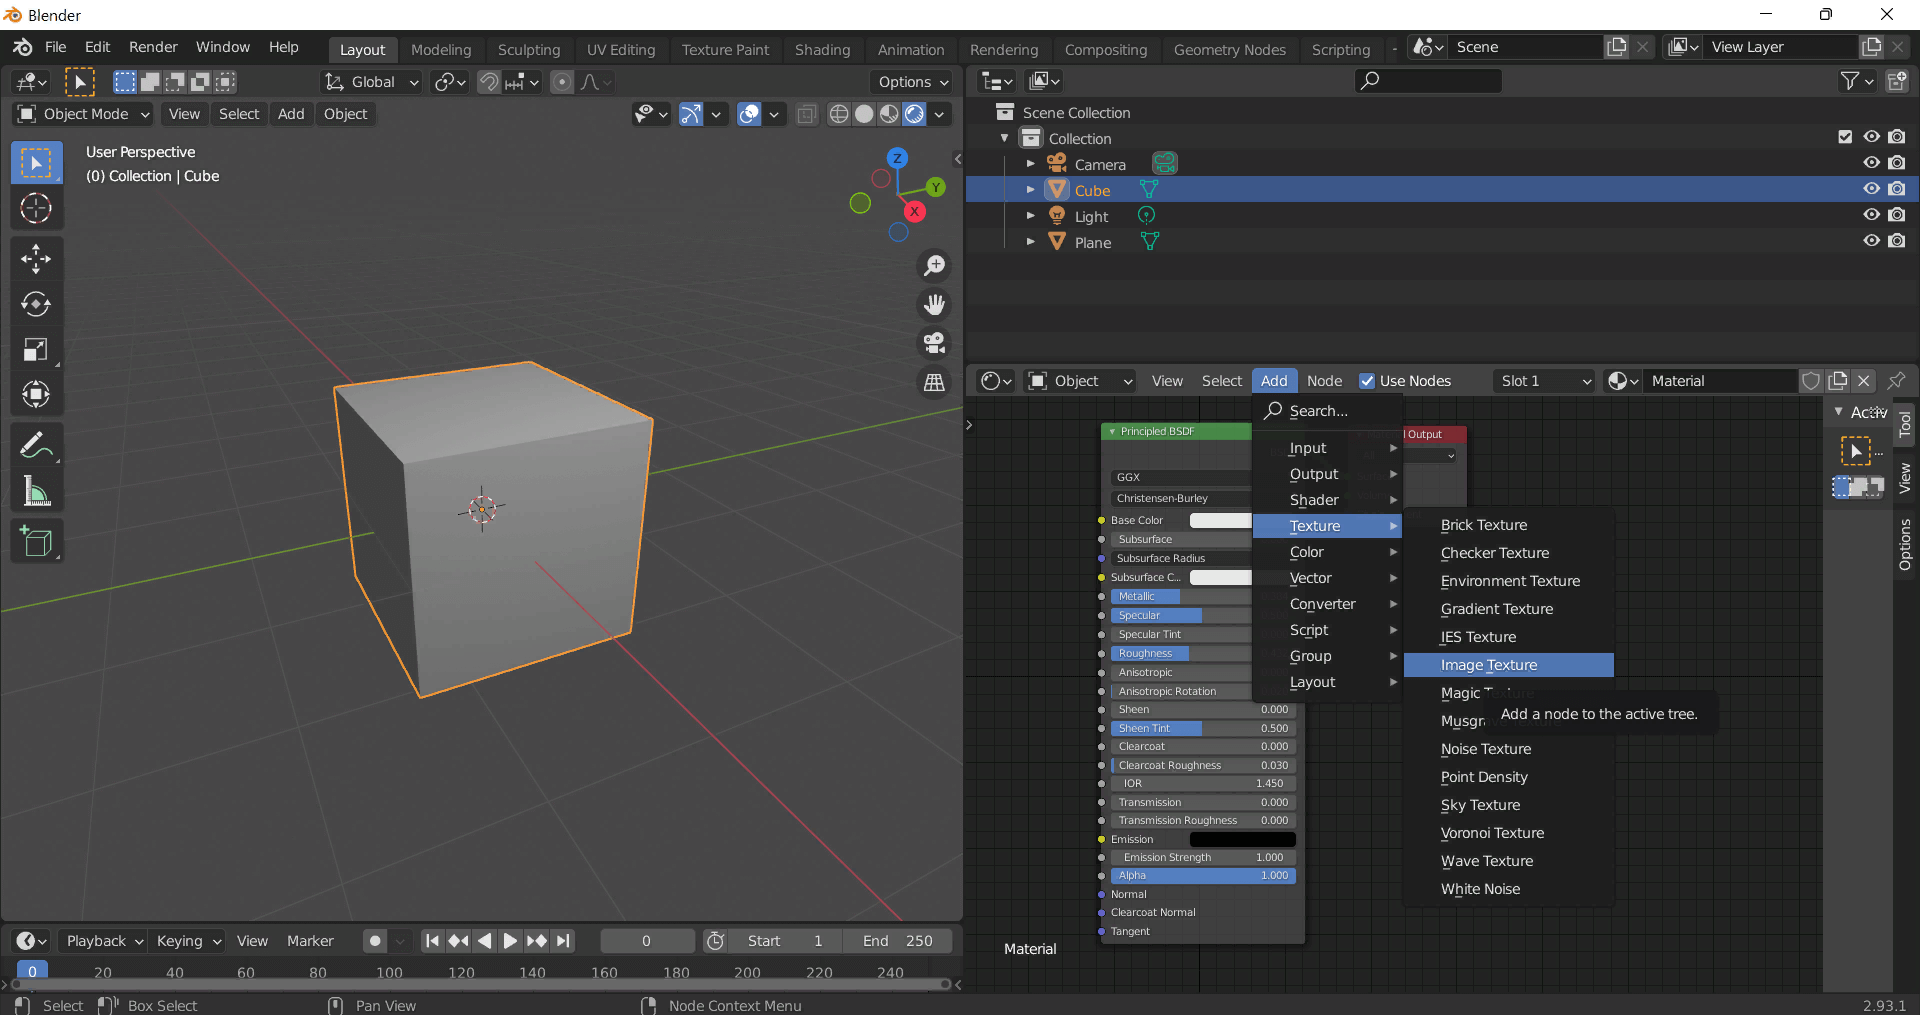
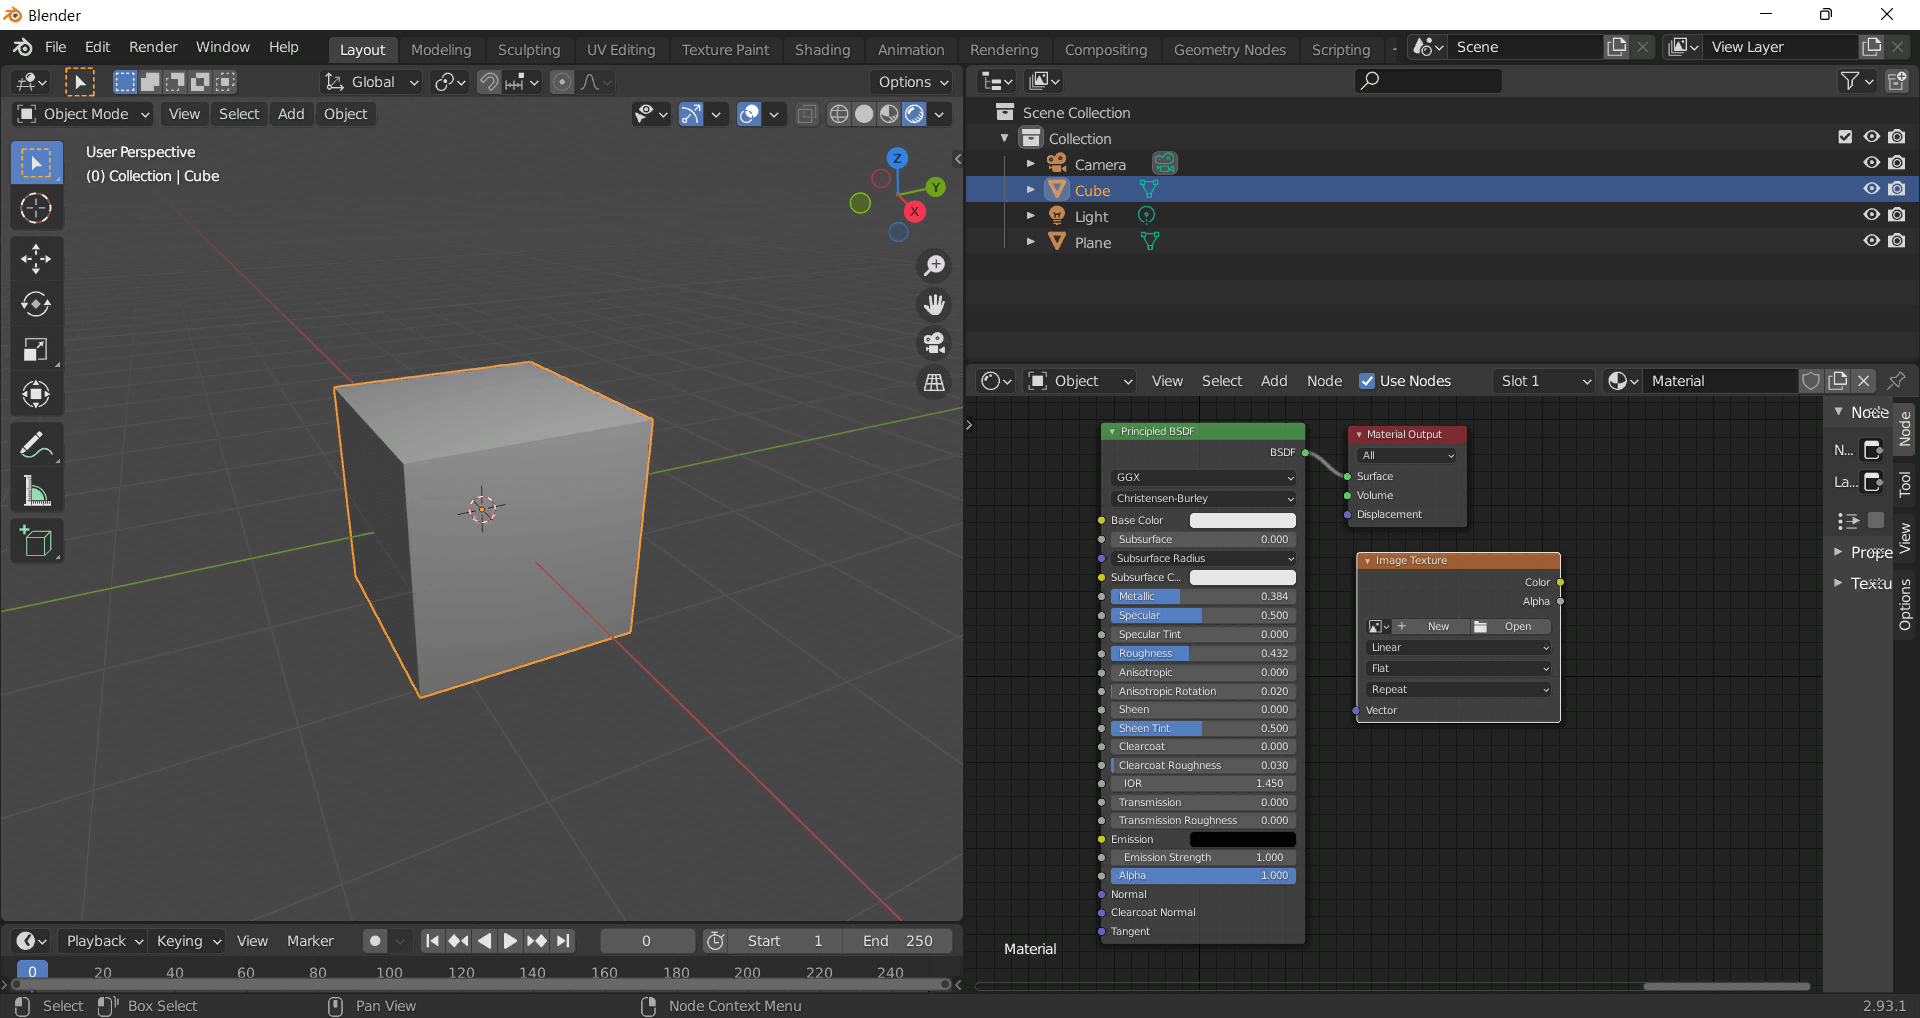
To add the downloaded texture, go to Add — Texture — Image Texture.

![AI-Generated Seamless PBR Texture — Seamless texture for a [Blade Master's chest armor]. Highly polished, reflective [c…](/upload/resize_cache/generated_textures/09b/afjx6z1hn6cc0tvhqinlna5f32v01g28/512_512_2495eab60d0b1a1829c4f985c490bb91c/seamless_texture_for_a_blade_masters_chest_armor_highly_poli.png)

Build, preview, and export seamless PBR materials. Generate full map sets from a single image, inspect them in a real-time WebGL viewer, and re-package maps for Unreal, Unity, and Blender—directly in your browser.
AI text-to-texture: type a prompt and get a seamless, tileable base image ready for PBR workflows (great starting point for materials).
Create a full PBR set (Normal, Roughness, AO, Metallic, etc.) from a single image. Seamless and tiling-friendly.
Instant WebGL viewer: inspect materials on a sphere, plane, and cube. Check tiling and lighting in real time.
Re-packages maps per engine: Unreal (BaseColor + ORM), Unity (Mask/MetallicSmoothness), Blender (separate channels).
PNG ↔ JPG ↔ SVG: fast convert, SVG rasterize, embed/trace options, quality & background controls.