
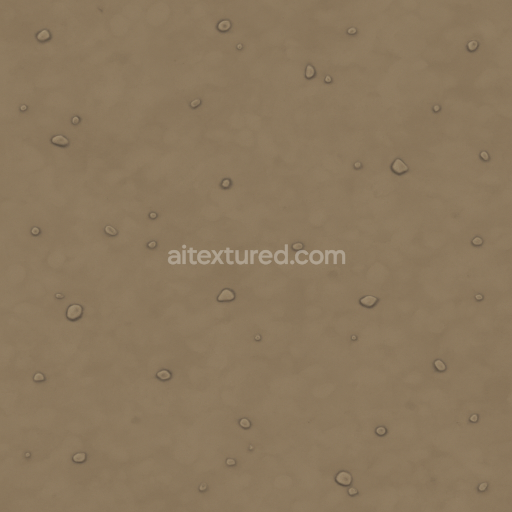
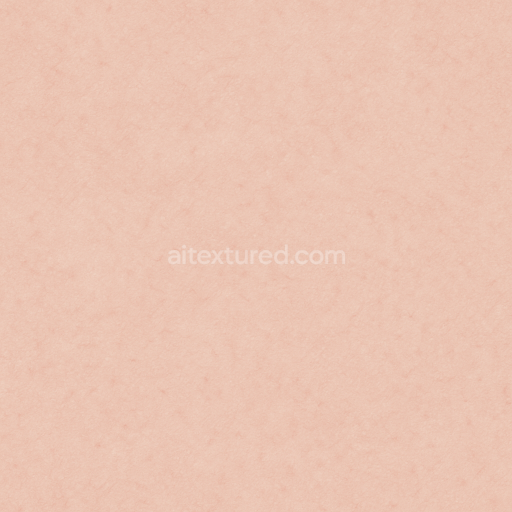
AI-Generated Seamless PBR Texture — neodymium battery texture
. Formats: WEBP, PNG . Free for personal & commercial use.

| ID | ai-generated-seamless-pbr-texture-realistic-male-fingernail-short-natural-shape-slightly-rough-surfa-10185 |
|---|---|
| Generated textures | |
| WEBP, PNG | |
| Size | 1k (1024x1024px), 2k (2048x2048px), 4k (4096x4096px), 8k (8192x8192px) |
| sRGB | |
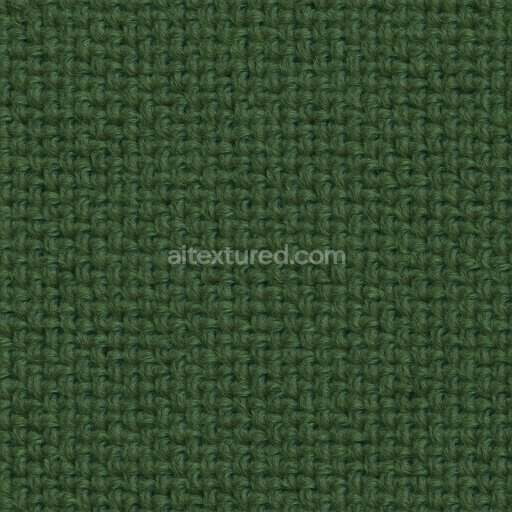
This AI-generated seamless PBR texture presents a highly realistic depiction of a male fingernail characterized by a short natural shape and a slightly rough surface rendered in a medium brown tone suited for tanned or darker skin types. The material composition reflects the organic keratinous substrate typical of fingernails featuring a subtly fibrous microstructure that contributes to the tactile roughness visible in the roughness channel. The base color (Albedo) channel captures the nuanced pigmentation—mid-tone brown with gentle tonal variations—while the Normal map expertly conveys the fine ridges and natural imperfections along the nail surface enhancing photorealism. The Metallic channel remains minimal consistent with organic material properties while the Roughness map accurately simulates the semi-matte finish balancing light diffusion and subtle specular highlights. Ambient Occlusion enhances depth perception around natural curvatures and edges and the Height/Displacement map supports realistic surface relief for advanced rendering techniques.
This texture is optimized for high-fidelity workflows available up to 8K resolution ensuring exceptional detail and crispness when used in real-time engines like Unreal Engine and Unity or offline renderers such as Blender’s Cycles and Eevee. The seamless tileable design with an isolated transparent background allows for flexible integration without visible repetition or border artifacts making it ideal for detailed environment assets props or architectural visualizations requiring close-up realism. Its neutral color balance and physically plausible micro-roughness response ensure consistent behavior across varied lighting scenarios supporting accurate subsurface scattering and reflection effects inherent to natural keratin surfaces.
For best results it is recommended to adjust the UV scale to match the typical dimensions of a fingernail within your scene ensuring that the fine grain and subtle roughness details remain visually coherent. Slight tuning of the roughness parameter can enhance the balance between glossiness and matte finish depending on the lighting environment while careful use of the height map can add convincing parallax effects for close-up camera angles further enriching the tactile realism of the material. This texture is a versatile resource ready to seamlessly integrate into diverse 3D pipelines and elevate the authenticity of male character models or anatomical studies.
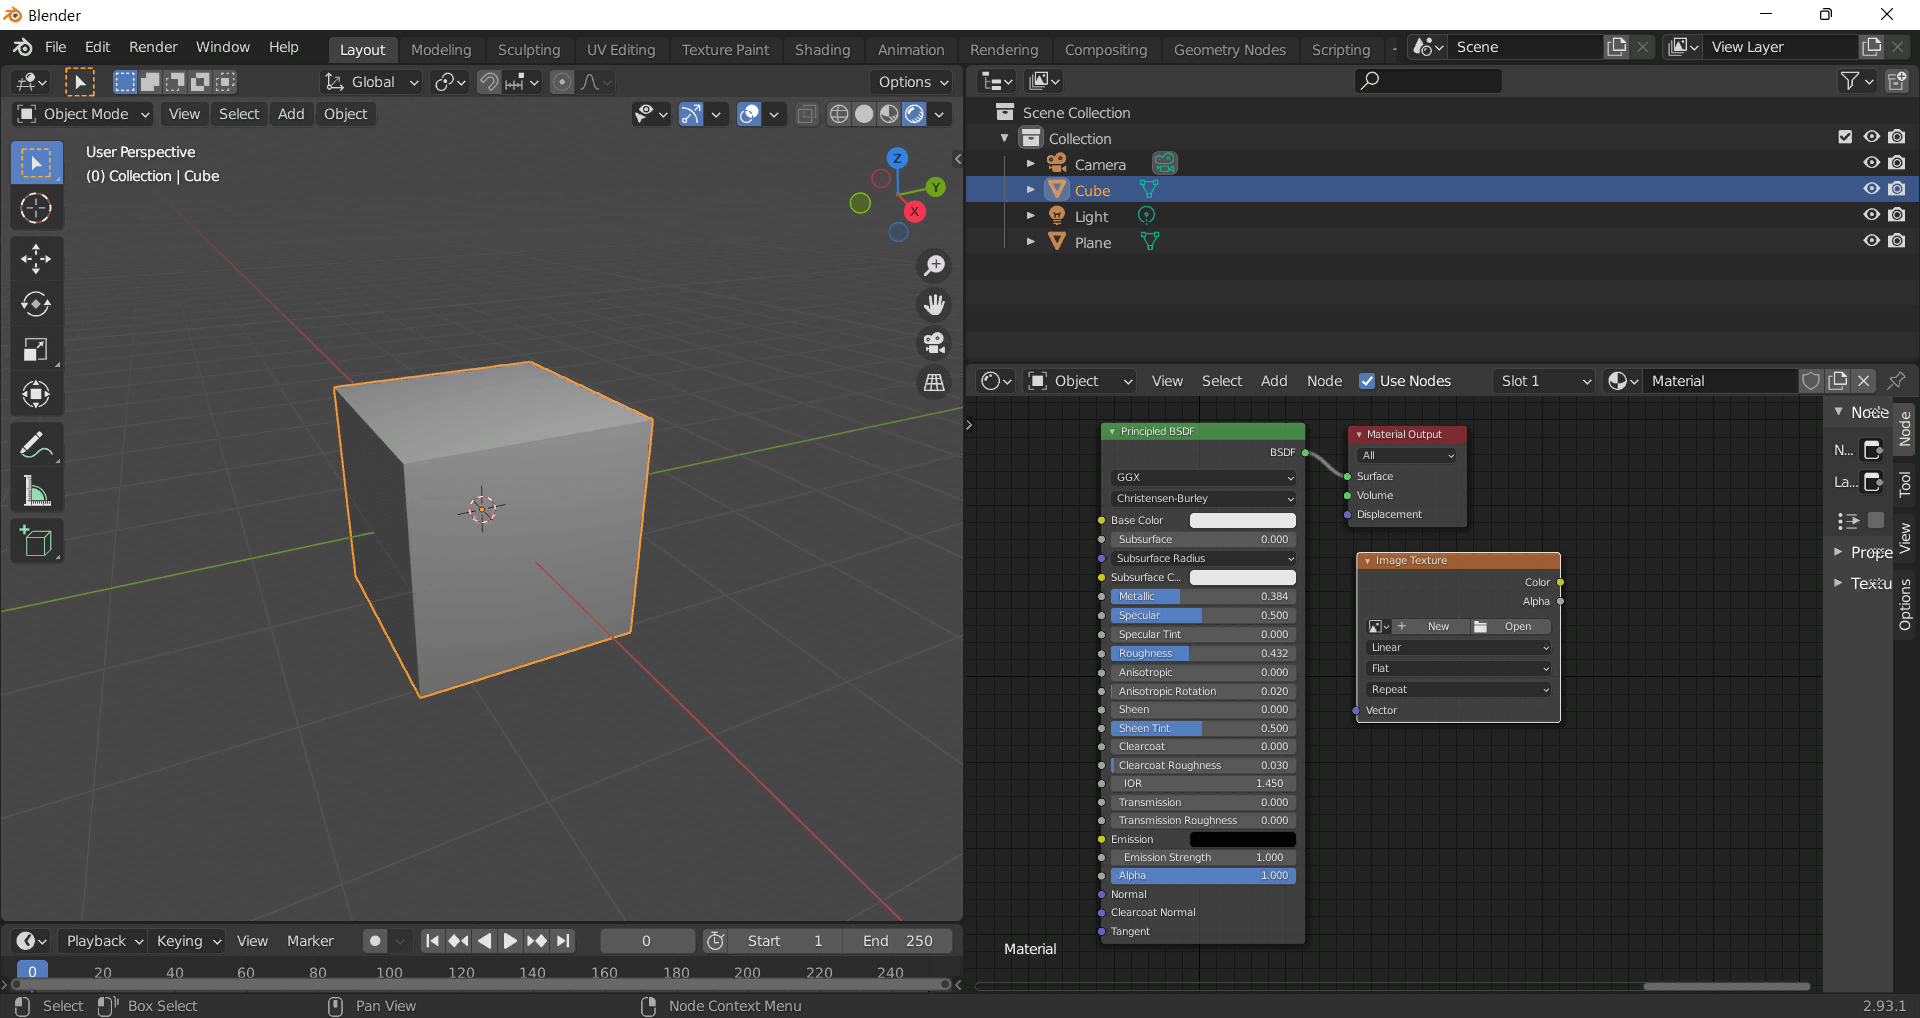
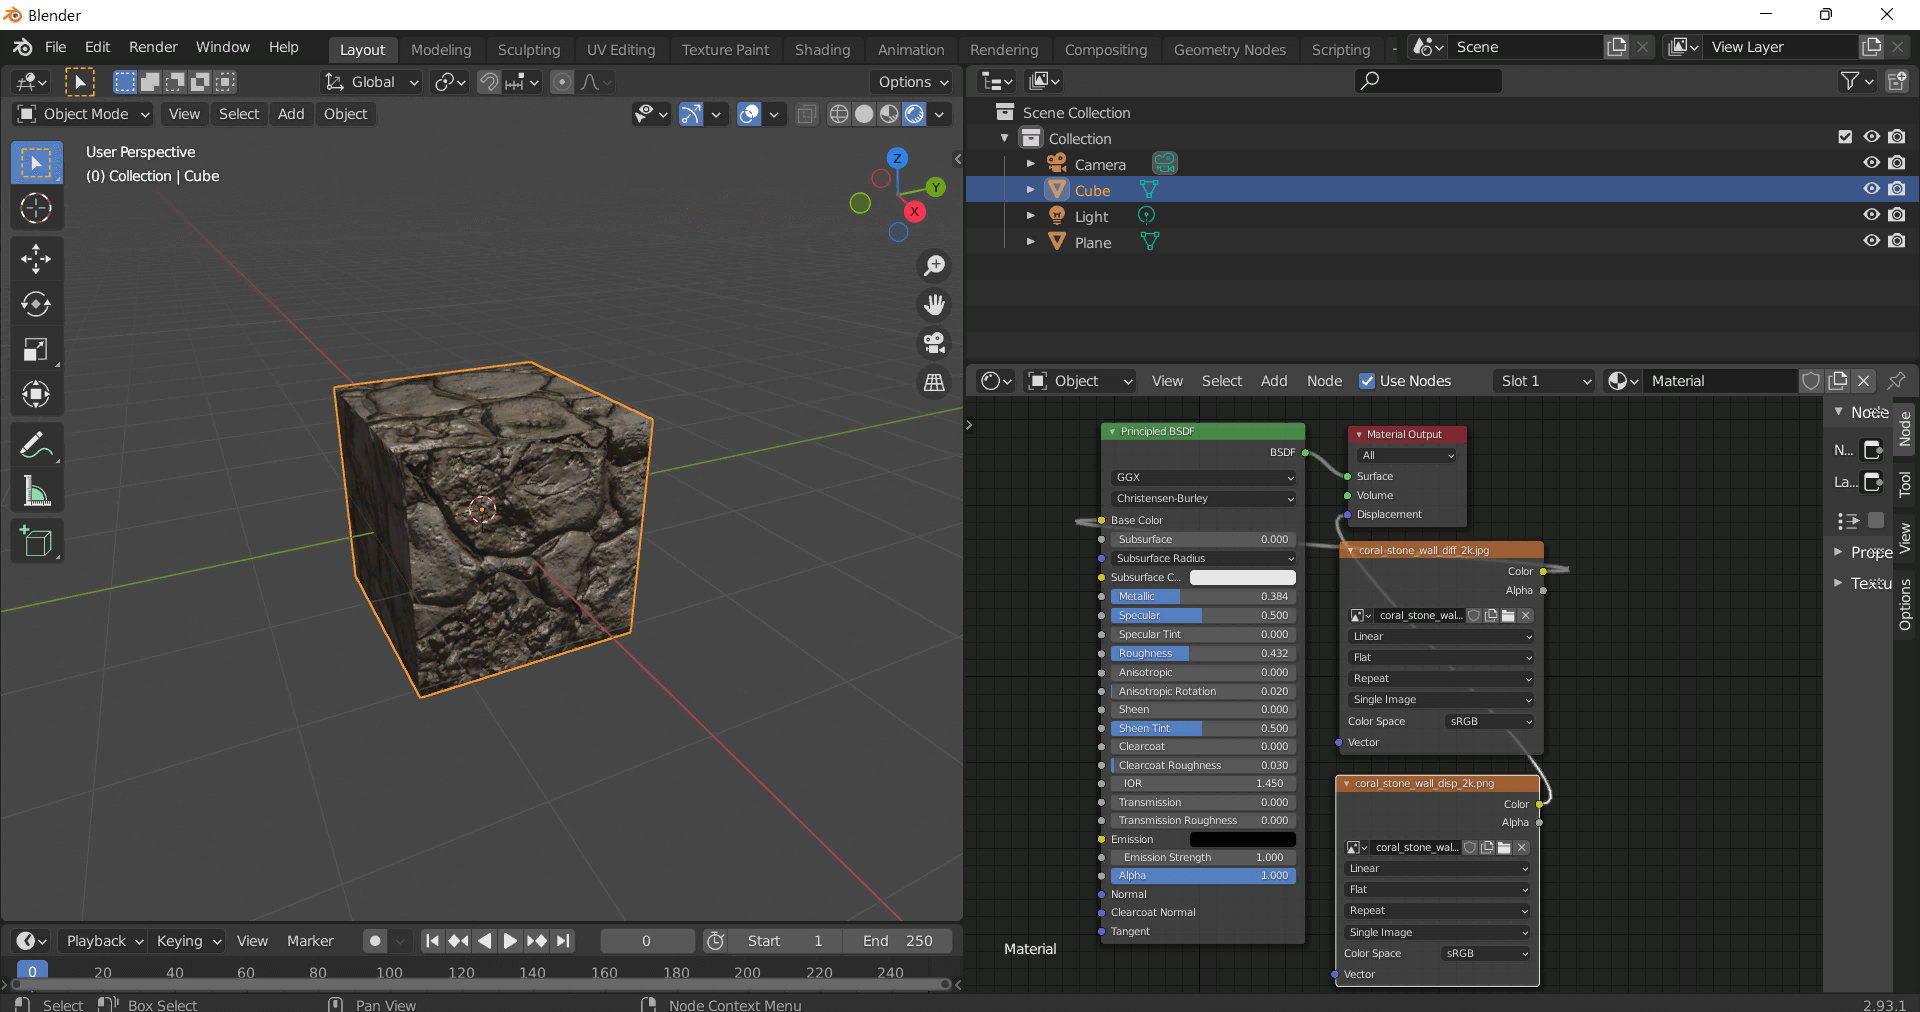
This guide shows how to connect a full PBR texture set to Principled BSDF in Blender (Cycles or Eevee). Works with any of our seamless textures free download, including PBR PNG materials for Blender / Unreal / Unity.
*_albedo.png — Base Color (sRGB)*_normal.png — Normal map (Non-Color)*_roughness.png — Roughness (Non-Color)*_metallic.png — Metallic (Non-Color)*_ao.png — Ambient Occlusion (Non-Color)*_height.png — Height / Displacement (Non-Color)*_ORM.png — Packed map (R=AO, G=Roughness, B=Metallic, Non-Color)
albedo → Base Colorroughness → Roughnessmetallic → Metallic (for wood this often stays near 0)normal → Normal Map node (Type: Tangent Space) → Normal of Principled.
If details look “inverted”, enable Invert Y on the Normal Map node.albedo, Input B = ao, Factor = 1.0.height → Height, set Midlevel = 0.5, Scale = 0.02–0.08 (tune to taste).height → Height.ORM texture (optional)Instead of separate AO/Roughness/Metallic maps you can use the single *_ORM.png:
Example: Download Wood Textures and instantly apply parquet or rustic planks inside Blender for architectural visualization.
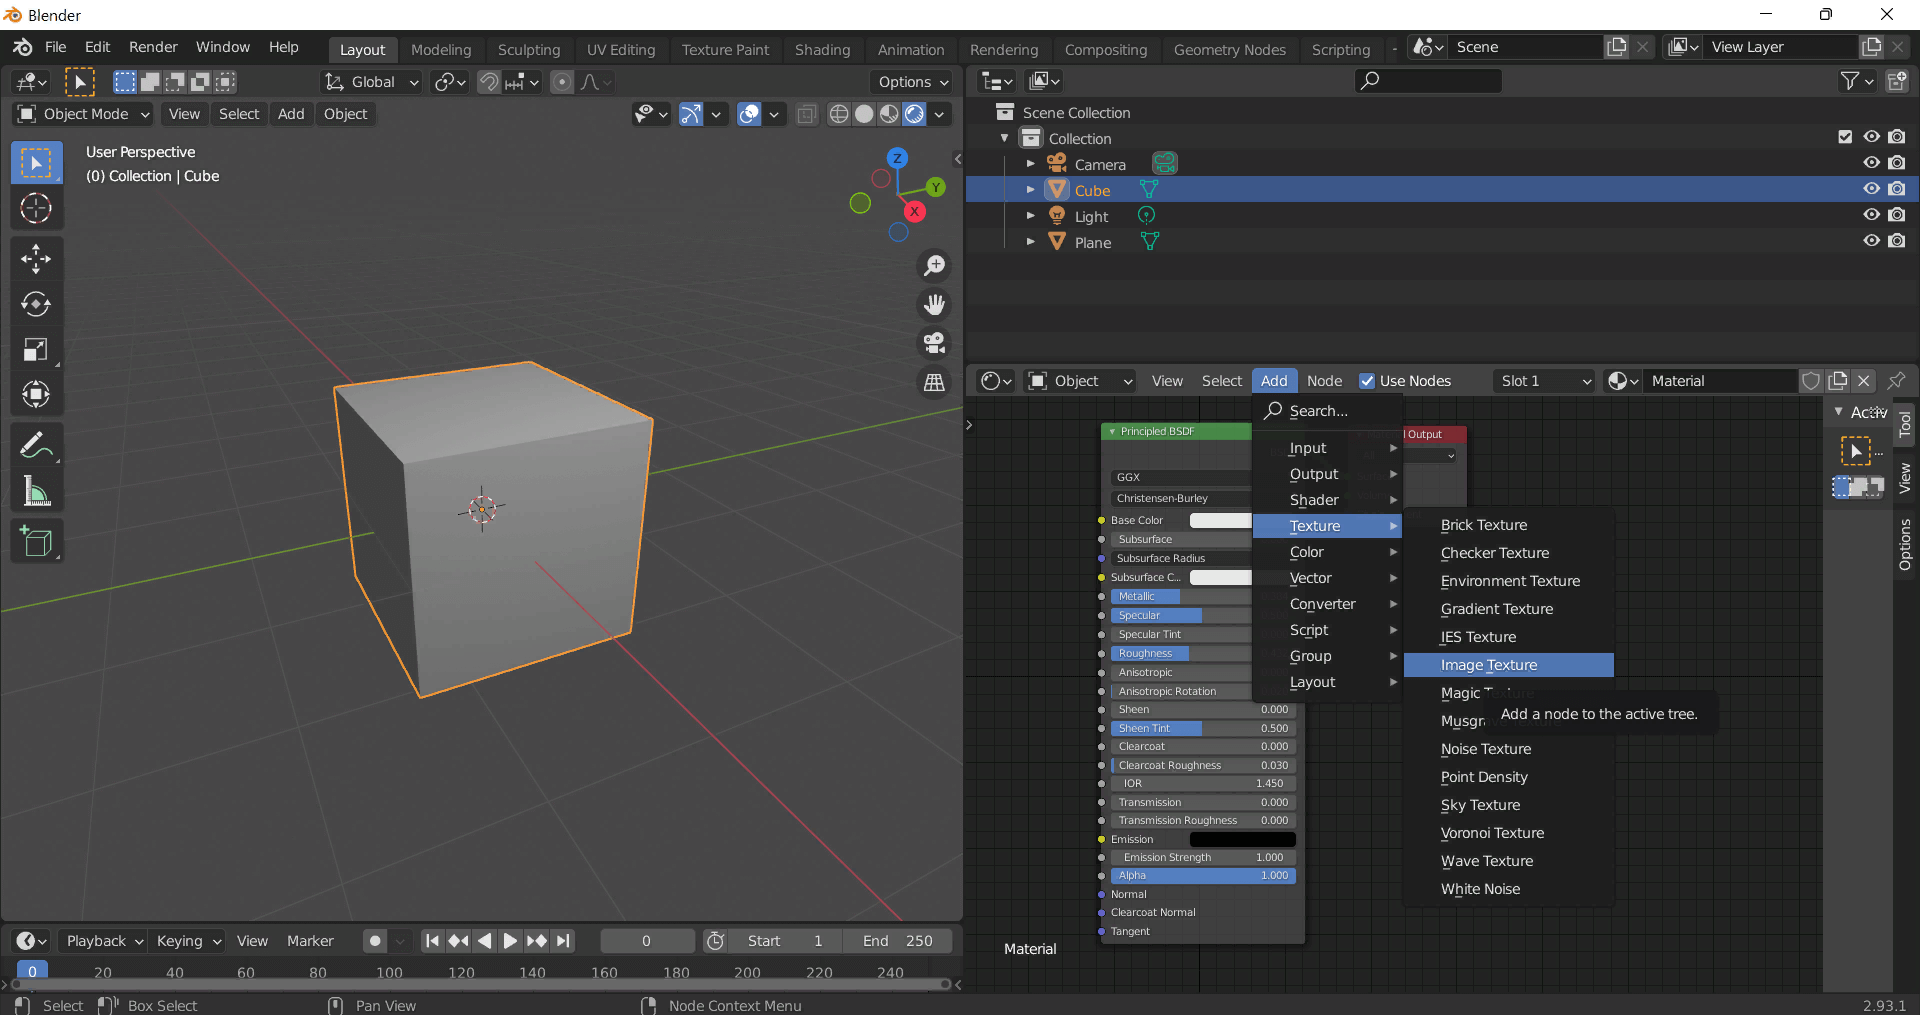
To add the downloaded texture, go to Add — Texture — Image Texture.

Build, preview, and export seamless PBR materials. Generate full map sets from a single image, inspect them in a real-time WebGL viewer, and re-package maps for Unreal, Unity, and Blender—directly in your browser.
AI text-to-texture: type a prompt and get a seamless, tileable base image ready for PBR workflows (great starting point for materials).
Create a full PBR set (Normal, Roughness, AO, Metallic, etc.) from a single image. Seamless and tiling-friendly.
Instant WebGL viewer: inspect materials on a sphere, plane, and cube. Check tiling and lighting in real time.
Re-packages maps per engine: Unreal (BaseColor + ORM), Unity (Mask/MetallicSmoothness), Blender (separate channels).
PNG ↔ JPG ↔ SVG: fast convert, SVG rasterize, embed/trace options, quality & background controls.