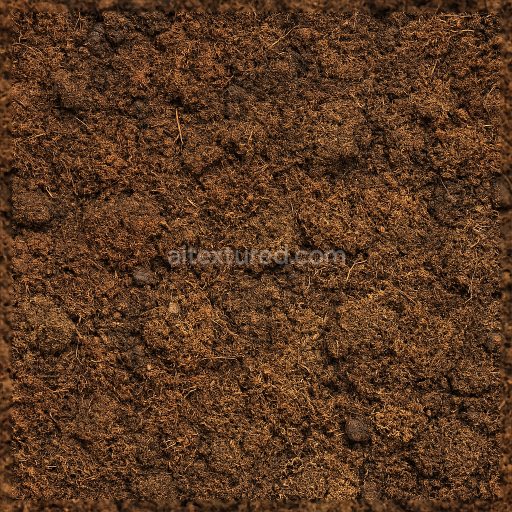
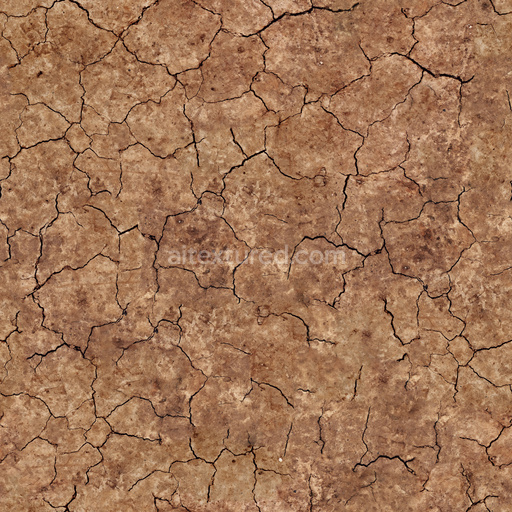
High-Quality Seamless Dirt PBR Texture
. Formats: PNG . Free for personal & commercial use.

| ID | archviz-dirt-fossils-ground-sandstone-substance-designer |
|---|---|
| Ground surface | |
| PNG | |
| Size | 1k (1024x1024px), 2k (2048x2048px), 4k (4096x4096px), 8k (8192x8192px) |
| sRGB | |
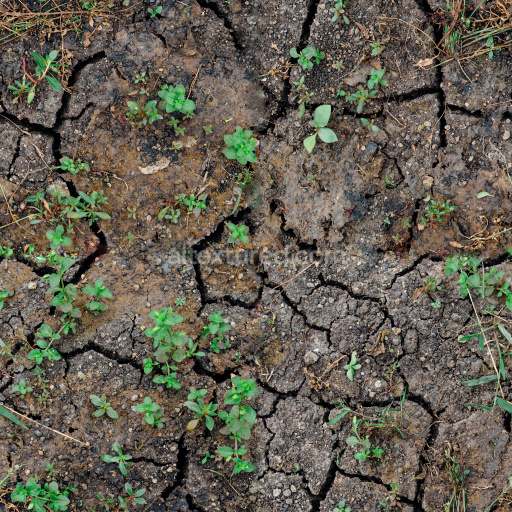
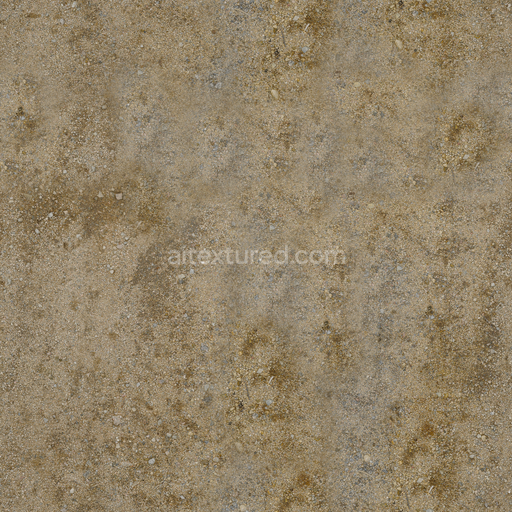
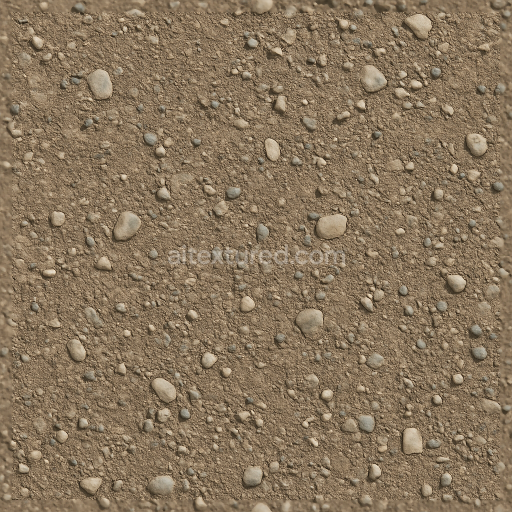
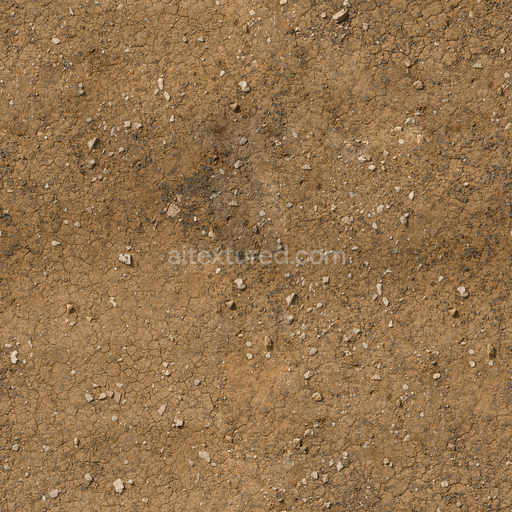
This seamless PBR texture presents a highly detailed and realistic representation of a sandstone ground surface infused with fossilized dirt inclusions expertly crafted using Substance Designer for archviz and environmental visualization projects. The base substrate simulates fine-grained sandstone featuring a natural mineral composition dominated by quartz and feldspar with subtle sediment layering that reflects real geological processes such as deposition and compaction. Embedded within this sandy matrix are fossil fragments and organic remnants that add geological depth and authenticity creating a complex aggregate structure. The surface texture reveals moderate porosity and visible weathering effects illustrating natural erosion and sediment compaction over time. The finish is matte with slight variations in roughness characteristic of exposed sandstone surfaces while soft oxide pigments provide warm earth tones ranging from gentle tans to muted browns that blend seamlessly across the texture.
In terms of physically based rendering workflows this material’s channels have been meticulously composed to ensure realistic visual responses under varying lighting conditions. The BaseColor (Albedo) map captures the nuanced distribution of warm natural hues found in fossilized dirt and sandstone offering subtle variations that prevent flatness. The Normal map encodes fine surface details such as grain orientation and the relief of fossil inclusions enhancing the tactile perception of the texture without additional geometry. Roughness values vary subtly across the surface simulating the different tactile qualities between compact sandstone and softer dirt patches. The Metallic channel remains consistently low reflecting the inherently non-metallic nature of sandstone and organic fossil material. Ambient Occlusion intensifies shadowing around crevices and fossil impressions adding depth and grounding the texture visually while the Height/Displacement map provides accurate elevation data essential for parallax or tessellation effects especially in close-up renders.
Rendered at resolutions up to 8K this texture is fully optimized for use in high-fidelity architectural visualization game engines and both real-time and offline rendering platforms such as Blender Unreal Engine and Unity. Its seamless design allows it to be tiled effortlessly across expansive ground surfaces without visible repetition making it an excellent choice for detailed archviz projects and environmental scenes that demand geological realism. For optimal results adjusting the UV scale is recommended to balance detail density and avoid unnatural patterning while fine-tuning the roughness map can help tailor the surface response to different lighting setups ensuring a convincing interplay between fossilized dirt and sandstone textures across diverse environments.
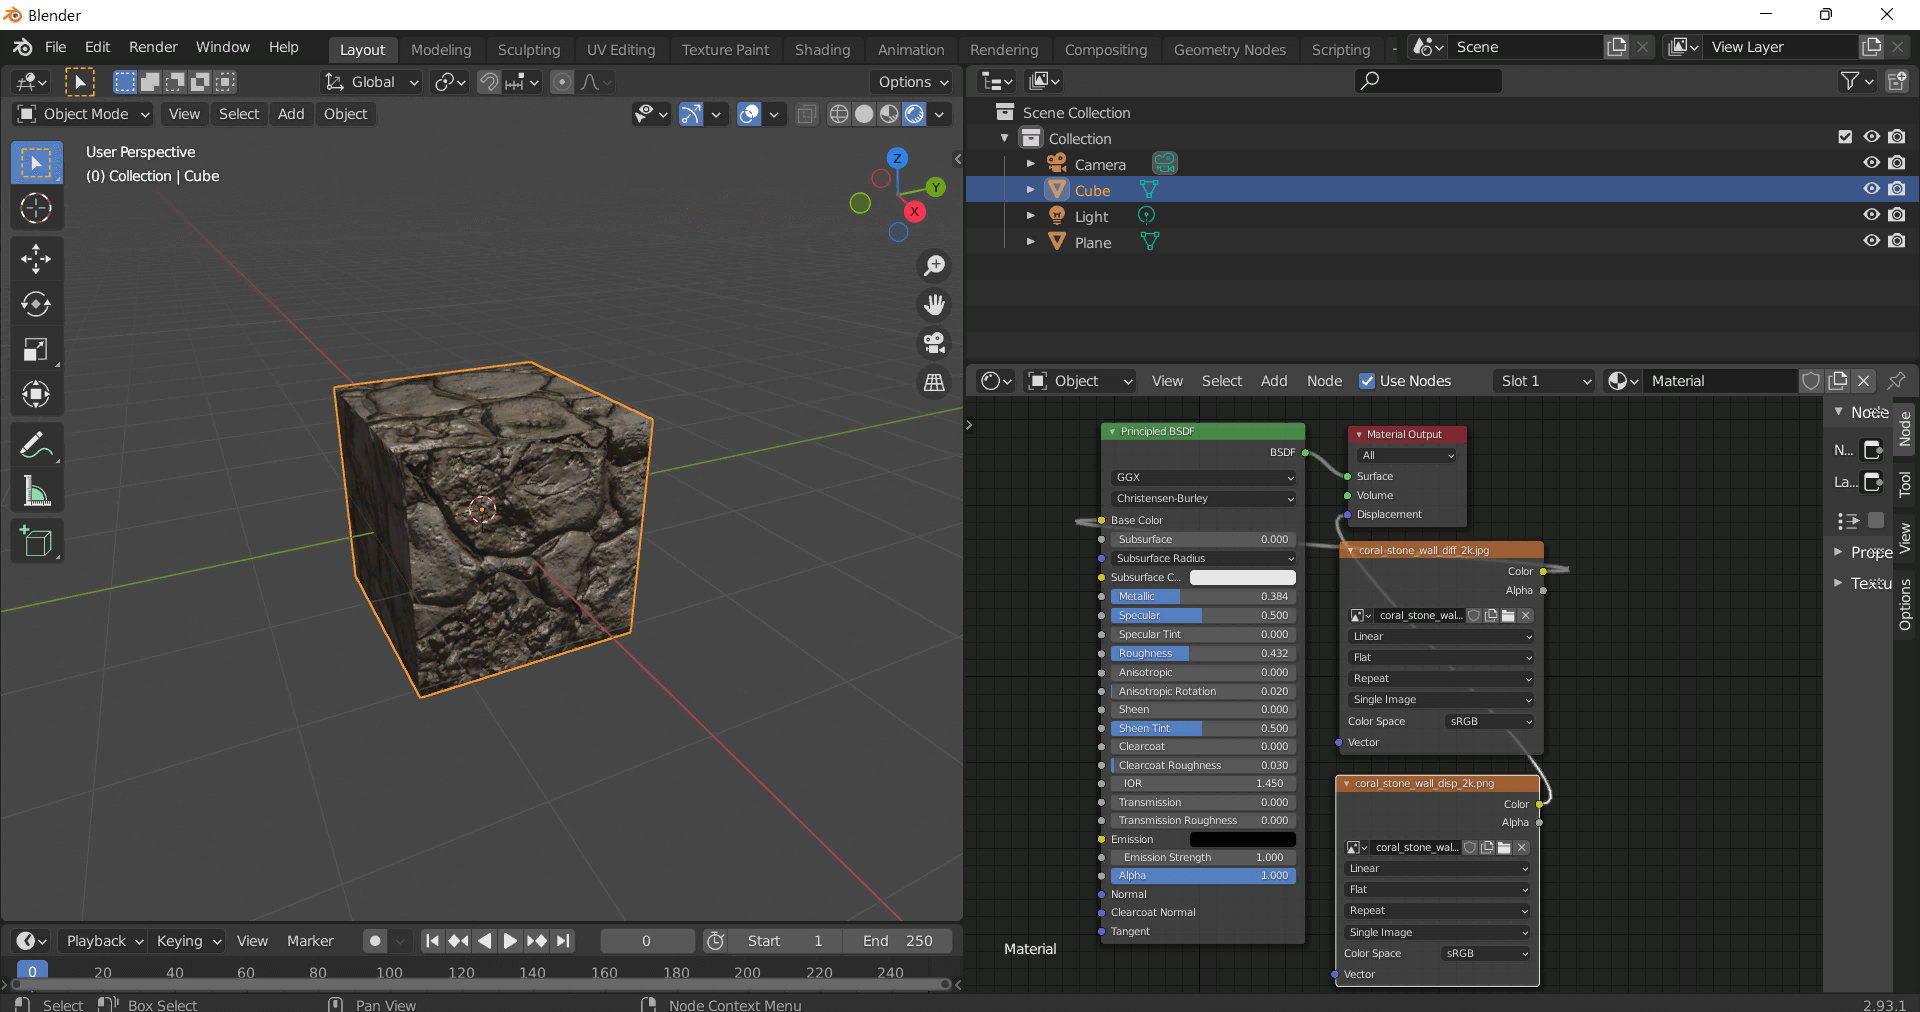
This guide shows how to connect a full PBR texture set to Principled BSDF in Blender (Cycles or Eevee). Works with any of our seamless textures free download, including PBR PNG materials for Blender / Unreal / Unity.
*_albedo.png — Base Color (sRGB)*_normal.png — Normal map (Non-Color)*_roughness.png — Roughness (Non-Color)*_metallic.png — Metallic (Non-Color)*_ao.png — Ambient Occlusion (Non-Color)*_height.png — Height / Displacement (Non-Color)*_ORM.png — Packed map (R=AO, G=Roughness, B=Metallic, Non-Color)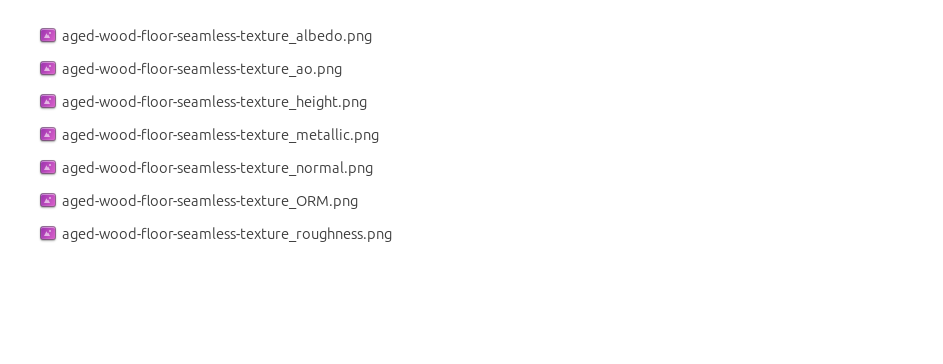
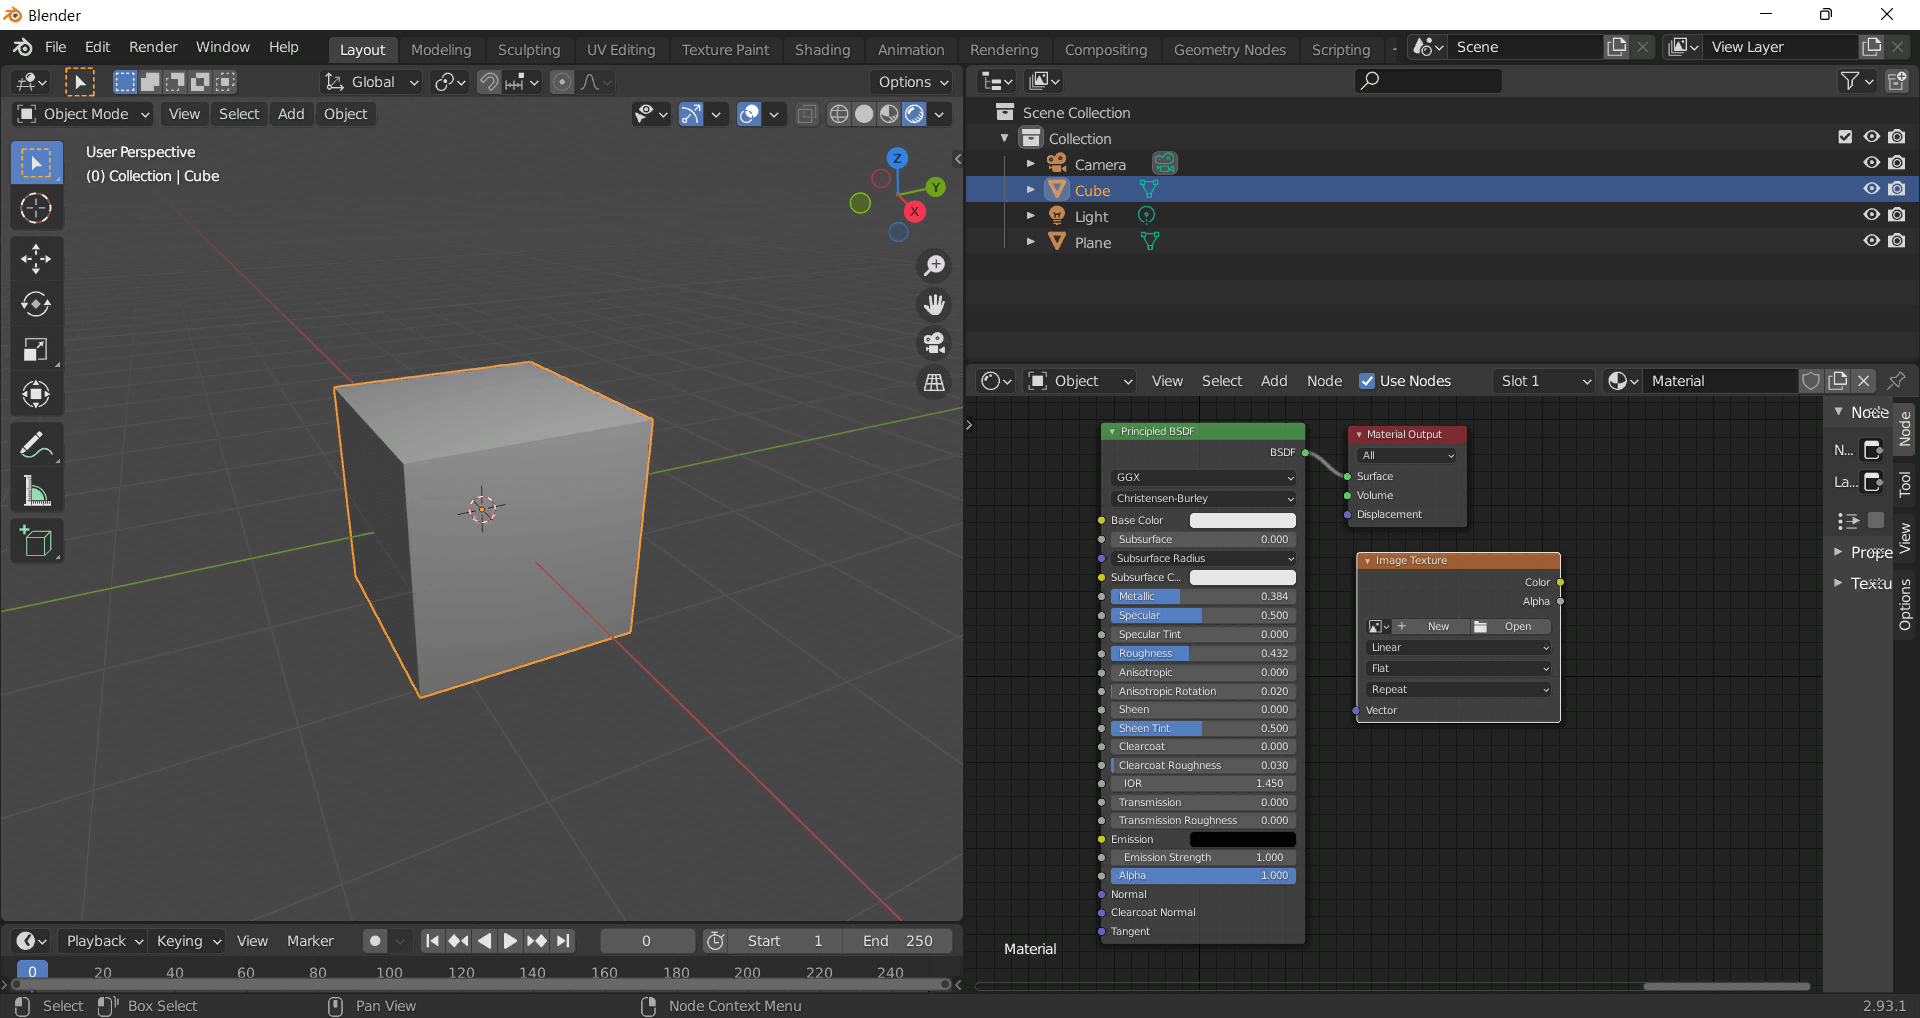
albedo → Base Colorroughness → Roughnessmetallic → Metallic (for wood this often stays near 0)normal → Normal Map node (Type: Tangent Space) → Normal of Principled.
If details look “inverted”, enable Invert Y on the Normal Map node.albedo, Input B = ao, Factor = 1.0.height → Height, set Midlevel = 0.5, Scale = 0.02–0.08 (tune to taste).height → Height.ORM texture (optional)Instead of separate AO/Roughness/Metallic maps you can use the single *_ORM.png:
Example: Download Wood Textures and instantly apply parquet or rustic planks inside Blender for architectural visualization.
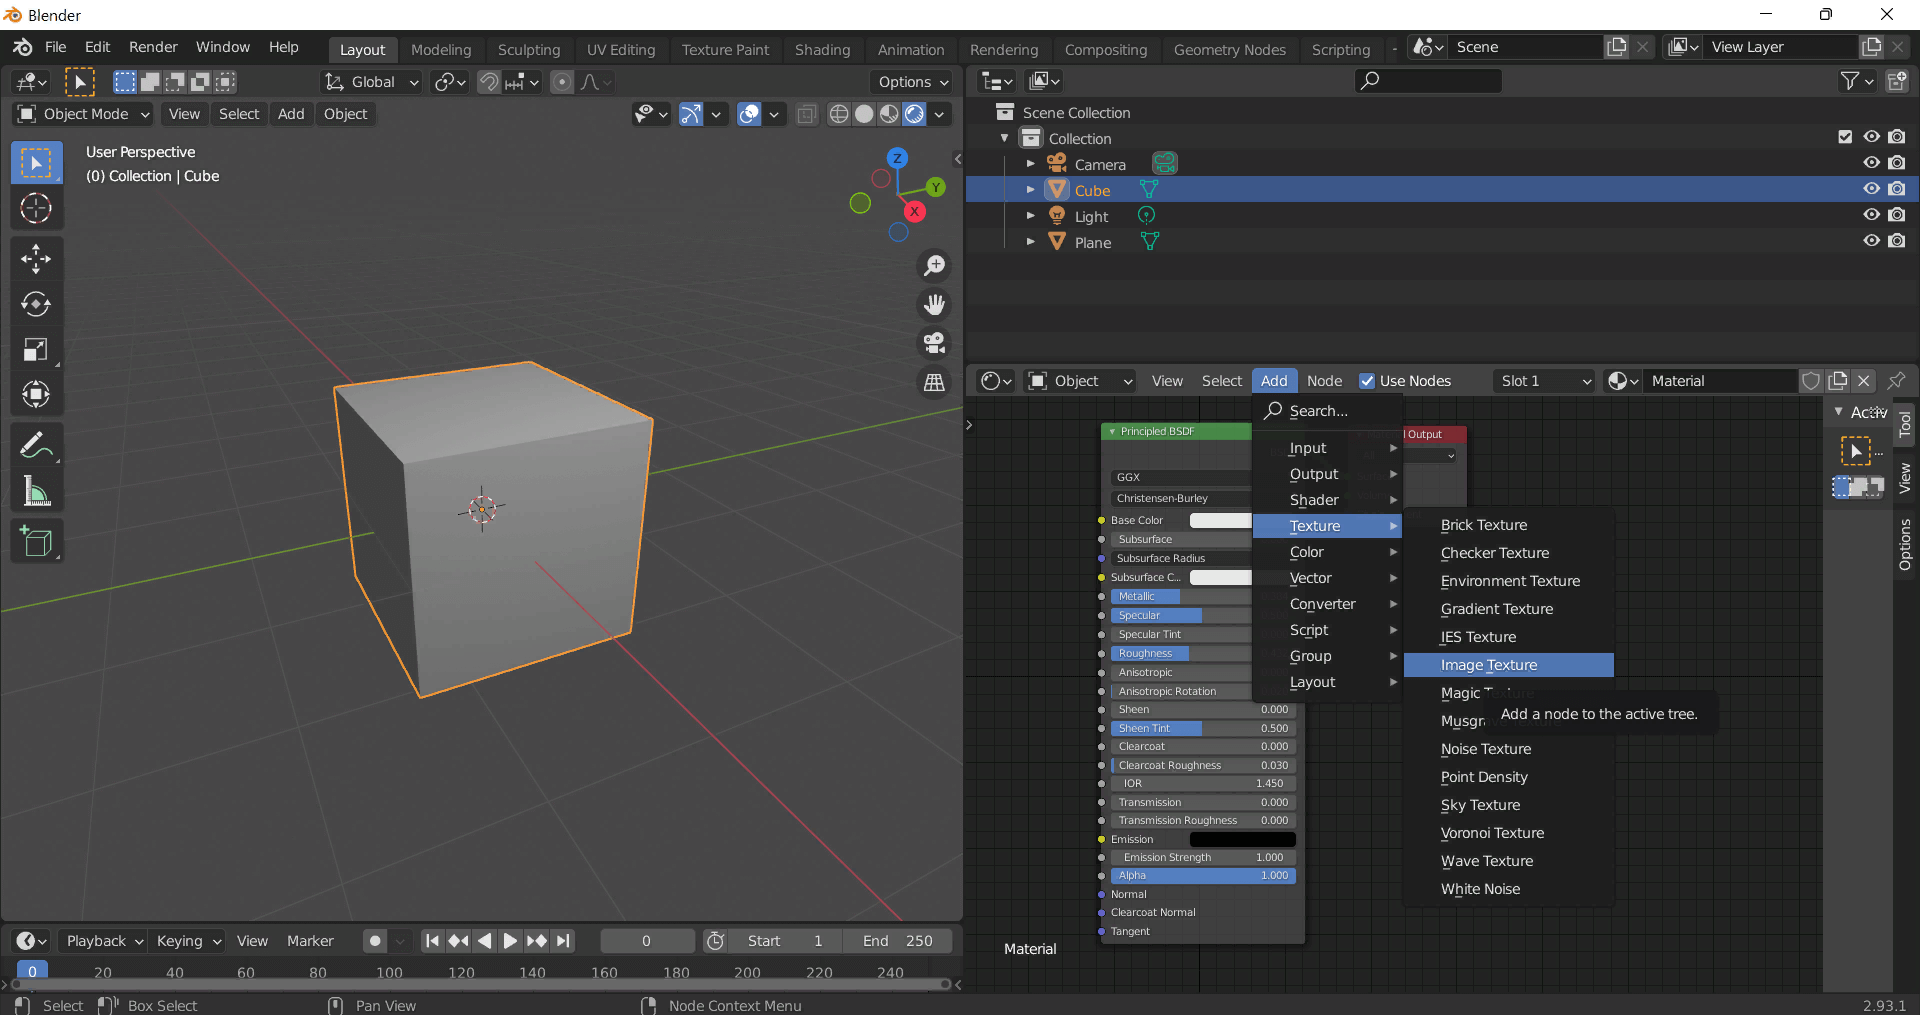
To add the downloaded texture, go to Add — Texture — Image Texture.

Build, preview, and export seamless PBR materials. Generate full map sets from a single image, inspect them in a real-time WebGL viewer, and re-package maps for Unreal, Unity, and Blender—directly in your browser.
AI text-to-texture: type a prompt and get a seamless, tileable base image ready for PBR workflows (great starting point for materials).
Create a full PBR set (Normal, Roughness, AO, Metallic, etc.) from a single image. Seamless and tiling-friendly.
Instant WebGL viewer: inspect materials on a sphere, plane, and cube. Check tiling and lighting in real time.
Re-packages maps per engine: Unreal (BaseColor + ORM), Unity (Mask/MetallicSmoothness), Blender (separate channels).
PNG ↔ JPG ↔ SVG: fast convert, SVG rasterize, embed/trace options, quality & background controls.