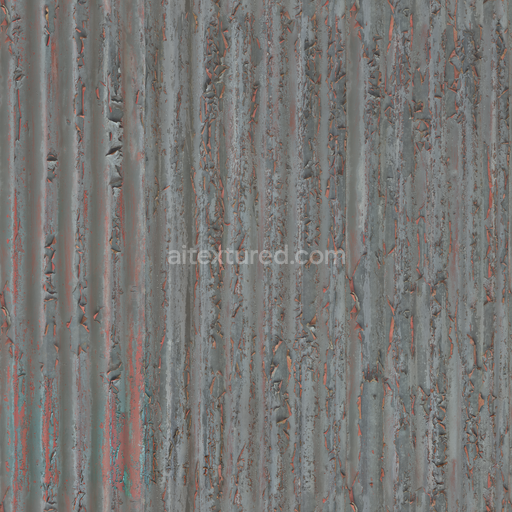
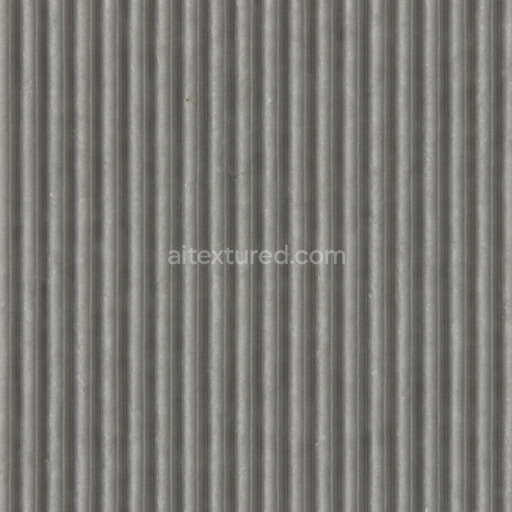
Worn Corrugated Iron - Corrugated Iron Rough Worn Chipped Corrugated
Seamless texture (tileable) · PNG, WEBP, PBR ZIP. License: AITextured Free Commercial License (FCL) v1.1. Free personal and commercial use. Raw resale, standalone redistribution, mirroring/scraping, competing asset packs, and AI/ML training are not allowed without written permission. Attribution is not required, but appreciated..

| ID | manhole-cover-maintenance-hole-cover-drain-hole-cover-texture-free-pbr |
|---|---|
| Category | Metal |
| Formats | PNG, WEBP, PBR ZIP |
| Size | 1k (1024x1024px), 2k (2048x2048px), 4k (4096x4096px), 8k (8192x8192px) |
| Color | sRGB |
| Tileable | Yes |
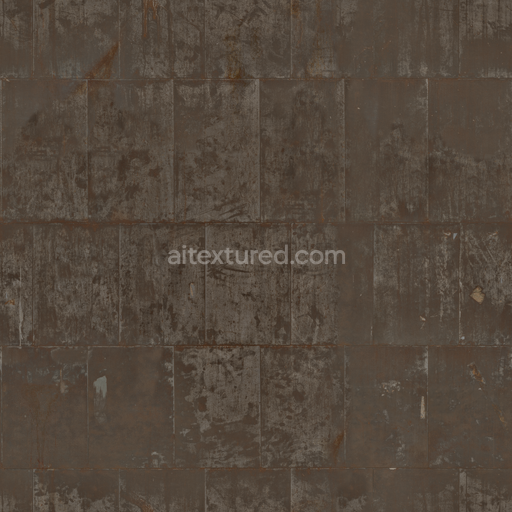
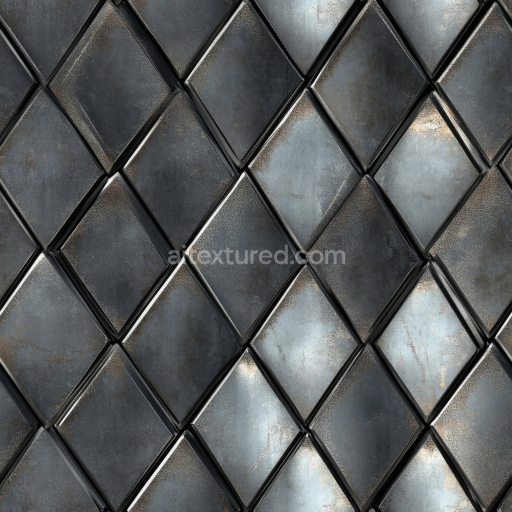
This seamless manhole cover texture presents a meticulously crafted surface primarily composed of cast iron, a metal renowned for its exceptional durability and strength within urban infrastructure. The base substrate reveals a dense, mineral-rich composition embedded with iron oxides, which are responsible for the texture’s characteristic dark gray coloration accented by subtle reddish-brown weathering spots. These oxidized layers develop naturally over time due to environmental exposure, resulting in a surface that authentically reflects the typical corrosion and patina found on maintenance and drain hole covers. The manufacturing process is evident in the fine grain orientation and occasional surface imperfections, deriving from molten metal carefully poured into molds, which create the distinctive embossed patterns and raised lettering commonly seen on manhole covers across city streets and industrial sites.
The physical and aesthetic properties of this metal cover are accurately captured across all PBR channels to enhance realism and usability in digital applications. The BaseColor/Albedo map displays a balanced palette of muted grays interspersed with rusty hues, simulating the natural aging process of cast iron exposed to urban environmental factors. The Normal map highlights the embossed textures and subtle surface variations caused by years of pedestrian and vehicular wear, while the Roughness channel varies to represent areas where the metal surface is either polished smooth or roughened by oxidation and grime buildup. The Metallic map confirms the fully metallic nature of the material, contributing to realistic reflections and highlights. Ambient Occlusion adds depth to crevices and low-relief details, and the Height/Displacement map emphasizes the texture’s physical depth, enhancing the perception of raised patterns and indentations which bring the cover’s intricate design to life.
Rendered at an impressive 8K resolution, this texture is optimized for high-fidelity environments including Blender, Unreal Engine, and Unity, ensuring crisp details are maintained even in close-up views or expansive urban scenes. The seamless nature of the texture allows for flexible tiling without visible seams, making it ideal for realistic urban maintenance and infrastructure visualizations. For optimal results, adjusting the UV scale to correspond with real-world manhole cover dimensions enhances authenticity, while fine-tuning roughness values can simulate varying degrees of surface wear or accumulation of grime. Additionally, subtle application of height or parallax mapping can significantly improve depth perception, especially when viewed from first-person perspectives or close distances, adding a tactile quality to any 3D project.
Import the texture maps into Blender with sRGB color space for albedo/base color and Non-Color for normal, roughness, metallic, AO, height, and ORM maps. Connect normal maps through a Normal Map node, then adjust UV scale with a Mapping node so the material repeats naturally on your model.
For the full step-by-step setup, see How to Use Seamless Textures in Blender. Browse related material examples in wood, concrete, and metal.
Yes. This texture is designed as a seamless tileable PBR material, so it can repeat across large surfaces without visible borders.
You can download PNG/WEBP versions and use 1K, 2K, 4K and 8K download options when available on the page.
Yes. The download options and engine-mapped ZIP workflow are designed for Blender, Unreal Engine, Unity Standard, URP and HDRP material pipelines.
Yes. The texture is available under the AITextured free commercial license. Review the license page for redistribution and AI-training restrictions.


Build, preview, and export seamless PBR materials. Generate full map sets from a single image, inspect them in a real-time WebGL viewer, and re-package maps for Unreal, Unity, and Blender—directly in your browser.
AI text-to-texture: type a prompt and get a seamless, tileable base image ready for PBR workflows (great starting point for materials).
Create a full PBR set (Normal, Roughness, AO, Metallic, etc.) from a single image. Seamless and tiling-friendly.
Instant WebGL viewer: inspect materials on a sphere, plane, and cube. Check tiling and lighting in real time.
Re-packages maps per engine: Unreal (BaseColor + ORM), Unity (Mask/MetallicSmoothness), Blender (separate channels).
PNG ↔ JPG ↔ SVG: fast convert, SVG rasterize, embed/trace options, quality & background controls.