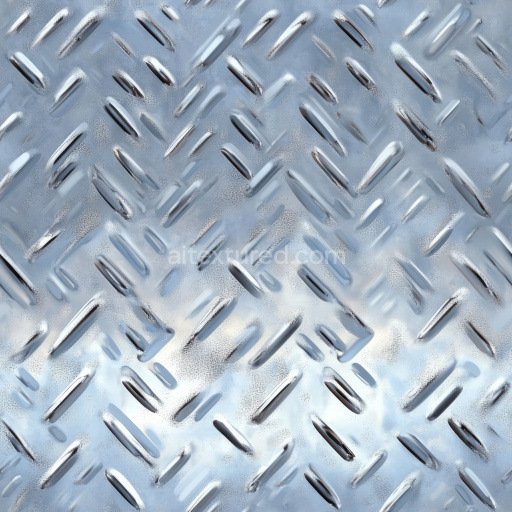
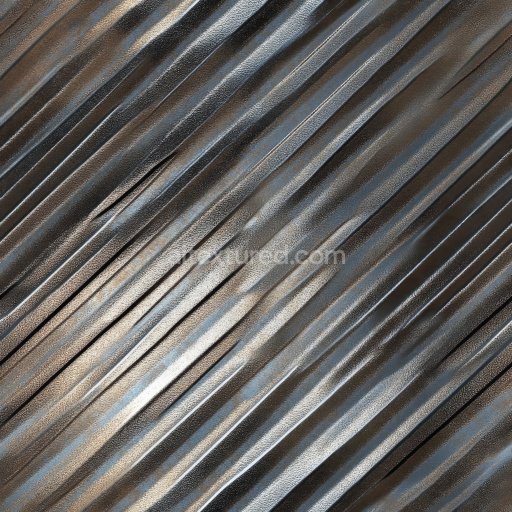
Steel Diamond Plate PBR Texture with Shiny Metal Finish
Seamless texture (tileable) · PNG, WEBP, PBR ZIP. License: AITextured Free Commercial License (FCL) v1.1. Free personal and commercial use. Raw resale, standalone redistribution, mirroring/scraping, competing asset packs, and AI/ML training are not allowed without written permission. Attribution is not required, but appreciated..

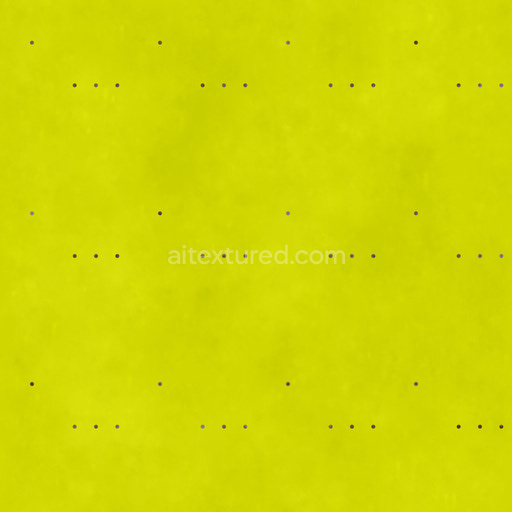
| ID | punched-or-perforated-metal-sheet-texture-with-rust-free-pbr |
|---|---|
| Category | Metal |
| Formats | PNG, WEBP, PBR ZIP |
| Size | 1k (1024x1024px), 2k (2048x2048px), 4k (4096x4096px), 8k (8192x8192px) |
| Color | sRGB |
| Tileable | Yes |
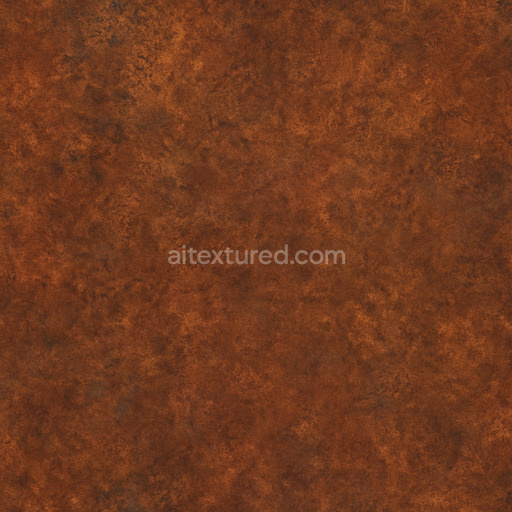
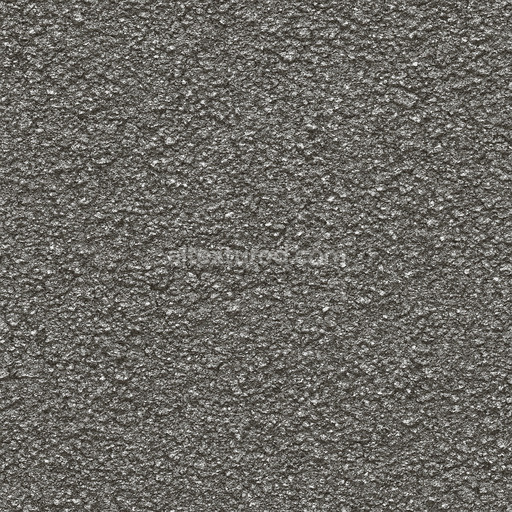
This punched or perforated metal sheet texture features a weathered steel substrate primarily composed of an iron alloy, characterized by a dense and uniform arrangement of circular holes. The base material exhibits natural oxidation processes that have produced distinct rust layers, which act both as a surface finish and a natural colorant. These rust formations create rich reddish-brown hues that contrast sharply with the underlying cold gray metal, lending depth and visual interest to the surface. Beneath the corrosion, the metal’s grain orientation remains subtly visible, revealing brushed patterns that enhance the material’s authenticity and realism. The perforations introduce porosity and tactile complexity, while years of exposure have generated uneven roughness and flaky rust deposits across the sheet, emphasizing the aged, oxidized steel’s tangible character.
In physically based rendering (PBR) workflows, this texture excels through meticulously crafted channel maps. The BaseColor (Albedo) channel captures the nuanced interplay between the rust pigments and the raw steel beneath, accurately reflecting their natural variation in tone and saturation. The Normal map defines the depth and curvature of each punched hole along with surface imperfections such as pitting and corrosion buildup, enhancing the three-dimensionality of the texture. Meanwhile, the Roughness map subtly varies to delineate smoother oxidized metal areas from rougher, flaky rust patches, affecting light diffusion realistically. The Metallic channel highlights the inherent metallic qualities of the steel where it remains exposed, while lowering values under rust layers that act as insulators. Ambient Occlusion adds shadowing around the perforations and crevices to heighten depth perception, and the Height (Displacement) map supports parallax effects, giving the perforated pattern and corroded surface a convincing sense of dimensionality.
Rendered at an impressive 8K resolution, this texture is optimized for high-fidelity applications in Blender, Unreal Engine, and Unity. It ensures crisp details even under close camera scrutiny, making it suitable for both large-scale industrial visualizations and intricate close-ups. When integrating this texture into your projects, it is advisable to carefully adjust the UV scale to preserve the natural size and spacing of the punched holes, preventing distortion or repetitive artifacts. Additionally, tweaking the roughness parameter can simulate varying degrees of surface wear, from freshly rusted sections to heavily eroded patches, thereby increasing material authenticity and enhancing overall realism in 3D scenes.
Import the texture maps into Blender with sRGB color space for albedo/base color and Non-Color for normal, roughness, metallic, AO, height, and ORM maps. Connect normal maps through a Normal Map node, then adjust UV scale with a Mapping node so the material repeats naturally on your model.
For the full step-by-step setup, see How to Use Seamless Textures in Blender. Browse related material examples in wood, concrete, and metal.
Yes. This texture is designed as a seamless tileable PBR material, so it can repeat across large surfaces without visible borders.
You can download PNG/WEBP versions and use 1K, 2K, 4K and 8K download options when available on the page.
Yes. The download options and engine-mapped ZIP workflow are designed for Blender, Unreal Engine, Unity Standard, URP and HDRP material pipelines.
Yes. The texture is available under the AITextured free commercial license. Review the license page for redistribution and AI-training restrictions.

Build, preview, and export seamless PBR materials. Generate full map sets from a single image, inspect them in a real-time WebGL viewer, and re-package maps for Unreal, Unity, and Blender—directly in your browser.
AI text-to-texture: type a prompt and get a seamless, tileable base image ready for PBR workflows (great starting point for materials).
Create a full PBR set (Normal, Roughness, AO, Metallic, etc.) from a single image. Seamless and tiling-friendly.
Instant WebGL viewer: inspect materials on a sphere, plane, and cube. Check tiling and lighting in real time.
Re-packages maps per engine: Unreal (BaseColor + ORM), Unity (Mask/MetallicSmoothness), Blender (separate channels).
PNG ↔ JPG ↔ SVG: fast convert, SVG rasterize, embed/trace options, quality & background controls.