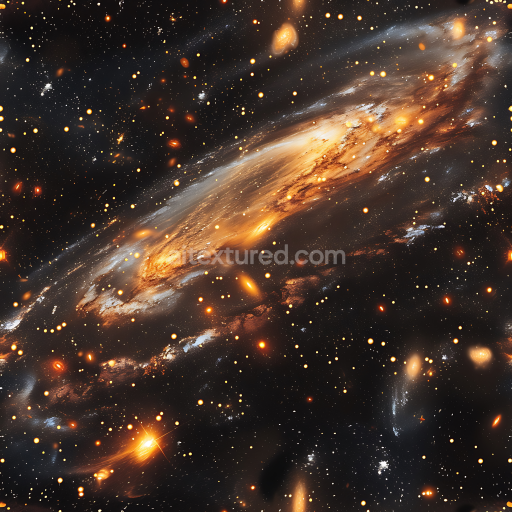
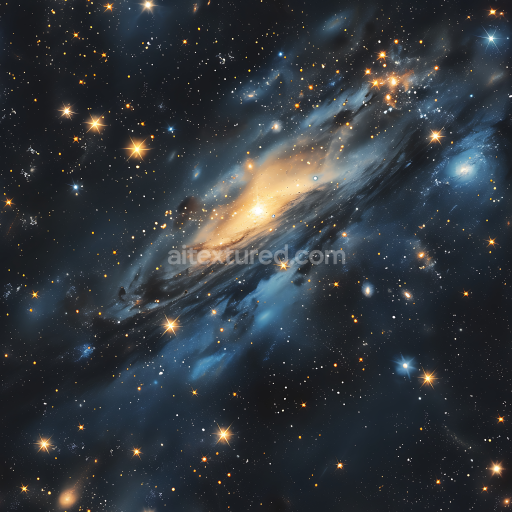
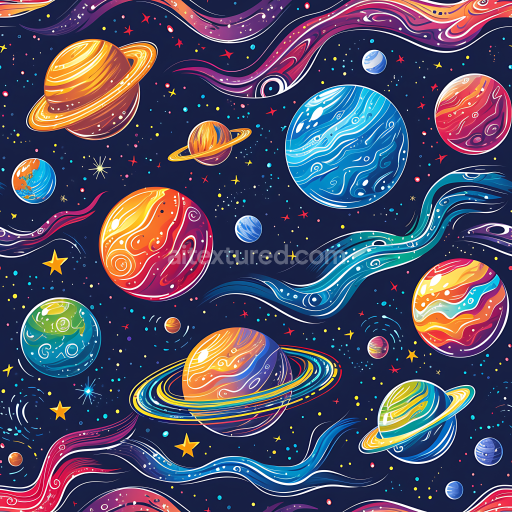
Space Texture Featuring Glowing Galaxy and Starfield in Warm Hues
Seamless texture (tileable) · PNG, WEBP, PBR ZIP. License: AITextured Free Commercial License (FCL) v1.1. Free personal and commercial use. Raw resale, standalone redistribution, mirroring/scraping, competing asset packs, and AI/ML training are not allowed without written permission. Attribution is not required, but appreciated..

| ID | seamless-3d-texture-pbr-8k-aurora-borealis-with-ionized-gases-and-magnetic-anomalies-visual-effect |
|---|---|
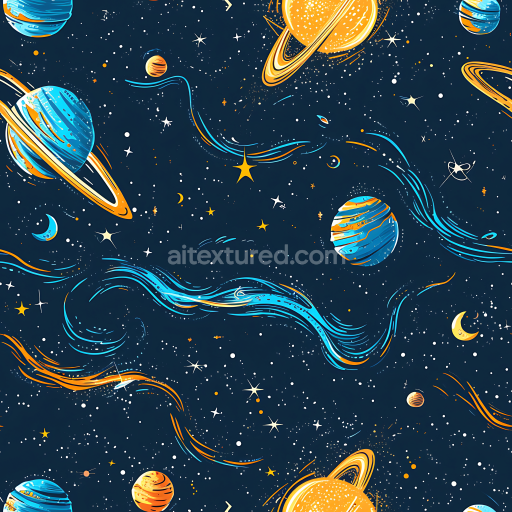
| Category | Star, space, planets |
| Formats | PNG, WEBP, PBR ZIP |
| Size | 1k (1024x1024px), 2k (2048x2048px), 4k (4096x4096px), 8k (8192x8192px) |
| Color | sRGB |
| Tileable | Yes |
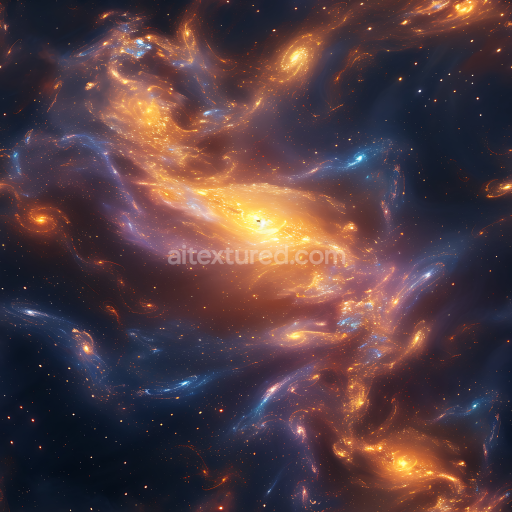
This seamless 3D PBR texture captures the mesmerizing aurora borealis phenomenon at an ultra-high 8K resolution designed to deliver exceptional realism and detail. The material composition simulates a dynamic interplay of ionized gases suspended in Earth’s magnetosphere influenced by magnetic anomalies and geomagnetic storms. The base substrate mimics a translucent plasma-like layer with subtle variations in density and porosity creating the illusion of shifting light and depth. Fine-scale “fibers” of energized particles are represented through intricate normal and height maps enhancing the texture’s dimensionality. The surface finish is smooth yet slightly diffused reflecting the natural dispersion of light seen in atmospheric auroras. The color palette relies on layered pigments of green violet and blue hues with oxide-inspired gradients accurately visualizing the spectral emission lines of ionized gases in the aurora borealis.
In PBR channels the BaseColor (Albedo) map provides vivid saturated colors that faithfully reproduce the light displays without artificial shadows maintaining flatness to suit various lighting environments. The Normal and Height/Displacement maps work together to simulate the subtle undulations and swirling patterns created by magnetic anomalies adding tactile depth crucial for close-up renders. Roughness is finely tuned to a medium-low range balancing a soft glow with slight surface diffusion while the Metallic map remains near zero to represent the non-metallic gaseous nature of the phenomenon. Ambient Occlusion is minimal but carefully applied to enhance contrast around denser ionized regions and magnetic belt features emphasizing authenticity. This texture is optimized for seamless tiling in large-scale atmospheric and space weather simulations ensuring no visible seams or distortions across extended surfaces.
Ready for integration into Blender Unreal Engine and Unity workflows this 8K resolution aurora borealis texture supports highly detailed visualizations requiring both scientific accuracy and artistic flair. When using this texture adjusting the UV scale to a larger size helps accentuate the flowing movement of ionized gases and magnetic anomalies while fine-tuning roughness can either soften or sharpen the luminous effect depending on scene requirements. Its flat shadow-free design allows for flexible lighting setups making it ideal for atmospheric space and weather simulation projects demanding top-tier realism and seamless visual effects.
Import the texture maps into Blender with sRGB color space for albedo/base color and Non-Color for normal, roughness, metallic, AO, height, and ORM maps. Connect normal maps through a Normal Map node, then adjust UV scale with a Mapping node so the material repeats naturally on your model.
For the full step-by-step setup, see How to Use Seamless Textures in Blender. Browse related material examples in wood, concrete, and metal.
Yes. This texture is designed as a seamless tileable PBR material, so it can repeat across large surfaces without visible borders.
You can download PNG/WEBP versions and use 1K, 2K, 4K and 8K download options when available on the page.
Yes. The download options and engine-mapped ZIP workflow are designed for Blender, Unreal Engine, Unity Standard, URP and HDRP material pipelines.
Yes. The texture is available under the AITextured free commercial license. Review the license page for redistribution and AI-training restrictions.


Build, preview, and export seamless PBR materials. Generate full map sets from a single image, inspect them in a real-time WebGL viewer, and re-package maps for Unreal, Unity, and Blender—directly in your browser.
AI text-to-texture: type a prompt and get a seamless, tileable base image ready for PBR workflows (great starting point for materials).
Create a full PBR set (Normal, Roughness, AO, Metallic, etc.) from a single image. Seamless and tiling-friendly.
Instant WebGL viewer: inspect materials on a sphere, plane, and cube. Check tiling and lighting in real time.
Re-packages maps per engine: Unreal (BaseColor + ORM), Unity (Mask/MetallicSmoothness), Blender (separate channels).
PNG ↔ JPG ↔ SVG: fast convert, SVG rasterize, embed/trace options, quality & background controls.