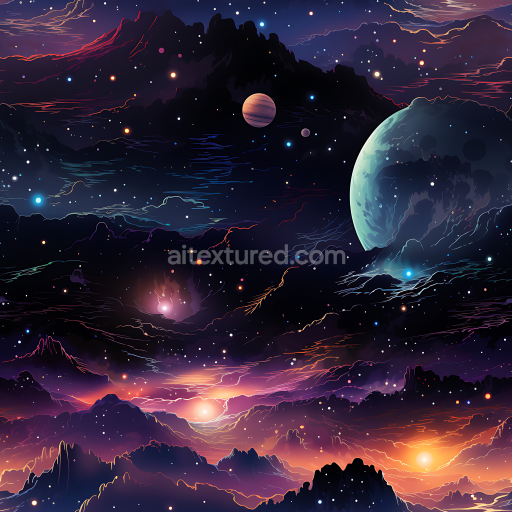
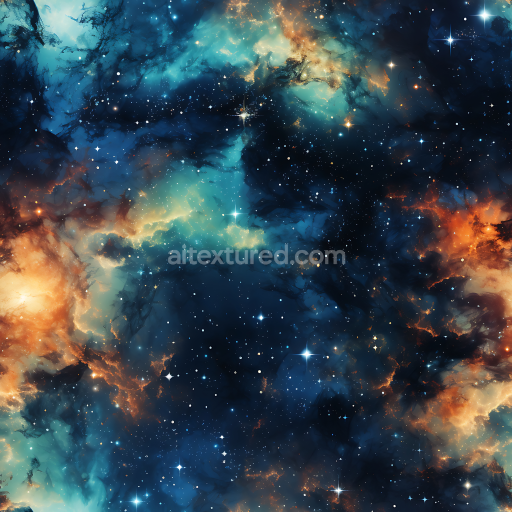
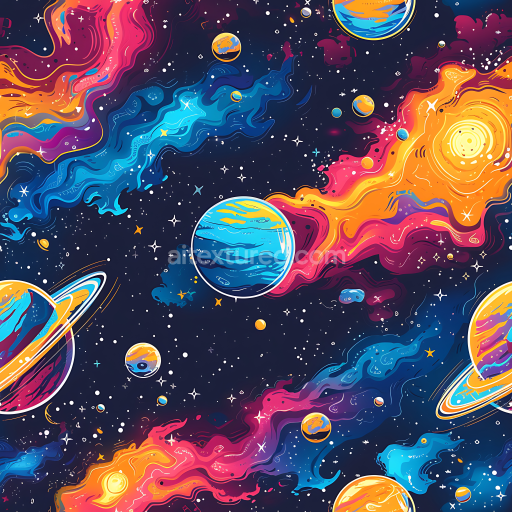
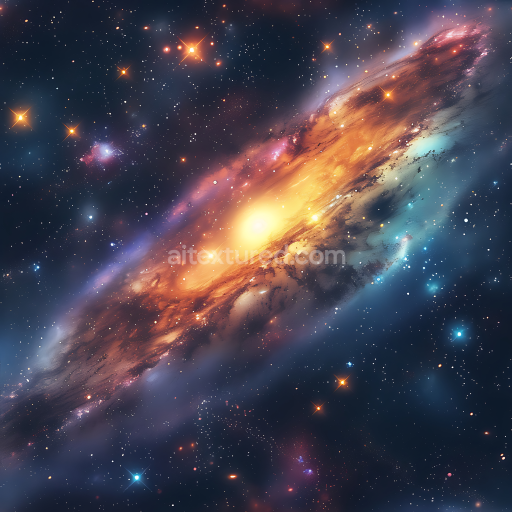
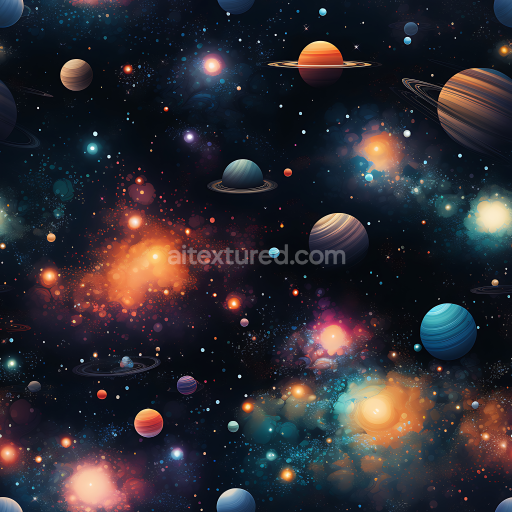
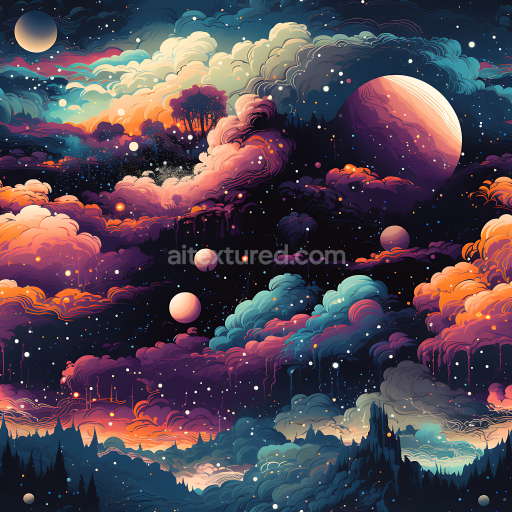
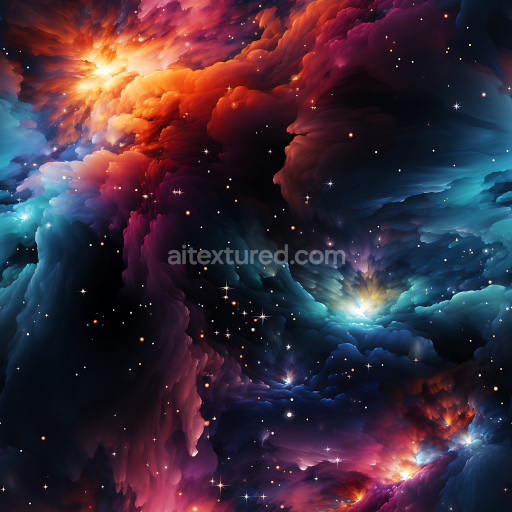
Space PBR Texture Featuring Cosmic Starfield and Colorful Planetary Nebula
Seamless texture (tileable) · PNG, WEBP, PBR ZIP. License: AITextured Free Commercial License (FCL) v1.1. Free personal and commercial use. Raw resale, standalone redistribution, mirroring/scraping, competing asset packs, and AI/ML training are not allowed without written permission. Attribution is not required, but appreciated..

| ID | seamless-3d-texture-pbr-8k-solar-flare-with-solar-prominence-and-coronal-loops-detail-in-8k |
|---|---|
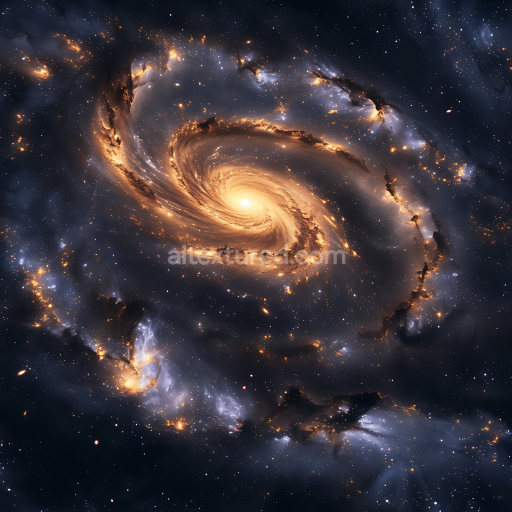
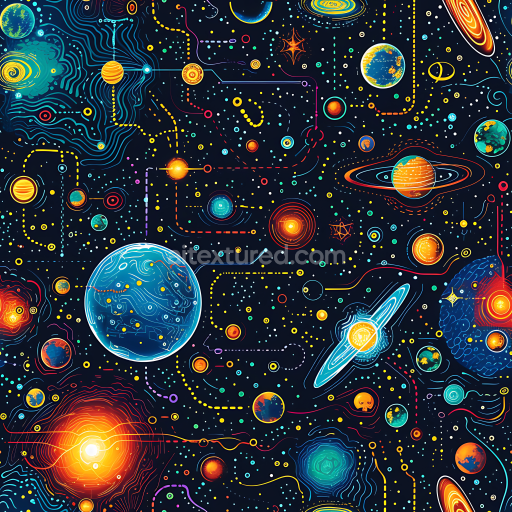
| Category | Star, space, planets |
| Formats | PNG, WEBP, PBR ZIP |
| Size | 1k (1024x1024px), 2k (2048x2048px), 4k (4096x4096px), 8k (8192x8192px) |
| Color | sRGB |
| Tileable | Yes |
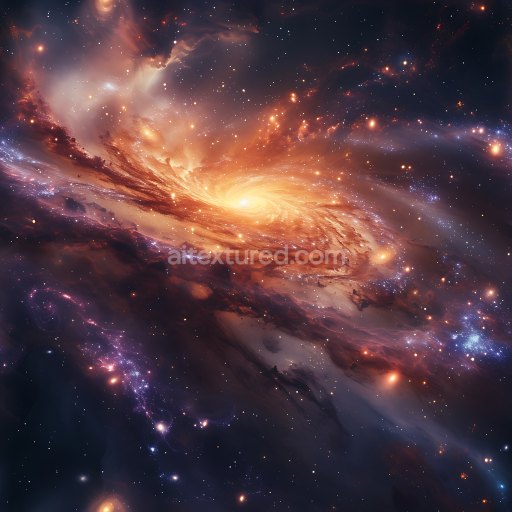
This seamless 3D PBR texture at an impressive 8K resolution masterfully captures the intense dynamics of a solar flare featuring intricate solar prominence structures and detailed coronal loops. The base material composition mimics a highly energized plasma substrate enriched with filamentous plasma strands and a glowing stellar corona that convey the volatile and radiant nature of the sun’s surface. These complex features are expressed through carefully designed PBR channels: the BaseColor (Albedo) channel presents a richly detailed flat color map optimized to showcase vibrant solar pigments without shadow or light interference ensuring realistic astrophysical visualization. Normal and Height maps enhance the perception of depth and undulating plasma filaments while Roughness and Metallic maps simulate the subtle reflective qualities of energized coronal material balancing polished and diffuse finishes to portray the solar atmosphere’s dynamic texture.
The texture’s composition suggests a layered structure where plasma filaments act as fine organic fibers suspended within an ionized gaseous matrix generating a porous yet visually dense surface that reflects the intricate solar weather phenomena. The solar prominence and coronal loops are emphasized by variations in roughness and ambient occlusion which add dimensionality and realism to the glowing plasma arcs and loops. This material setup is specifically optimized for use in high-end 3D engines such as Unreal Engine Blender and Unity ensuring seamless integration and photorealistic sun surface visuals in space weather simulations and astrophysical projects. The 8K resolution delivers unparalleled detail essential for close-up renders and scientific visualizations requiring high fidelity and dynamic realism.
For practical application it is recommended to adjust the UV scale carefully to maintain the natural continuity of the solar flare and prominence features preventing distortion across large surfaces. Fine-tuning the roughness channel can help balance reflectivity enhancing the subtle glow and emissive qualities without overpowering the underlying plasma textures. This seamless PBR texture is ideal for creating realistic solar flare effects that demand accuracy in both artistic and scientific contexts providing a versatile resource for simulations and space-themed visualizations that require detailed coronal loops and dramatic solar atmosphere elements.
Import the texture maps into Blender with sRGB color space for albedo/base color and Non-Color for normal, roughness, metallic, AO, height, and ORM maps. Connect normal maps through a Normal Map node, then adjust UV scale with a Mapping node so the material repeats naturally on your model.
For the full step-by-step setup, see How to Use Seamless Textures in Blender. Browse related material examples in wood, concrete, and metal.
Yes. This texture is designed as a seamless tileable PBR material, so it can repeat across large surfaces without visible borders.
You can download PNG/WEBP versions and use 1K, 2K, 4K and 8K download options when available on the page.
Yes. The download options and engine-mapped ZIP workflow are designed for Blender, Unreal Engine, Unity Standard, URP and HDRP material pipelines.
Yes. The texture is available under the AITextured free commercial license. Review the license page for redistribution and AI-training restrictions.


Build, preview, and export seamless PBR materials. Generate full map sets from a single image, inspect them in a real-time WebGL viewer, and re-package maps for Unreal, Unity, and Blender—directly in your browser.
AI text-to-texture: type a prompt and get a seamless, tileable base image ready for PBR workflows (great starting point for materials).
Create a full PBR set (Normal, Roughness, AO, Metallic, etc.) from a single image. Seamless and tiling-friendly.
Instant WebGL viewer: inspect materials on a sphere, plane, and cube. Check tiling and lighting in real time.
Re-packages maps per engine: Unreal (BaseColor + ORM), Unity (Mask/MetallicSmoothness), Blender (separate channels).
PNG ↔ JPG ↔ SVG: fast convert, SVG rasterize, embed/trace options, quality & background controls.