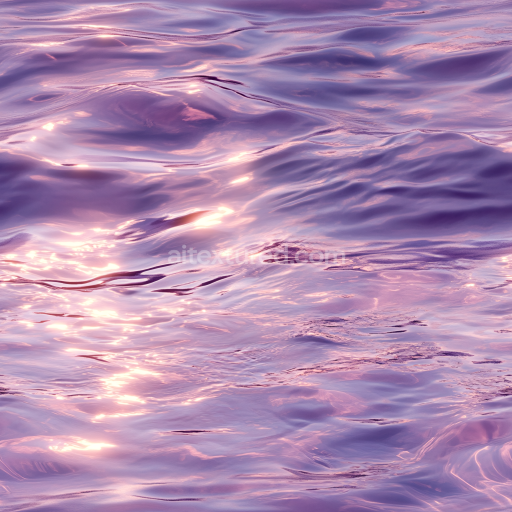
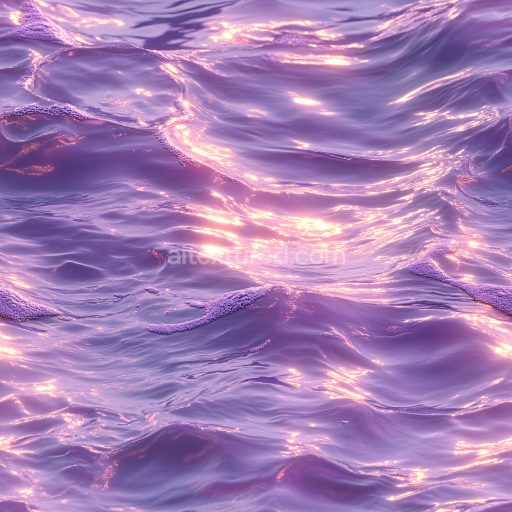
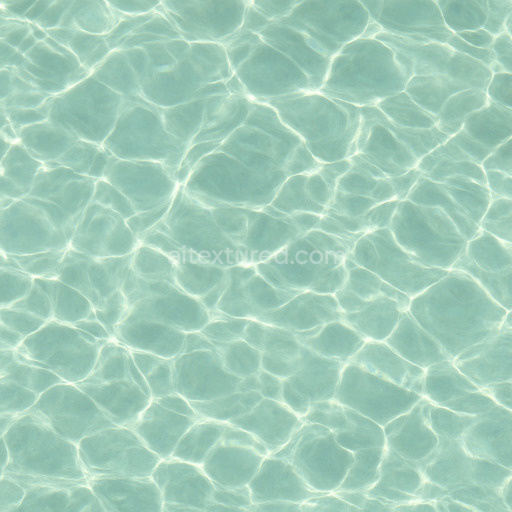
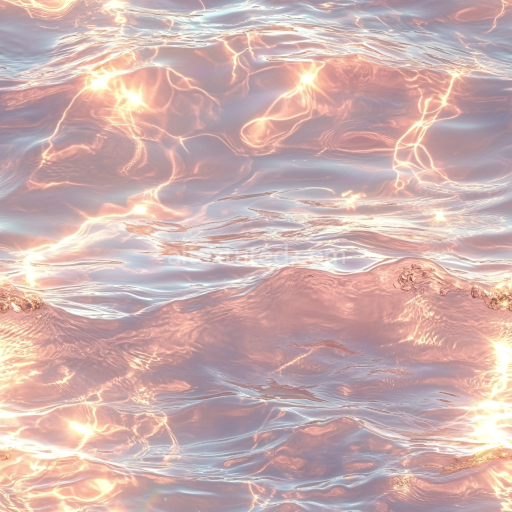
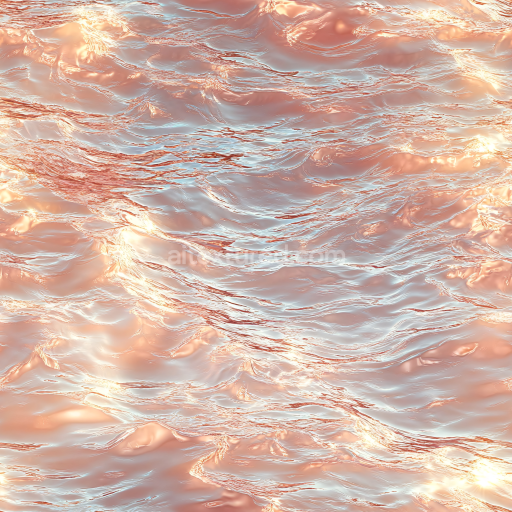
Water PBR Texture Featuring Calm Purple-Toned Subtle Waves and Reflective Highlights
Seamless texture (tileable) · PNG, WEBP, PBR ZIP. License: AITextured Free Commercial License (FCL) v1.1. Free personal and commercial use. Raw resale, standalone redistribution, mirroring/scraping, competing asset packs, and AI/ML training are not allowed without written permission. Attribution is not required, but appreciated..

| ID | realistic-wave-seamless-texture |
|---|---|
| Category | Water |
| Formats | PNG, WEBP, PBR ZIP |
| Size | 1k (1024x1024px), 2k (2048x2048px), 4k (4096x4096px), 8k (8192x8192px) |
| Color | sRGB |
| Tileable | Yes |
The Realistic Wave Seamless Texture captures the intricate dynamics of ocean waves with remarkable fidelity designed to simulate the natural interplay of water surfaces in digital environments. Composed primarily of a fluid organic base substrate resembling water’s reflective and refractive qualities this texture leverages a finely detailed surface finish that mimics the subtle undulations and ripples found in real waves. It incorporates micro-variations in roughness and gloss achieved through a balance of simulated surface tension and light-scattering effects which translate into nuanced reflections and highlights across the BaseColor and Roughness channels. The Normal map encodes the wave crests and troughs with precision providing convincing depth and sculptural detail that enhances realism without the need for heavy geometry. Meanwhile the Ambient Occlusion channel subtly reinforces shadowing where wave elements overlap adding dimensionality to the surface. The texture’s height information supports parallax and displacement mapping allowing for enhanced surface relief in 3D renders and real-time applications.
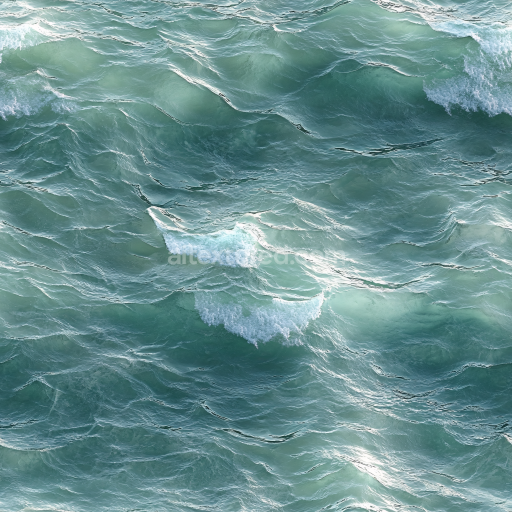
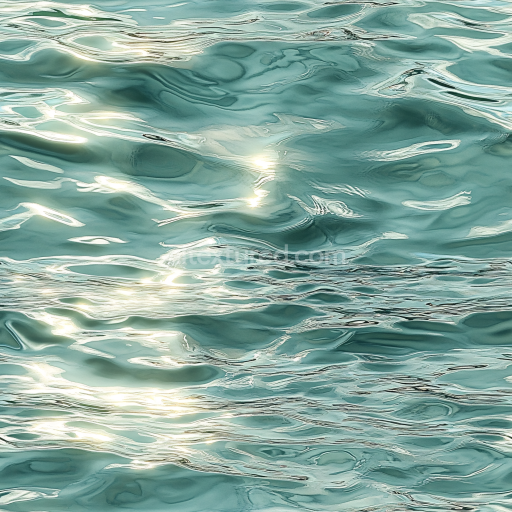
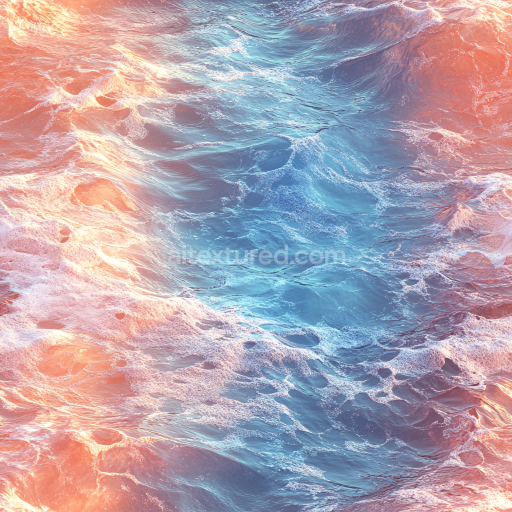
Rendered at an ultra-high resolution of up to 8K this tileable realistic wave seamless texture ensures exceptional detail retention even when applied to large-scale water surfaces in Blender Unreal Engine or Unity projects. The AI-generated pipeline behind this texture emphasizes structural consistency and micro-detail preservation resulting in a production-ready material that performs predictably and seamlessly across multiple platforms. Its color palette is carefully calibrated to replicate the natural blues and subtle translucency of ocean water with pigment distribution reflecting light absorption and scattering effects inherent to liquid surfaces. The material’s non-metallic nature is reflected in the Metallic channel being set to zero while the Roughness channel varies dynamically to simulate wetness and light diffusion making it highly versatile for cinematic scenes level dressing and real-time rendering.
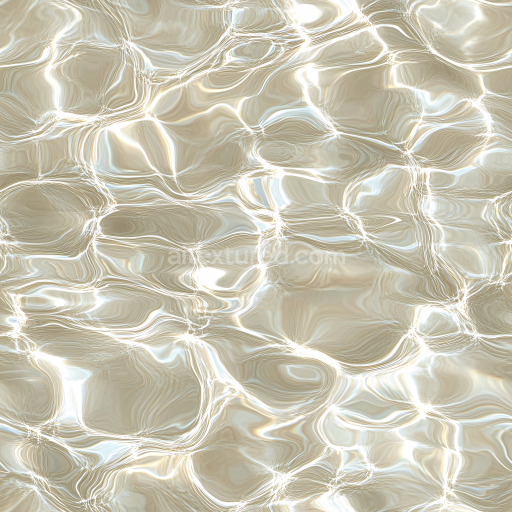
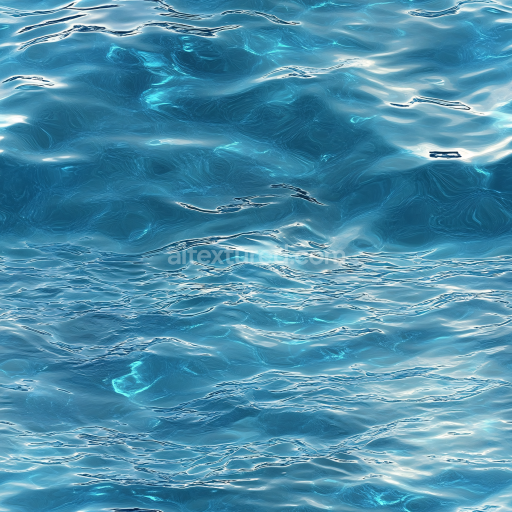
When integrating this seamless realistic wave texture into your project it is advisable to maintain uniform UV scaling to prevent distortion and preserve the natural flow of the wave pattern. Adjusting the roughness values slightly can help tailor the surface shininess to suit different lighting conditions or artistic directions enhancing the realism of wet or stormy water appearances. This texture is optimized to cover vast areas flawlessly making it ideal for expansive water bodies where consistent detail and repeatability are critical. Whether used as a base texture for water materials or layered within complex shader networks this tileable realistic wave seamless texture is a powerful asset for achieving immersive and believable aquatic environments with minimal setup and maximum visual impact.
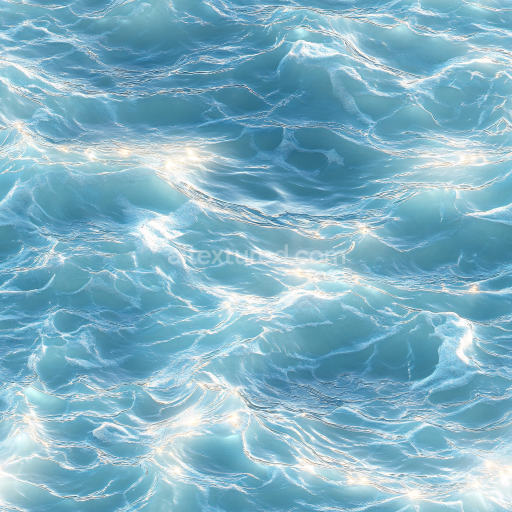
The PBR texture realistic wave seamless texture offers a highly detailed seamless realistic wave seamless texture composition that enhances water textures with a natural 3D preview and PBR appearance.
Import the texture maps into Blender with sRGB color space for albedo/base color and Non-Color for normal, roughness, metallic, AO, height, and ORM maps. Connect normal maps through a Normal Map node, then adjust UV scale with a Mapping node so the material repeats naturally on your model.
For the full step-by-step setup, see How to Use Seamless Textures in Blender. Browse related material examples in wood, concrete, and metal.
Yes. This texture is designed as a seamless tileable PBR material, so it can repeat across large surfaces without visible borders.
You can download PNG/WEBP versions and use 1K, 2K, 4K and 8K download options when available on the page.
Yes. The download options and engine-mapped ZIP workflow are designed for Blender, Unreal Engine, Unity Standard, URP and HDRP material pipelines.
Yes. The texture is available under the AITextured free commercial license. Review the license page for redistribution and AI-training restrictions.
Build, preview, and export seamless PBR materials. Generate full map sets from a single image, inspect them in a real-time WebGL viewer, and re-package maps for Unreal, Unity, and Blender—directly in your browser.
AI text-to-texture: type a prompt and get a seamless, tileable base image ready for PBR workflows (great starting point for materials).
Create a full PBR set (Normal, Roughness, AO, Metallic, etc.) from a single image. Seamless and tiling-friendly.
Instant WebGL viewer: inspect materials on a sphere, plane, and cube. Check tiling and lighting in real time.
Re-packages maps per engine: Unreal (BaseColor + ORM), Unity (Mask/MetallicSmoothness), Blender (separate channels).
PNG ↔ JPG ↔ SVG: fast convert, SVG rasterize, embed/trace options, quality & background controls.