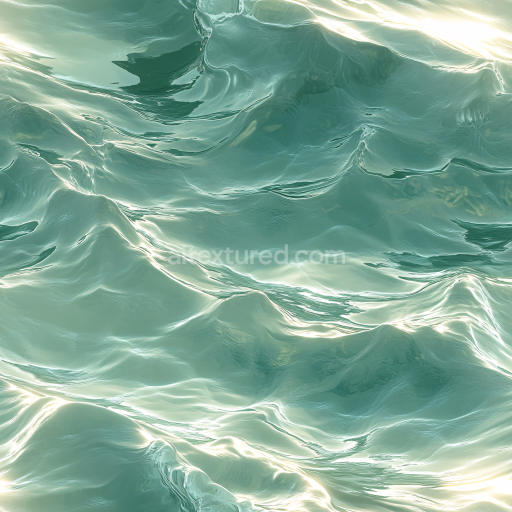
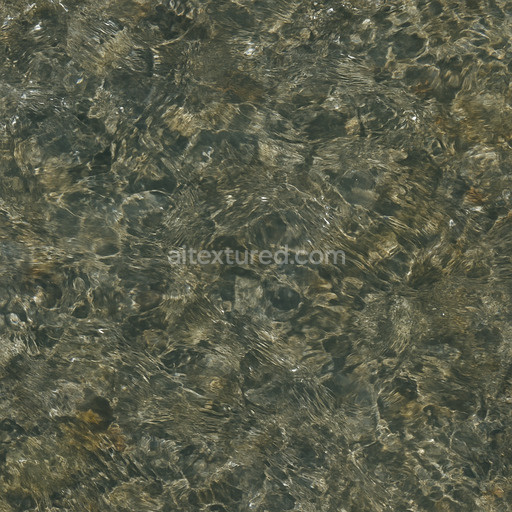
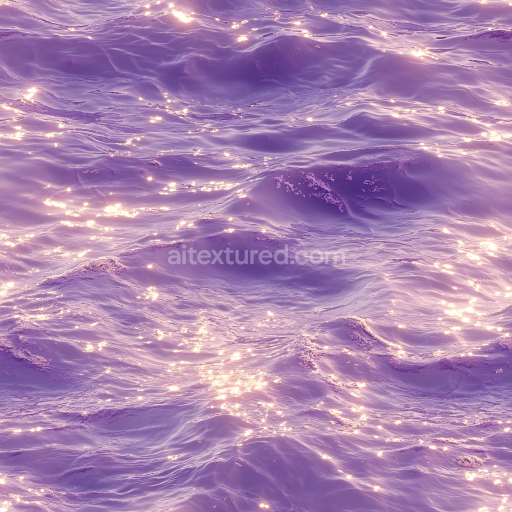
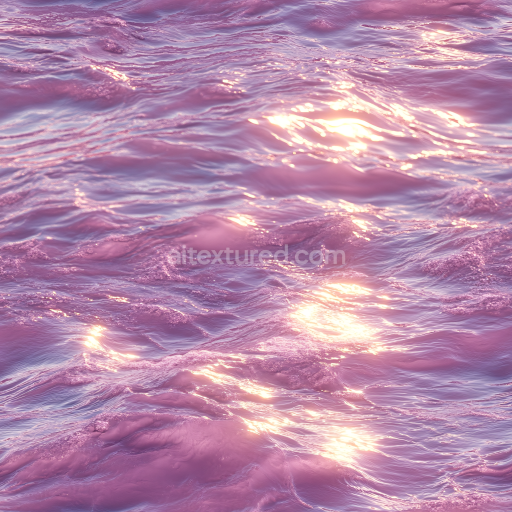
Stylized Ocean Water Texture With Smooth Luminous Waves
Seamless texture (tileable) · PNG, WEBP, PBR ZIP. License: AITextured Free Commercial License (FCL) v1.1. Free personal and commercial use. Raw resale, standalone redistribution, mirroring/scraping, competing asset packs, and AI/ML training are not allowed without written permission. Attribution is not required, but appreciated..

| ID | seamless-ocean-seamless-texture |
|---|---|
| Category | Water |
| Formats | PNG, WEBP, PBR ZIP |
| Size | 1k (1024x1024px), 2k (2048x2048px), 4k (4096x4096px), 8k (8192x8192px) |
| Color | sRGB |
| Tileable | Yes |
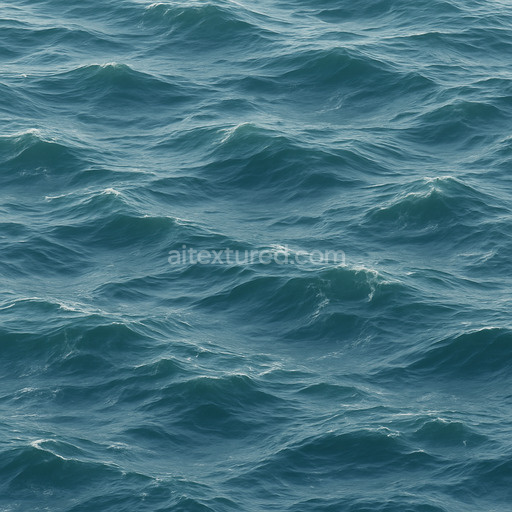
The Seamless Ocean Seamless Texture is a meticulously designed tileable texture that captures the dynamic complexity of ocean surfaces with exceptional clarity and consistency. Crafted from a digital composition that simulates natural water substrates this texture emulates the subtle interplay of light and depth characteristic of oceanic materials. The base appearance mimics liquid water’s translucency with layered colorants and pigment variations creating a rich BaseColor/Albedo channel that reflects the shifting hues of deep ocean blues and turquoise. Fine surface details resembling gentle wave crests and ripples are encoded in the Normal map to enhance three-dimensional realism while the Roughness channel balances smooth reflective patches with softer diffused areas to replicate the water’s varying glossiness under different lighting conditions. The Metallic channel remains minimal reflecting water’s non-metallic nature whereas Ambient Occlusion adds subtle shadowing in wave troughs to emphasize depth. Height/Displacement maps simulate surface undulations adding dimensionality perfect for close-up renders.
Rendered at a high resolution of up to 8K and available in versatile PNG and WEBP formats this seamless ocean texture is optimized for seamless tiling allowing it to cover vast digital environments without visible repetition or artifacts. Its stable and artifact-free design makes it ideal for use in real-time scenes cinematic renders level dressing and material studies. The texture’s careful tuning ensures clarity and stability avoiding the repetitive patterns that commonly affect auto-generated water textures. This makes it especially suitable for integration into Blender Unreal Engine and Unity workflows where predictable and repeatable results are critical. The surface finish simulated by this PBR material combines the natural smoothness of water with subtle textural complexity enhancing realism in PBR workflows.
When applying this tileable seamless ocean seamless texture consider adjusting the UV scale to maintain natural proportions of wave patterns relative to your scene’s environment avoiding overly large or small repetitions. Additionally fine-tuning the Roughness map can help you achieve the desired wetness or matte effect depending on lighting and weathering assumptions. Combining this texture with a subtle ambient occlusion pass and a gentle normal map overlay further enhances surface breakup without introducing harsh edges boosting the overall authenticity of the water’s appearance. Whether for detailed material studies or expansive oceanic vistas this texture offers a robust foundation that seamlessly blends artistic control with technical precision.
The PBR texture seamless ocean seamless texture offers a highly detailed seamless texture with realistic 3D preview capabilities that enhance the PBR appearance for advanced material composition.
Import the texture maps into Blender with sRGB color space for albedo/base color and Non-Color for normal, roughness, metallic, AO, height, and ORM maps. Connect normal maps through a Normal Map node, then adjust UV scale with a Mapping node so the material repeats naturally on your model.
For the full step-by-step setup, see How to Use Seamless Textures in Blender. Browse related material examples in wood, concrete, and metal.
Yes. This texture is designed as a seamless tileable PBR material, so it can repeat across large surfaces without visible borders.
You can download PNG/WEBP versions and use 1K, 2K, 4K and 8K download options when available on the page.
Yes. The download options and engine-mapped ZIP workflow are designed for Blender, Unreal Engine, Unity Standard, URP and HDRP material pipelines.
Yes. The texture is available under the AITextured free commercial license. Review the license page for redistribution and AI-training restrictions.

Build, preview, and export seamless PBR materials. Generate full map sets from a single image, inspect them in a real-time WebGL viewer, and re-package maps for Unreal, Unity, and Blender—directly in your browser.
AI text-to-texture: type a prompt and get a seamless, tileable base image ready for PBR workflows (great starting point for materials).
Create a full PBR set (Normal, Roughness, AO, Metallic, etc.) from a single image. Seamless and tiling-friendly.
Instant WebGL viewer: inspect materials on a sphere, plane, and cube. Check tiling and lighting in real time.
Re-packages maps per engine: Unreal (BaseColor + ORM), Unity (Mask/MetallicSmoothness), Blender (separate channels).
PNG ↔ JPG ↔ SVG: fast convert, SVG rasterize, embed/trace options, quality & background controls.