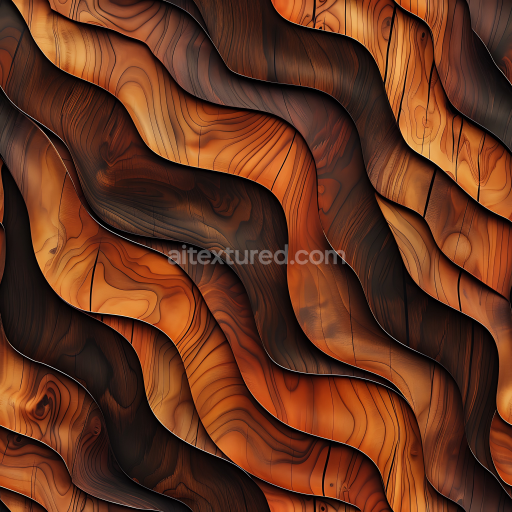
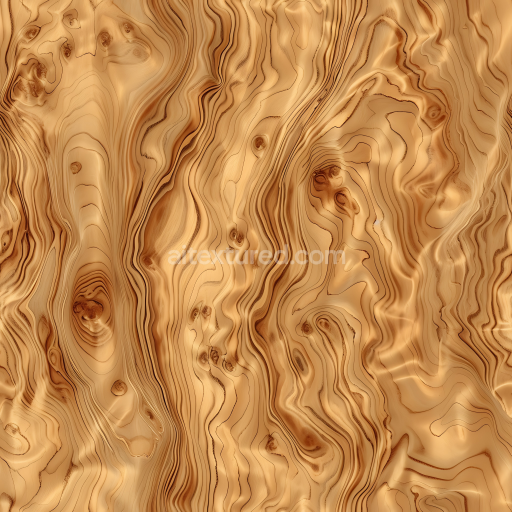
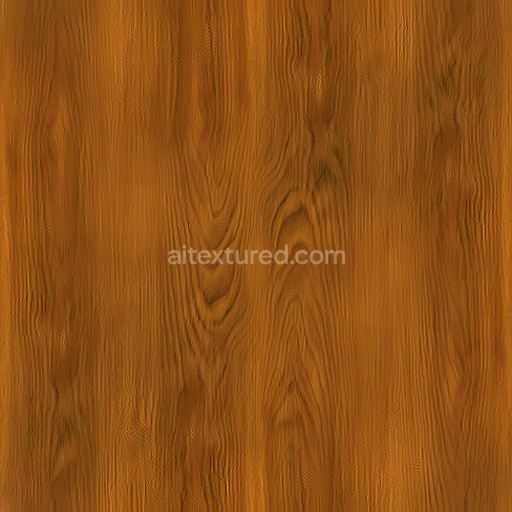
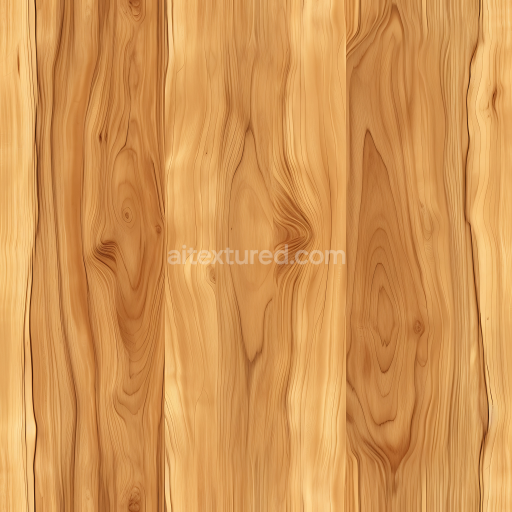
Wood Texture of Curved Wooden Planks with Rich Grain and Warm Tones
Seamless texture (tileable) · PNG, WEBP, PBR ZIP. License: AITextured Free Commercial License (FCL) v1.1. Free personal and commercial use. Raw resale, standalone redistribution, mirroring/scraping, competing asset packs, and AI/ML training are not allowed without written permission. Attribution is not required, but appreciated..

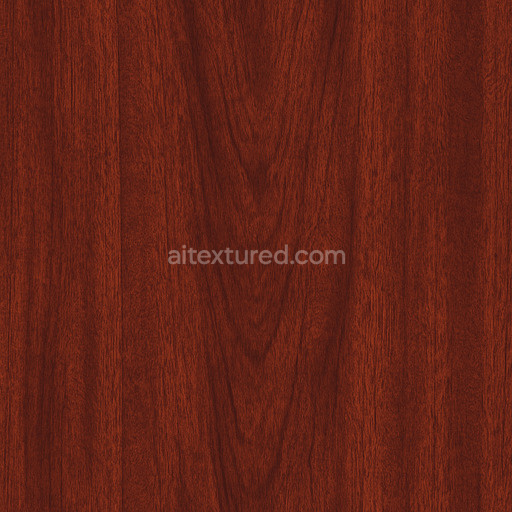
| ID | mahogany-panels-glossy-finish |
|---|---|
| Category | Wood |
| Formats | PNG, WEBP, PBR ZIP |
| Size | 1k (1024x1024px), 2k (2048x2048px), 4k (4096x4096px), 8k (8192x8192px) |
| Color | sRGB |
| Tileable | Yes |
The mahogany panels glossy finish texture is an expertly crafted generated seamless wood material designed to enhance wood-based workflows within contemporary 3D pipelines. At its foundation this texture faithfully replicates the rich dense structure of mahogany—a fine-grained hardwood prized for its deep reddish-brown hues and natural luster. The surface showcases a polished glossy finish that accentuates the wood’s inherent natural oils and smoothness effectively capturing the subtle interplay of light across the panels. The grain orientation is meticulously represented to preserve the organic flow and complexity characteristic of real mahogany wood while the texture’s low porosity and minimal weathering effects reflect a pristine well-maintained surface typical of premium interior paneling. This combination results in a visually compelling and realistic wood surface suitable for diverse 3D applications.
In terms of materials and composition this tileable mahogany panels glossy finish texture embodies the core attributes of wood substrates with no added metallic elements maintaining the natural integrity of the hardwood. The binders and adhesives that might be present in real panel construction are subtly implied through the smooth transitions and panel joins enhancing realism. The fine grain and panel structure are encoded within the Normal map while the BaseColor/Albedo map delivers the warm saturated pigment tones that define mahogany’s signature reddish-brown palette. The Roughness map governs the reflective qualities of the polished finish offering a convincing glossy surface without excessive shine. Metallic remains near zero to preserve the organic wood character. Ambient Occlusion emphasizes depth in crevices and joints adding dimensionality while the Height/Displacement map provides tactile surface relief that enhances realism in close-up renders or large-scale applications.
Available in ultra-high resolution up to 8K this seamless mahogany panels glossy finish texture ensures exceptional clarity and sharpness even on expansive UV islands eliminating visible seams or distortions. Fully optimized for seamless integration with industry-standard 3D software such as Blender Unreal Engine and Unity it supports photorealistic renders and real-time 3D preview environments with ease. For optimal results it is recommended to maintain consistent UV scaling to preserve texture fidelity and avoid stretching. Additionally adjusting the Roughness map allows you to customize the glossiness level from a freshly varnished sheen to a subtler satin finish depending on your project’s lighting and stylistic requirements. Utilizing the Height or Displacement maps further enriches the visual depth of the mahogany panels enhancing tactile authenticity in close-up views and immersive environments.
Import the texture maps into Blender with sRGB color space for albedo/base color and Non-Color for normal, roughness, metallic, AO, height, and ORM maps. Connect normal maps through a Normal Map node, then adjust UV scale with a Mapping node so the material repeats naturally on your model.
For the full step-by-step setup, see How to Use Seamless Textures in Blender. Browse related material examples in wood, concrete, and metal.
Yes. This texture is designed as a seamless tileable PBR material, so it can repeat across large surfaces without visible borders.
You can download PNG/WEBP versions and use 1K, 2K, 4K and 8K download options when available on the page.
Yes. The download options and engine-mapped ZIP workflow are designed for Blender, Unreal Engine, Unity Standard, URP and HDRP material pipelines.
Yes. The texture is available under the AITextured free commercial license. Review the license page for redistribution and AI-training restrictions.


Generate, preview, and export seamless PBR materials for Blender, Unity, and Unreal Engine—directly in your browser.
AI text-to-texture: type a prompt and get a seamless, tileable base image ready for PBR workflows (great starting point for materials).
Create a full PBR set (Normal, Roughness, AO, Metallic, etc.) from a single image. Seamless and tiling-friendly.
Instant WebGL viewer: inspect materials on a sphere, plane, and cube. Check tiling and lighting in real time.
Re-packages maps per engine: Unreal (BaseColor + ORM), Unity (Mask/MetallicSmoothness), Blender (separate channels).
PNG ↔ JPG ↔ SVG: fast convert, SVG rasterize, embed/trace options, quality & background controls.