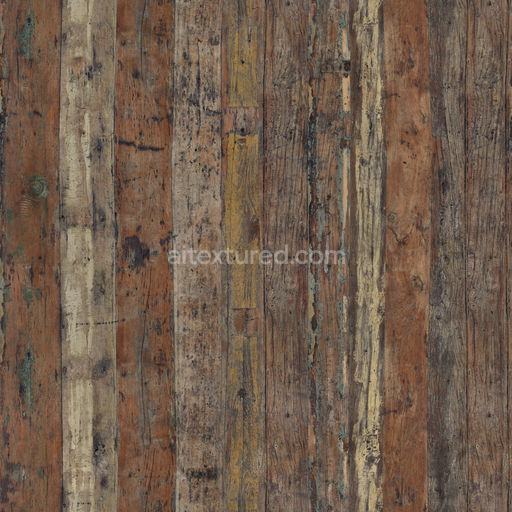
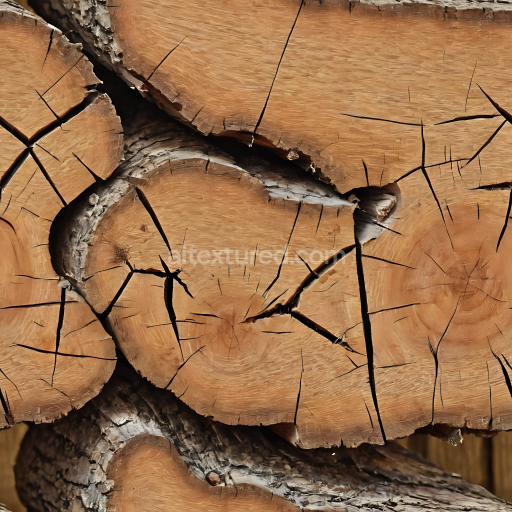
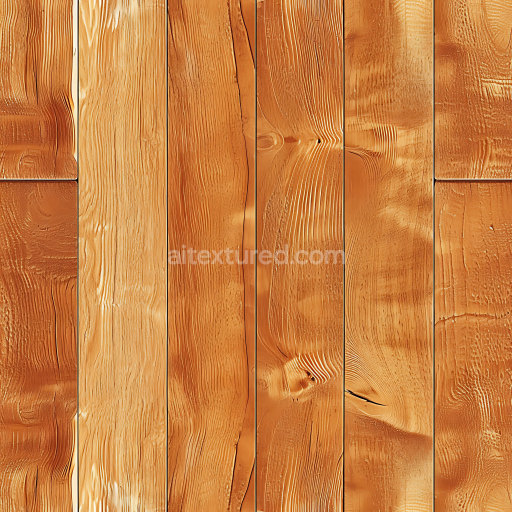
Distressed Wood - Worn Albedo Normal Wooden Planks
Seamless texture (tileable) · PNG, WEBP, PBR ZIP. License: AITextured Free Commercial License (FCL) v1.1. Free personal and commercial use. Raw resale, standalone redistribution, mirroring/scraping, competing asset packs, and AI/ML training are not allowed without written permission. Attribution is not required, but appreciated..

| ID | stylized-board-floor-flooring-particle-wood |
|---|---|
| Category | Wood |
| Formats | PNG, WEBP, PBR ZIP |
| Size | 1k (1024x1024px), 2k (2048x2048px), 4k (4096x4096px), 8k (8192x8192px) |
| Color | sRGB |
| Tileable | Yes |
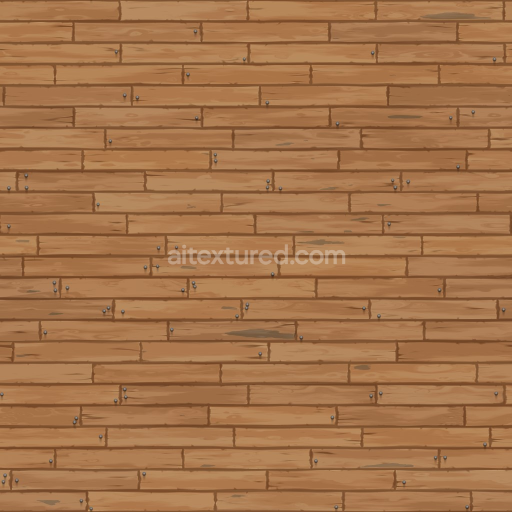
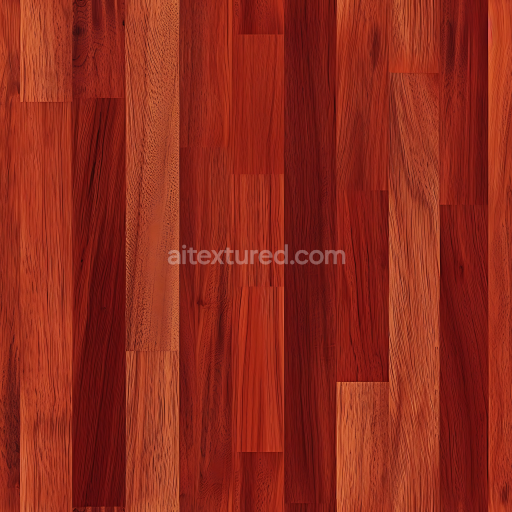
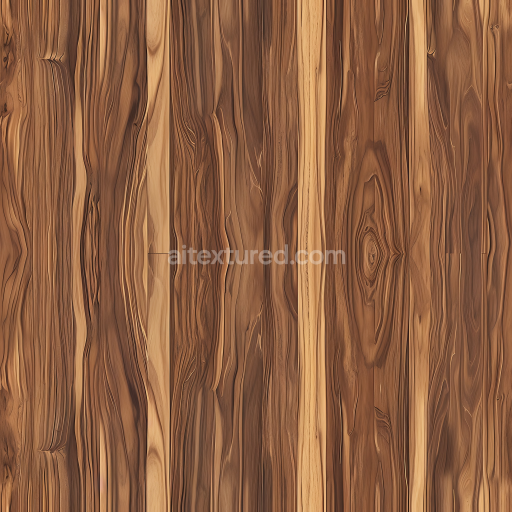
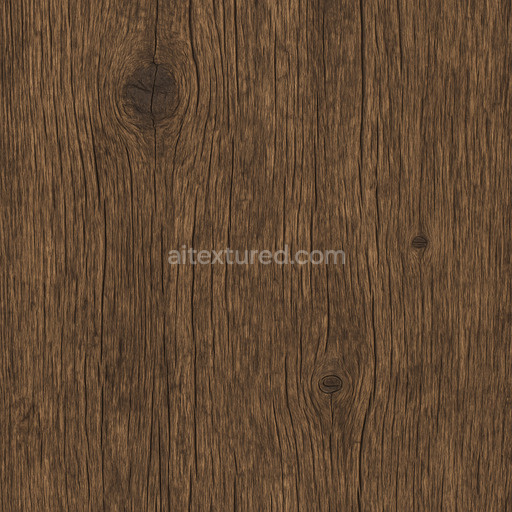
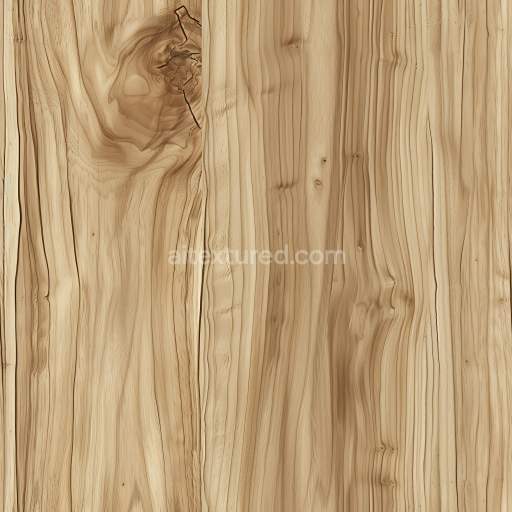
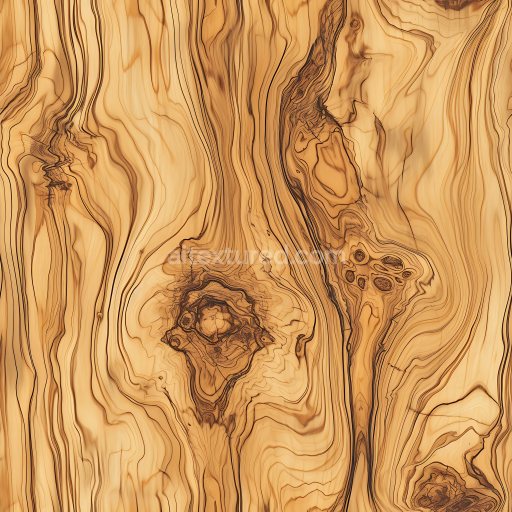
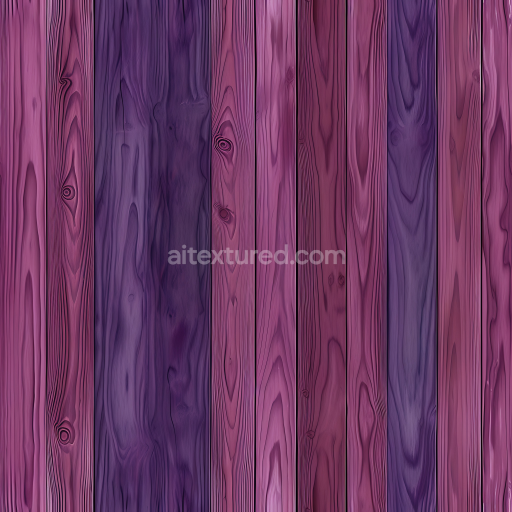
This stylized board floor flooring particle wood seamless PBR texture expertly captures the nuanced characteristics of engineered wood surfaces by combining the natural grain patterns of wood with the unique imperfections inherent in particle board composition. The base substrate consists primarily of finely compressed wood fibers bonded together with resin binders creating a stable and consistent engineered material. This composition results in a surface featuring a refined grain orientation and controlled porosity which mimics the subtle texture of natural wood while maintaining the uniformity expected from manufactured panels. The surface finish is designed to resemble lightly sanded and sealed wood offering a matte yet tactile appearance that balances smoothness with organic roughness. Embedded warm brown pigments and natural wood dyes enrich the color palette providing a deep consistent tone that enhances the realistic representation of stylized wood flooring in digital environments.
This texture set is tailored for physically based rendering workflows incorporating all essential PBR maps to faithfully reproduce the material's look under various lighting conditions. The BaseColor (Albedo) map highlights the warm stylized wood hues alongside visible particle wood flecks while the Normal map adds depth by simulating the micro-relief of the wood grain and subtle surface irregularities. The Roughness map controls the semi-matte finish typical of particle wood flooring ensuring a natural balance between shine and diffusion. Metallic values remain negligible reflecting the inherently non-metallic nature of the wood composite. Ambient Occlusion enhances shadowing in the crevices formed by compressed fibers adding depth and realism whereas the Height/Displacement map introduces slight elevation changes that improve close-up detail and tactile perception. The seamless design guarantees flawless tiling making it ideal for extensive flooring coverage in architectural visualization game engines like Unreal Engine and Unity or offline renderers such as Blender Cycles.
Rendered at up to 8K resolution this texture provides exceptional detail and flexibility for high-fidelity visualization projects ensuring crisp and clear surface definition even on large-scale models. It has been calibrated to standard color spaces and gamma settings to facilitate seamless integration with diverse rendering pipelines. For optimal results it is recommended to adjust the UV scale to match the actual size of floor panels avoiding repetitive patterns and enhancing realism. Additionally slightly increasing roughness values in game engines can better replicate the semi-rough finish of particle wood surfaces improving light interaction and contributing to a more authentic final appearance during look development and real-time rendering.
Import the texture maps into Blender with sRGB color space for albedo/base color and Non-Color for normal, roughness, metallic, AO, height, and ORM maps. Connect normal maps through a Normal Map node, then adjust UV scale with a Mapping node so the material repeats naturally on your model.
For the full step-by-step setup, see How to Use Seamless Textures in Blender. Browse related material examples in wood, concrete, and metal.
Yes. This texture is designed as a seamless tileable PBR material, so it can repeat across large surfaces without visible borders.
You can download PNG/WEBP versions and use 1K, 2K, 4K and 8K download options when available on the page.
Yes. The download options and engine-mapped ZIP workflow are designed for Blender, Unreal Engine, Unity Standard, URP and HDRP material pipelines.
Yes. The texture is available under the AITextured free commercial license. Review the license page for redistribution and AI-training restrictions.


Build, preview, and export seamless PBR materials. Generate full map sets from a single image, inspect them in a real-time WebGL viewer, and re-package maps for Unreal, Unity, and Blender—directly in your browser.
AI text-to-texture: type a prompt and get a seamless, tileable base image ready for PBR workflows (great starting point for materials).
Create a full PBR set (Normal, Roughness, AO, Metallic, etc.) from a single image. Seamless and tiling-friendly.
Instant WebGL viewer: inspect materials on a sphere, plane, and cube. Check tiling and lighting in real time.
Re-packages maps per engine: Unreal (BaseColor + ORM), Unity (Mask/MetallicSmoothness), Blender (separate channels).
PNG ↔ JPG ↔ SVG: fast convert, SVG rasterize, embed/trace options, quality & background controls.