Free 3D Texture Tools — Generate, Preview, and Export PBR Materials Online
Welcome to the AITEXTURED Tools hub. Here you can generate textures from text prompts, turn a single image into a full PBR map set, preview materials in real-time WebGL, and re-package maps for Unreal Engine, Unity (URP/HDRP/Standard), and Blender — all in your browser. Every tool is built for clean workflows, seamless tiling, and export-ready outputs from 1K up to 8K.
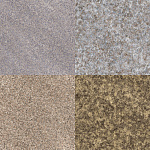
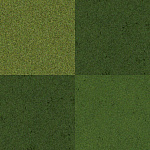
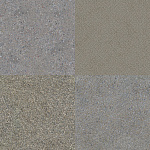
3D Texture Generator (AI text-to-texture)
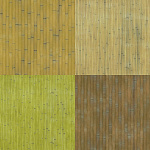
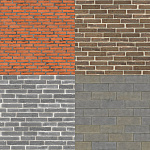
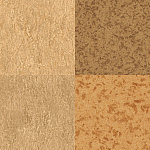
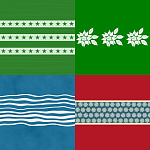
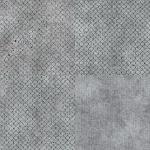
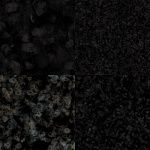
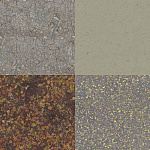
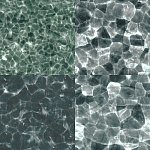
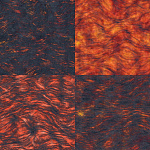
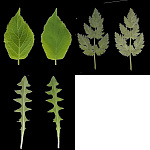
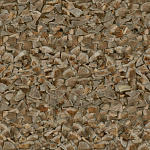
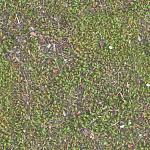
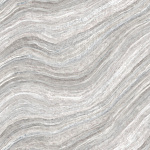
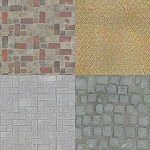
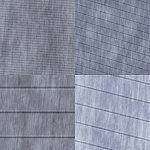
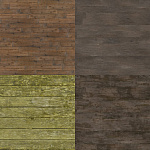
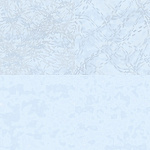
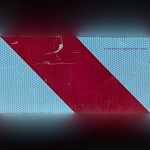
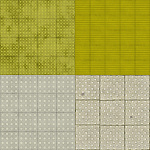
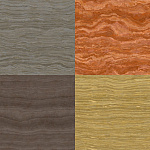
The 3D Texture Generator creates a seamless, tileable base texture from a simple text prompt. Describe what you need — “polished green marble with subtle white veining”, “industrial brushed aluminum with fine anisotropy”, “weathered pine planks with light knots” — and get a high-quality starting image that’s ready for PBR processing and tiling.
Main features
- Text-to-texture: turn short prompts into tileable, PBR-friendly base images.
- Seamless by design: results are generated with tiling in mind to minimize edge seams.
- Export sizes: iterate at 1K, then upscale to 2K/4K/8K for production.
- Great starting point: feed the output directly into the PBR Texture Generator to produce full maps.
- Creative control: guide style, color, and surface character via prompt wording.
How to write effective prompts
- State the material and a few traits: “matte ceramic tiles, 10×10 cm, micro-pitting, slight glaze.”
- Specify variation and cleanliness: “subtle dirt, light wear on edges, no harsh stains.”
- Aim for flat, even lighting: mention “no hard shadows, no specular highlights” in your prompt.
- For patterns, include scale cues: “fine grain,” “medium pebbles,” “large slabs,” etc.
How to use
- Open 3D Texture Generator and enter a concise prompt.
- Generate at 1K to evaluate texture character and tiling behavior.
- When satisfied, export at higher resolutions (2K/4K/8K) for production assets.
- Optionally pass the image into the PBR Texture Generator to derive Normal, Roughness, AO, Metallic, and Height maps.
Quality tips
- Keep prompts specific: material type, finish (matte/gloss), and micro-details produce more usable results.
- Prefer neutral color balance and avoid stylized lighting; you’ll add lighting in-engine.
- Use the Previewer to verify tiling; tweak your prompt if you see periodic motifs.
PBR Texture Generator
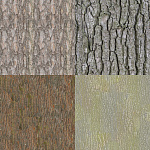
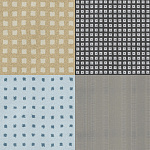
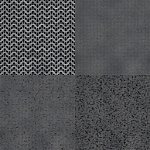
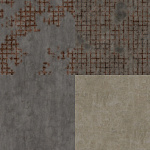
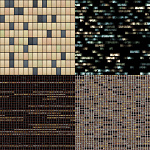
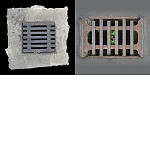
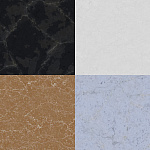
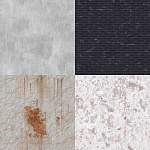
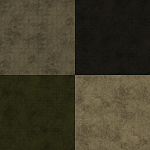
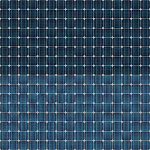
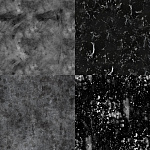
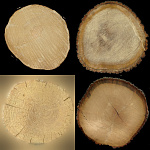
The PBR Texture Generator transforms a single photo or AI-generated image into a complete, tileable material. It produces the key maps used in modern physically-based shading: Albedo/Base Color, Normal, Roughness, Ambient Occlusion (AO), Metallic, and optionally Height. Results are seamless-friendly and designed for predictable behavior across DCCs and engines.
Main features
- Single-image input → full PBR set (including optional packed ORM).
- Seamless & tiling-friendly processing to minimize edge artifacts and visible seams.
- Resolution selector: export 1K, 2K, 4K, or 8K PNG.
- Normal strength, roughness contrast, and AO intensity controls.
- Metalness logic for correct dielectric/metal workflows.
Inputs & outputs
material_albedo.png— base color (lighting-free)material_normal.png— surface detail; DX/GL conventions supported downstreammaterial_roughness.png— micro-surface scattering (0 = glossy, 1 = rough)material_metallic.png— metalness mask (0/1 for most cases)material_ao.png— ambient occlusionmaterial_height.png— optional displacement/parallaxmaterial_ORM.png— optional packing: R=AO, G=Roughness, B=Metallic
How to use
- Open PBR Texture Generator and drop an image (from camera or AI output).
- Iterate at 1K, then export at 4K/8K for final use.
- Tune normal, roughness, and AO to match real-world references.
- Export required maps and proceed to preview or engine mapping.
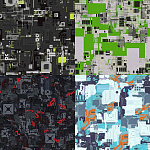
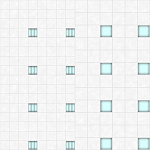
Online Texture Preview
The Online Texture Preview is a fast, WebGL-based material viewer (Three.js). Load Albedo, Normal, Roughness, Metallic, AO, and Height maps to see the material on a sphere, plane, or cube. It’s ideal for checking tiling, scale, and lighting response before you commit assets to a project.
Why this viewer
- Real-time feedback with PBR lights and IBL.
- Tiling inspection on a plane to reveal seams or repeating clusters.
- Camera & light controls to stress-test materials at grazing angles.
- Mobile friendly for quick checks on responsive layouts.
How to use
- Open Online Texture Preview and drag in your maps.
- Switch between primitives and scrub light direction to expose highlights/defects.
- Use plane tiling (3–5×) to ensure seam-safety.
Unity / Unreal / Blender Mapper
Engines expect maps differently. The Engine Mapper repackages your PBR set for Unreal, Unity (Standard/URP/HDRP), and Blender, handling normal map conventions and channel packing automatically. It outputs clean, clearly named PNGs (and packed maps where required).
What it does
- Normal-map conventions: choose DX or GL (green channel flip) or auto-detect from filenames.
- Unreal: BaseColor, Normal_[DX/GL], ORM (R=AO, G=Roughness, B=Metallic).
- Unity Standard/URP: Albedo, Normal_[DX/GL], MetallicSmoothness (R=Metallic, A=Smoothness=1-Roughness), Occlusion (G=AO).
- Unity HDRP: BaseColor, Normal_[DX/GL], MaskMap (R=Metallic, G=AO, B=DetailMask=1, A=Smoothness).
- Blender: Base Color, Normal_[DX/GL], Roughness, Metallic, AO, optional Height.
How to use
- Open the Mapper and add your exported maps.
- Select a target (Unreal, Unity Standard/URP/HDRP, Blender).
- Pick Normal convention (DX vs GL) if needed, or let auto-detect decide.
- Export a consistent, engine-ready set with correct packing and naming.
Recommended Workflows
Option A — From prompt to engine-ready
- Generate base: Use 3D Texture Generator to create a seamless starting texture from a prompt.
- Derive maps: Feed that image into the PBR Texture Generator to produce Normal, Roughness, AO, Metallic, Height.
- Preview: Load all maps into the Online Texture Preview and check tiling/lighting.
- Export for engine: Re-package in the Mapper for Unreal/Unity/Blender.
Option B — From a photograph or scan
- Clean source: Use an evenly lit, sharp image with minimal shadows.
- Generate PBR: Process with the PBR Texture Generator.
- Preview and iterate: Validate in the Previewer.
- Finalize for engine: Export via the Mapper.
Fine-tuning roughness for realism
- Use roughness contrast to separate polished vs worn zones without introducing blotches.
- Evaluate highlights at grazing angles in the Previewer.
- Mind target conventions (Unity Smoothness vs generic Roughness).
Channel-packing hygiene
When packing to ORM (Unreal) or MaskMap (Unity HDRP), keep ranges sensible: avoid crushed AO, ensure roughness spans a useful 0–1 range, and clamp metallic to physical values (0 for dielectrics, 1 for true metals).
Best Practices for Game-Ready Materials
- Consistent scale: set a meters-per-unit baseline and match texture scale to models.
- Lighting-free albedo: no baked highlights or deep shadows.
- Metalness discipline: dielectrics = 0; metals = 1; mixed only at real transitions (e.g., paint chips).
- Roughness drives realism: prioritize natural variation over uniform noise.
- Normal vs Height: Normal for micro-detail; Height for parallax/displacement when budget allows.
- Tile smartly: use plane tiling to catch repeats; break patterns with rotation/decals/trim sheets.
- Mip/aliasing awareness: overly sharp normals can shimmer; soften if moiré appears.
Troubleshooting
Normals look inverted or “puffy”.
Flip the green channel by switching between DX and GL in the Mapper.
Seams visible when tiling.
Re-export from the Generator with seamless wrapping; verify in the Previewer at 3–5× repeats.
Surface reads as plastic/flat.
Increase roughness contrast, check albedo levels, and ensure metallic=0 for non-metals. Validate at grazing angles.
Packed channels don’t match engine expectations.
Use the correct target preset in the Mapper (Unreal ORM, Unity MetallicSmoothness/MaskMap, Blender separate maps).
AI prompt results are too stylized.
Refine the 3D Texture Generator prompt: ask for “neutral, flat lighting”, “no hard shadows”, “natural color”, “subtle variation”.
Frequently Asked Questions
Can I generate textures from text prompts?
Yes — use the 3D Texture Generator. It produces a seamless, tileable base image you can process into full PBR maps.
What is a PBR material?
A PBR (Physically Based Rendering) material simulates real-world light interaction using maps like Albedo, Normal, Roughness, Metallic, AO, and Height. These maps work together to produce consistent results across engines.
Which resolutions do you support?
Export 1K, 2K, 4K, and 8K. Use 1K for look-dev, 2K–4K for production, and 8K for extreme close-ups or large hero assets.
Do I need all maps?
No. Many workflows ship with Albedo + Normal + Roughness. AO, Metallic, and Height add nuance when needed.
How do I check if a texture is seamless?
The Online Texture Preview plane mode reveals seams instantly. Increase repeats to 3–5× to stress-test.
What does “DX vs GL normal” mean?
DirectX and OpenGL differ in the Y (green) channel direction for normal maps. The Mapper flips the channel to match the target engine.
Can I pack AO, Roughness, and Metallic together?
Yes. Use Unreal’s ORM (R=AO, G=Roughness, B=Metallic) or Unity’s MaskMap/MetallicSmoothness; the Mapper handles packing automatically.
What’s the recommended order of operations?
Generate (prompt or photo) → Derive PBR maps → Preview & tile-check → Map for engine.
Get Started
- Generate a seamless base texture from a prompt
- Turn a single image into a full PBR set
- Preview and tile-check in WebGL
- Export engine-ready maps
Whether you’re building game environments, archviz scenes, or material libraries, these tools help you move from idea to engine-ready quickly, with clean, consistent outputs and repeatable results.