How to Use Seamless Textures in Blender
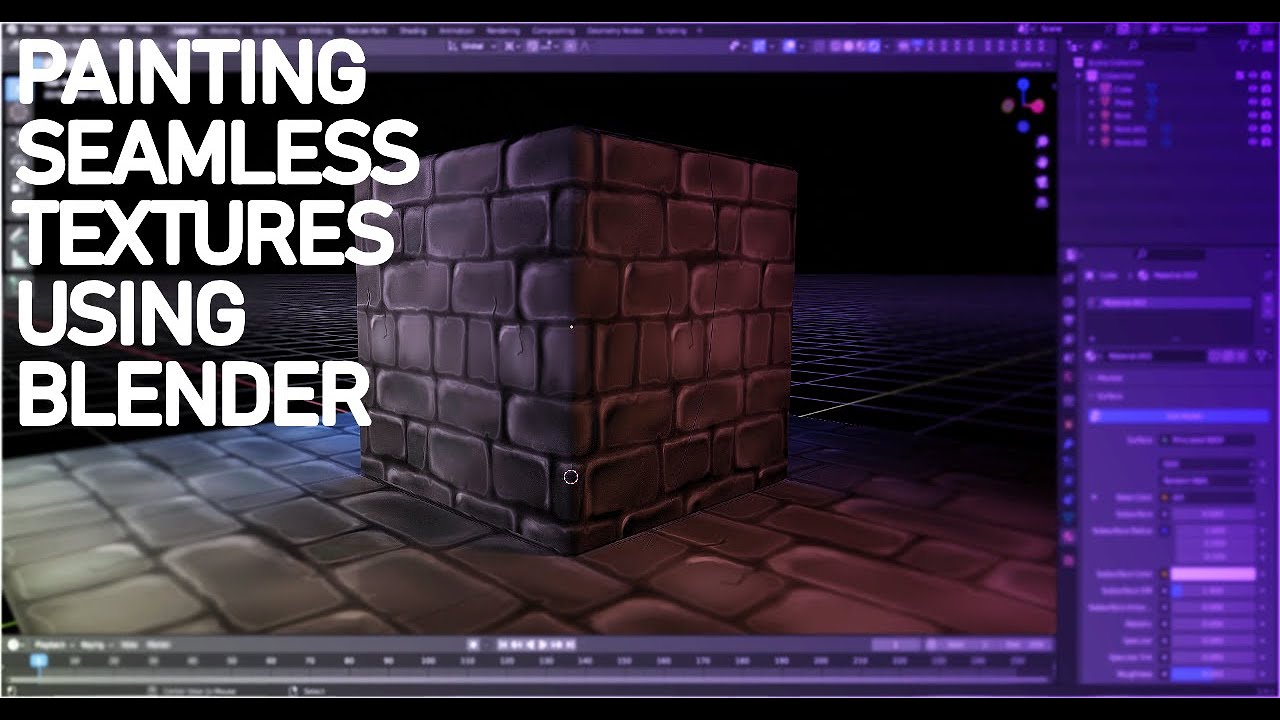
How to Use Seamless Textures in Blender
Seamless textures are a cornerstone of realistic 3D graphics. Whether you are creating a photorealistic architectural visualization, a detailed video game environment, or an animated short film, tileable materials allow you to cover large surfaces with consistent detail and without the distraction of visible seams. In Blender, the ability to apply seamless textures efficiently can significantly improve both the quality and performance of your projects.
This article will guide you through the process of working with seamless textures in Blender — from basic setup to advanced PBR workflows — and share useful tips to make your materials look more professional.
1. What Are Seamless Textures and Why They Matter
A seamless texture is an image that can repeat indefinitely in all directions without creating noticeable borders or mismatched edges. For example, a wood plank texture with visible seams would break immersion on a floor, while a properly seamless version creates the illusion of infinite, natural variation.
Seamless textures are important because they:
-
Save time – no need to manually paint or align textures across UV seams.
-
Save resources – instead of a giant texture, a smaller one can be tiled repeatedly.
-
Increase realism – surfaces like stone, concrete, grass, or leather look natural at any scale.
-
Enhance flexibility – the same texture can be reused across many objects in different scenes.
In Blender, seamless textures are especially effective when combined with procedural modifiers (noise, masks, decals) that break repetition and add variation.
2. Preparing Blender for Seamless Textures
Before importing textures, make sure your Blender scene is set up for efficient material work:
-
Switch to Cycles or Eevee renderer – both handle seamless textures well, but Cycles provides more accurate realism.
-
Organize texture files – save your images in a clear folder structure (e.g.,
/textures/wood/flooring/). -
Enable Node Wrangler add-on – this Blender add-on (included by default) speeds up texture connections with a few shortcuts (
Ctrl+Shift+Clickto preview).
3. Applying a Seamless Texture
Let’s go step by step:
-
Select your object (for example, a cube representing a wall).
-
In the Shading workspace, create a new material.
-
Add an Image Texture node (
Shift + A → Texture → Image Texture). -
Load your seamless image (PNG, JPG, WEBP).
-
Connect Color → Base Color of the Principled BSDF shader.
At this point, the texture is visible on your object. But the key step is adjusting how it tiles.
4. Controlling Texture Tiling and Scale
By default, Blender may stretch the texture oddly. To fix this:
-
Add a Texture Coordinate node and a Mapping node.
-
UV → Mapping → Image Texture (Vector input).
-
-
In the Mapping node, adjust Scale (X and Y) to repeat the texture.
-
Example: Scale = 5 makes the texture tile 5 times across the surface.
-
Because the texture is seamless, the pattern will repeat smoothly without visible lines.
💡 Pro Tip: For very large surfaces like terrain or walls, combine tiling with a second noise texture mixed in at a lower scale. This breaks visual monotony.
5. Using PBR Texture Sets
While a single seamless image works, professional results come from PBR textures. PBR (Physically Based Rendering) simulates how materials interact with light. A full PBR texture set usually includes:
-
Albedo (Color) – the surface’s base color.
-
Normal Map – adds fine details like grooves, scratches, pores.
-
Roughness Map – controls shininess (glossy plastic vs. matte concrete).
-
Metallic Map – defines metallic vs. non-metallic parts.
-
Displacement/Height Map – actually deforms geometry for realism.
How to Set Them Up in Blender:
-
Load each map into its own Image Texture node.
-
Connect them properly:
-
Normal Map → Normal input of Principled BSDF.
-
Roughness → Roughness input.
-
Height → Displacement input (via Displacement node).
-
-
Adjust strengths to avoid over-exaggerated bumps.
With PBR maps, a flat plane can look like a cobblestone street or a rusty sheet of metal.
6. Advanced Tips for Seamless Textures
Here are some professional tricks to get the best results:
-
Mix with Procedural Shaders: Add noise, grunge, or masks to introduce randomness.
-
Use UV Unwrapping Carefully: For irregular shapes, unwrap manually to avoid stretching.
-
Break Repetition: Even seamless textures can look repetitive if tiled too much. Combine 2–3 variants and blend them.
-
Bake to Lower Res: If performance matters (games, real-time apps), bake the texture into a single map at the right resolution.
-
Match Real-World Scale: Always check that your texture scale matches real measurements (e.g., a brick should be ~20 cm long).
7. Common Mistakes to Avoid
-
Over-tiling – repeating too many times creates a pattern the human eye notices.
-
Ignoring UVs – seamless doesn’t mean UVs don’t matter; poor UV unwraps can distort textures.
-
Using low-quality sources – pixelated or blurry textures will ruin realism no matter how seamless.
-
Wrong map connections – for example, plugging a normal map into Color instead of a Normal Map node.
8. Where to Find Seamless Textures
There are many sources, but AI-powered libraries now generate unique seamless textures that don’t exist anywhere else.
👉 On AITextured.com
FAQ
What is covered in this guide?
This guide explains How to Use Seamless Textures in Blender with practical notes for seamless PBR materials, texture setup, and production use.
Can I use these texture techniques in Blender, Unreal Engine, and Unity?
Yes. The workflow focuses on standard PBR maps and tileable materials that can be used in Blender, Unreal Engine, Unity, archviz, games, and VFX pipelines.
Where can I find textures for this workflow?
Use the AITextured texture library and the related texture links on this page to find seamless PBR materials and preview them before download.
Related Textures
 Procedural Stamped Sidewalk Concrete PBR Texture
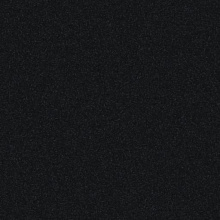 Procedural Fine Asphalt Road PBR Texture
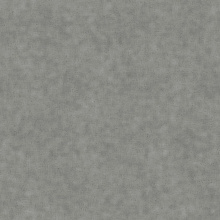 Procedural Pitted Concrete PBR Texture
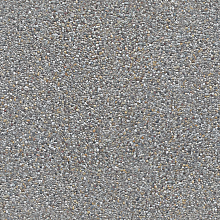 Seamless Concrete Pebble PBR Texture in 4K Resolution
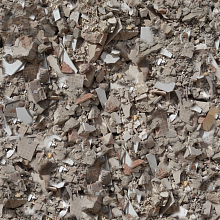 Seamless PBR Concrete Rubble Texture with Debris and Fragments
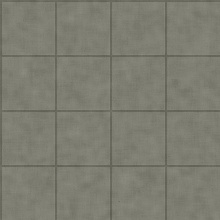
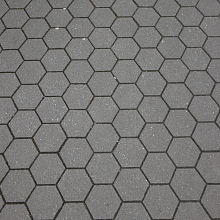 Seamless Hexagonal Concrete Tile PBR Texture 4K
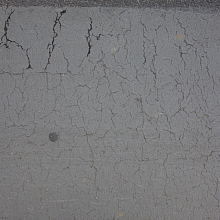 Cracked Asphalt Texture with Weathering