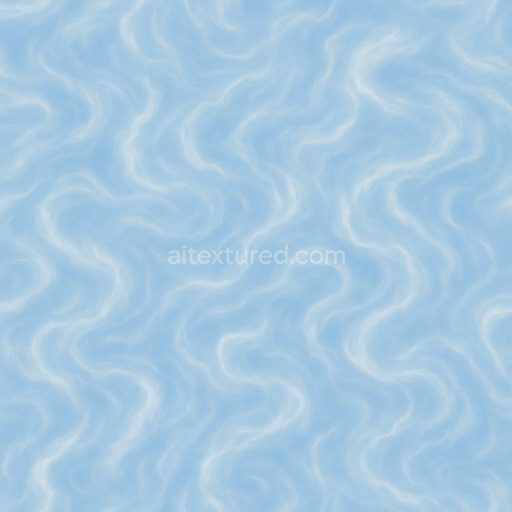
Realistic Air Seamless Texture
Seamless texture (tileable) · PNG, WEBP, PBR ZIP. License: AITextured Free Commercial License (FCL) v1.1. Free personal and commercial use. Raw resale, standalone redistribution, mirroring/scraping, competing asset packs, and AI/ML training are not allowed without written permission. Attribution is not required, but appreciated..

| ID | futuristic-wind-seamless-texture |
|---|---|
| Category | Air |
| Formats | PNG, WEBP, PBR ZIP |
| Size | 1k (1024x1024px), 2k (2048x2048px), 4k (4096x4096px), 8k (8192x8192px) |
| Color | sRGB |
| Tileable | Yes |
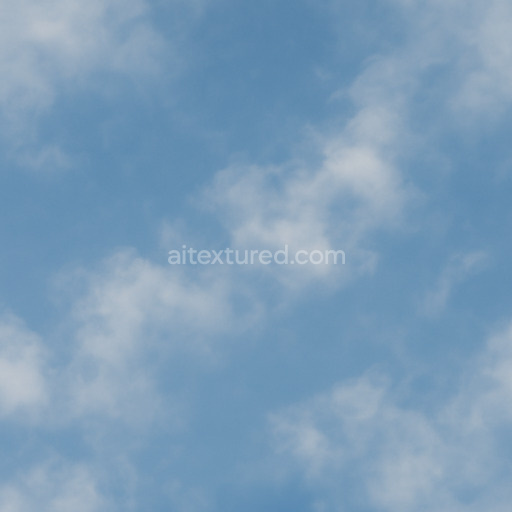
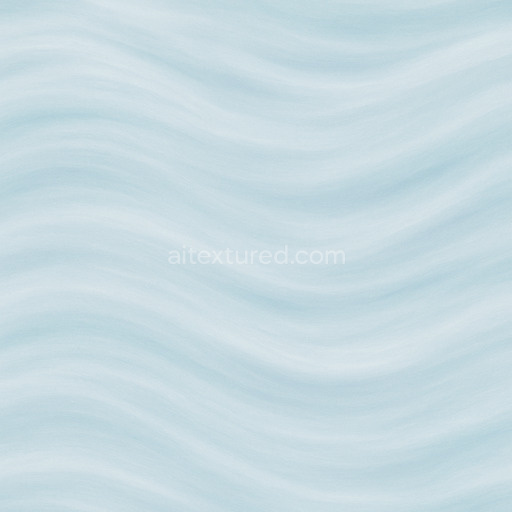
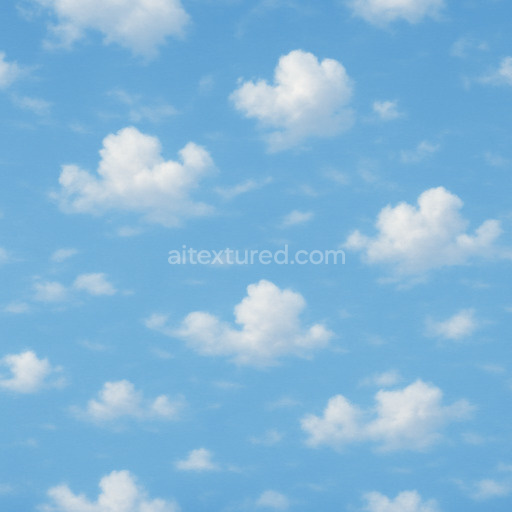
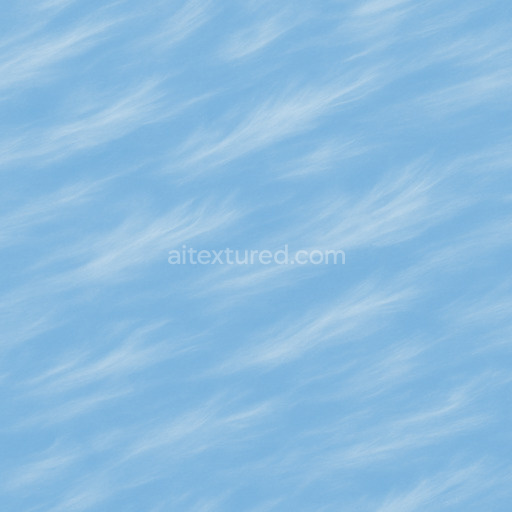
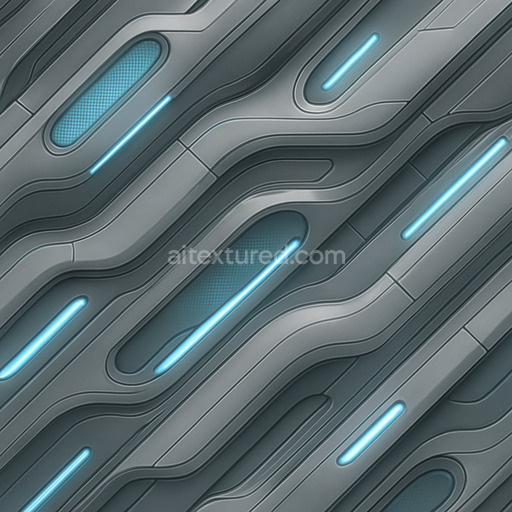
The Futuristic Wind Seamless Texture is a meticulously crafted digital material designed to evoke the dynamic and ethereal qualities of wind interacting with advanced synthetic surfaces. Its base substrate appears as a high-tech polymer composite subtly infused with fine metallic fibers that create a lightweight yet durable structure. This combination results in a surface with slight translucency and a smooth semi-matte finish reminiscent of brushed metal with minimal oxidation. Pigments within the texture lean toward cool airy tones—soft silvers pale blues and muted grays—that emphasize its connection to air and futuristic aesthetics. The pattern’s grain orientation suggests a fluid directional flow enhancing the sense of movement and energy while the texture’s low porosity ensures a sleek uniform appearance without rough patches or weathering effects.
In physically based rendering (PBR) workflows this seamless futuristic wind seamless texture excels in delivering realistic and versatile material channels. The BaseColor/Albedo map showcases the subtle interplay of metallic sheens and soft pigments while the Normal map provides delicate surface undulations that mimic gentle wind ripples and aerodynamic contours. The Roughness channel is finely tuned to balance smoothness with just enough micro-variation to avoid overly glossy or flat reflections maintaining a believable tactile quality. Metallic values are moderate reflecting the polymer-metal blend and Ambient Occlusion enhances depth in crevices reinforcing the texture’s dimensionality. Height or Displacement maps add nuanced surface relief making the texture ideal for close-up renders where subtle elevation changes enrich the perception of complexity and realism.
With resolutions reaching up to an impressive 8K this tileable futuristic wind seamless texture is optimized for use in demanding environments such as architectural visualization game development product mockups and interior staging. It integrates seamlessly into popular 3D software including Blender Unity and Unreal Engine providing predictable repeatable results that maintain consistent detail across vast surfaces. The texture’s seamless tiling ability ensures no visible seams or repetitive artifacts supporting large-scale applications without compromising visual fidelity. For enhanced realism a practical tip is to combine this texture with a subtle ambient occlusion pass and a light normal map overlay to enrich surface breakup without oversharpening. Adjusting the UV scale to moderate levels helps preserve the texture’s intricate pattern flow ensuring the futuristic wind effect remains dynamic and immersive throughout your project.
The generated futuristic wind seamless texture showcases intricate air textures with a realistic PBR appearance perfectly suited for detailed 3D preview and advanced material composition.
Import the texture maps into Blender with sRGB color space for albedo/base color and Non-Color for normal, roughness, metallic, AO, height, and ORM maps. Connect normal maps through a Normal Map node, then adjust UV scale with a Mapping node so the material repeats naturally on your model.
For the full step-by-step setup, see How to Use Seamless Textures in Blender. Browse related material examples in wood, concrete, and metal.
Yes. This texture is designed as a seamless tileable PBR material, so it can repeat across large surfaces without visible borders.
You can download PNG/WEBP versions and use 1K, 2K, 4K and 8K download options when available on the page.
Yes. The download options and engine-mapped ZIP workflow are designed for Blender, Unreal Engine, Unity Standard, URP and HDRP material pipelines.
Yes. The texture is available under the AITextured free commercial license. Review the license page for redistribution and AI-training restrictions.


Generate, preview, and export seamless PBR materials for Blender, Unity, and Unreal Engine—directly in your browser.
AI text-to-texture: type a prompt and get a seamless, tileable base image ready for PBR workflows (great starting point for materials).
Create a full PBR set (Normal, Roughness, AO, Metallic, etc.) from a single image. Seamless and tiling-friendly.
Instant WebGL viewer: inspect materials on a sphere, plane, and cube. Check tiling and lighting in real time.
Re-packages maps per engine: Unreal (BaseColor + ORM), Unity (Mask/MetallicSmoothness), Blender (separate channels).
PNG ↔ JPG ↔ SVG: fast convert, SVG rasterize, embed/trace options, quality & background controls.