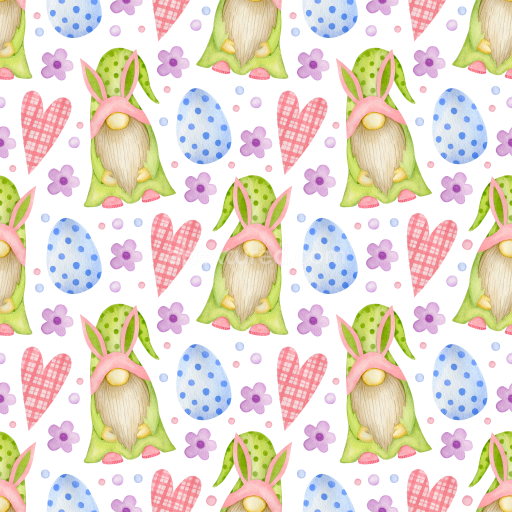
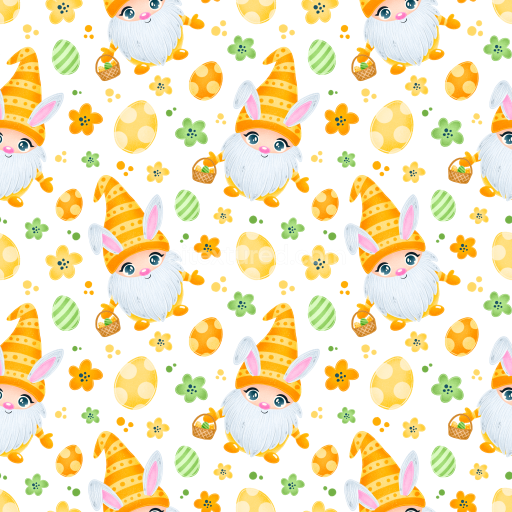
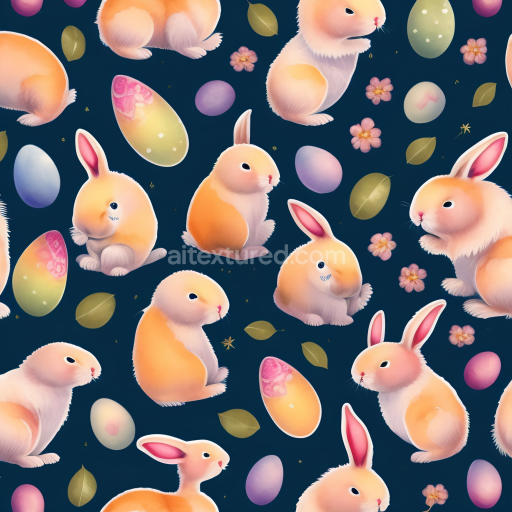
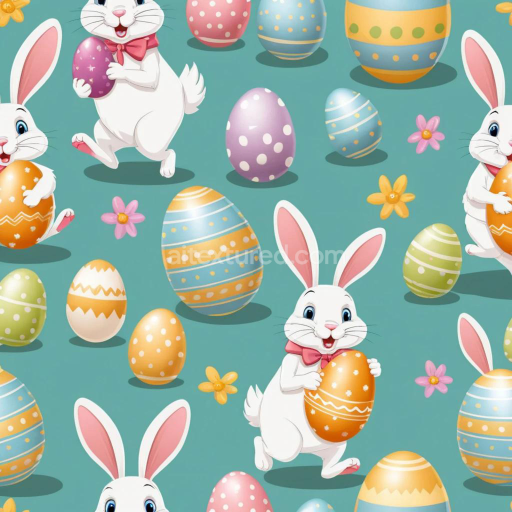
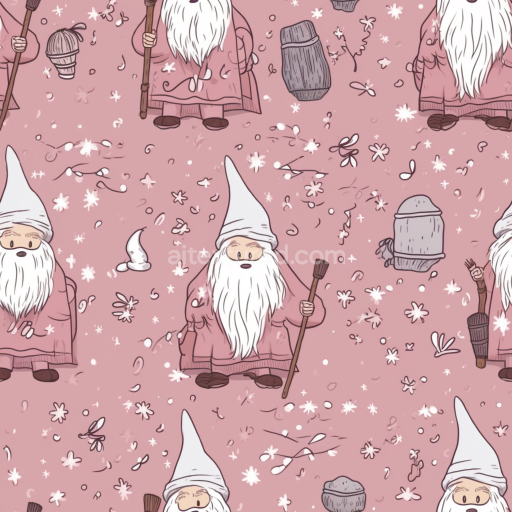
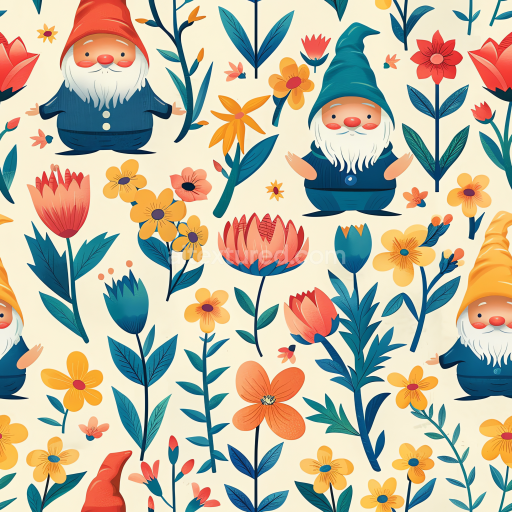
Seamless 3D PBR Texture with Cute Bunny in Colorful Tea Cups Pattern free download

. Formats: PNG . Free for personal & commercial use.
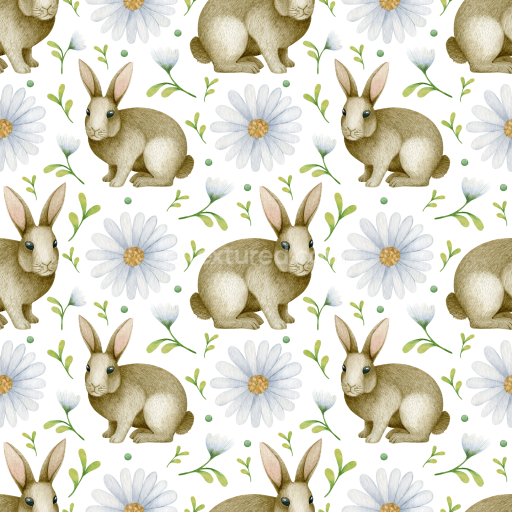
Preview — Seamless 3D PBR Texture with Cute Bunny in Colorful Tea Cups Pattern

IDall-easter-digital-paper-seamless-pbr-cute-bunny-tea-cup-digital-paper-texture
All Easter Digital paper
PNG
Size1k (1024x1024px), 2k (2048x2048px), 4k (4096x4096px), 8k (8192x8192px)
sRGB
This seamless PBR digital paper texture showcases a charming pattern of cartoon-style white bunnies nestled in colorful pastel tea cups. The tea cups come in soft yellow stripes, pink polka dots, light brown with white floral accents, and solid light blue decorated with a single daisy, all set against a pristine white backdrop. The bunnies have minimalistic features: pink cheeks, black eyes and noses, giving a cute and whimsical feel. Scattered white daisies with yellow centers fill the spaces between the cups, adding freshness and lightness to the overall design. The texture is completely smooth with flat matte surfaces, lacking any roughness or reflectivity, perfect for clean digital paper use in 3D projects. It is fully seamless and tileable, making it highly flexible for use in backgrounds, illustrations, product decorations, Easter-themed props, or springtime visuals. PBR ready and optimized for software like Blender, Unreal Engine, Unity, 3ds Max, and Cinema 4D, this texture suits any creative workflow requiring playful, lighthearted, and seamless digital patterns. Whether you're designing festive wrappers, children’s games, or digital storybook environments, this texture provides a fresh, soft mood with simple yet delightful Easter motifs.

How to Use These Seamless PBR Textures in Blender

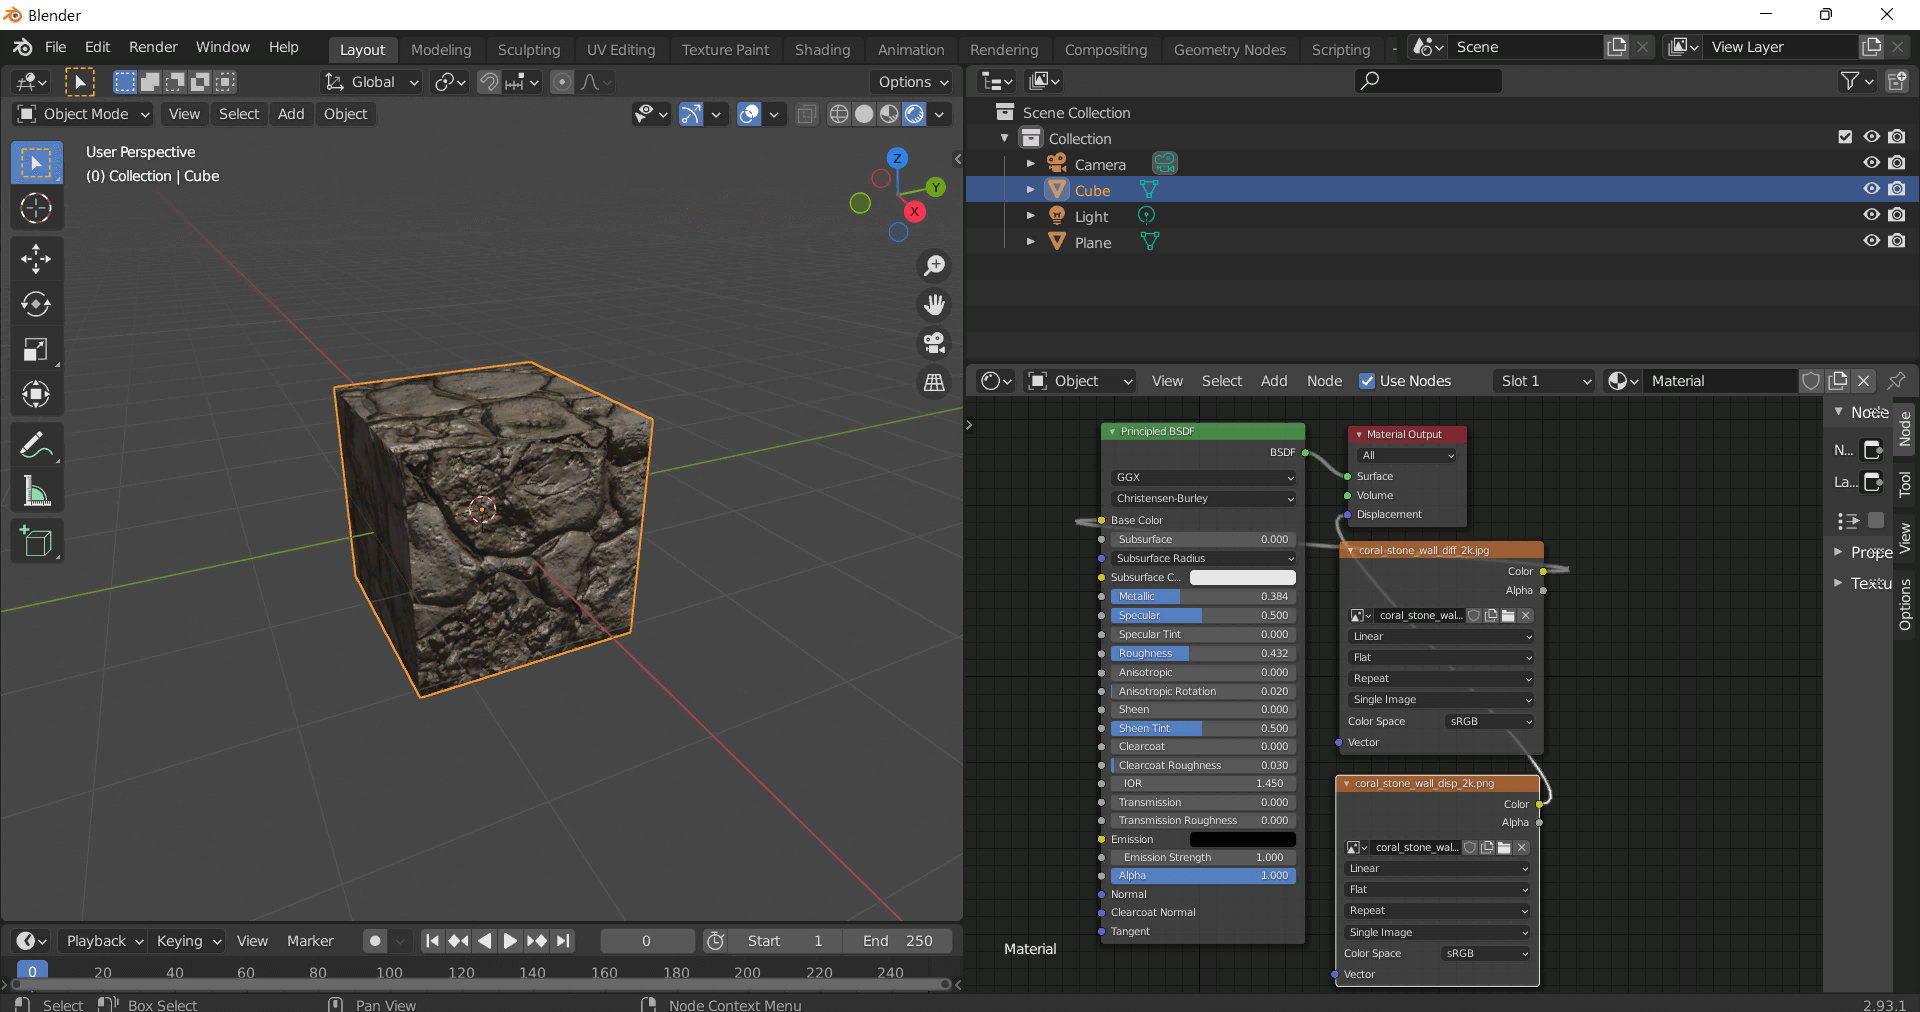
This guide shows how to connect a full PBR texture set to Principled BSDF in Blender (Cycles or Eevee). Works with any of our seamless textures free download, including PBR PNG materials for Blender / Unreal / Unity.

What’s inside the download

  • *_albedo.png — Base Color (sRGB)
  • *_normal.png — Normal map (Non-Color)
  • *_roughness.png — Roughness (Non-Color)
  • *_metallic.png — Metallic (Non-Color)
  • *_ao.png — Ambient Occlusion (Non-Color)
  • *_height.png — Height / Displacement (Non-Color)
  • *_ORM.png — Packed map (R=AO, G=Roughness, B=Metallic, Non-Color)
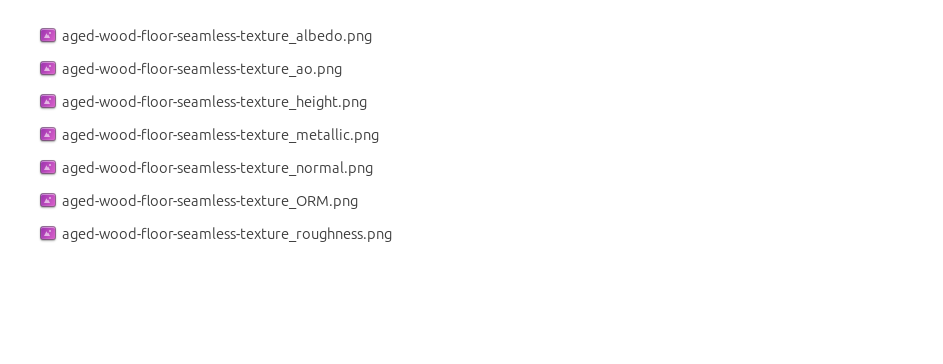
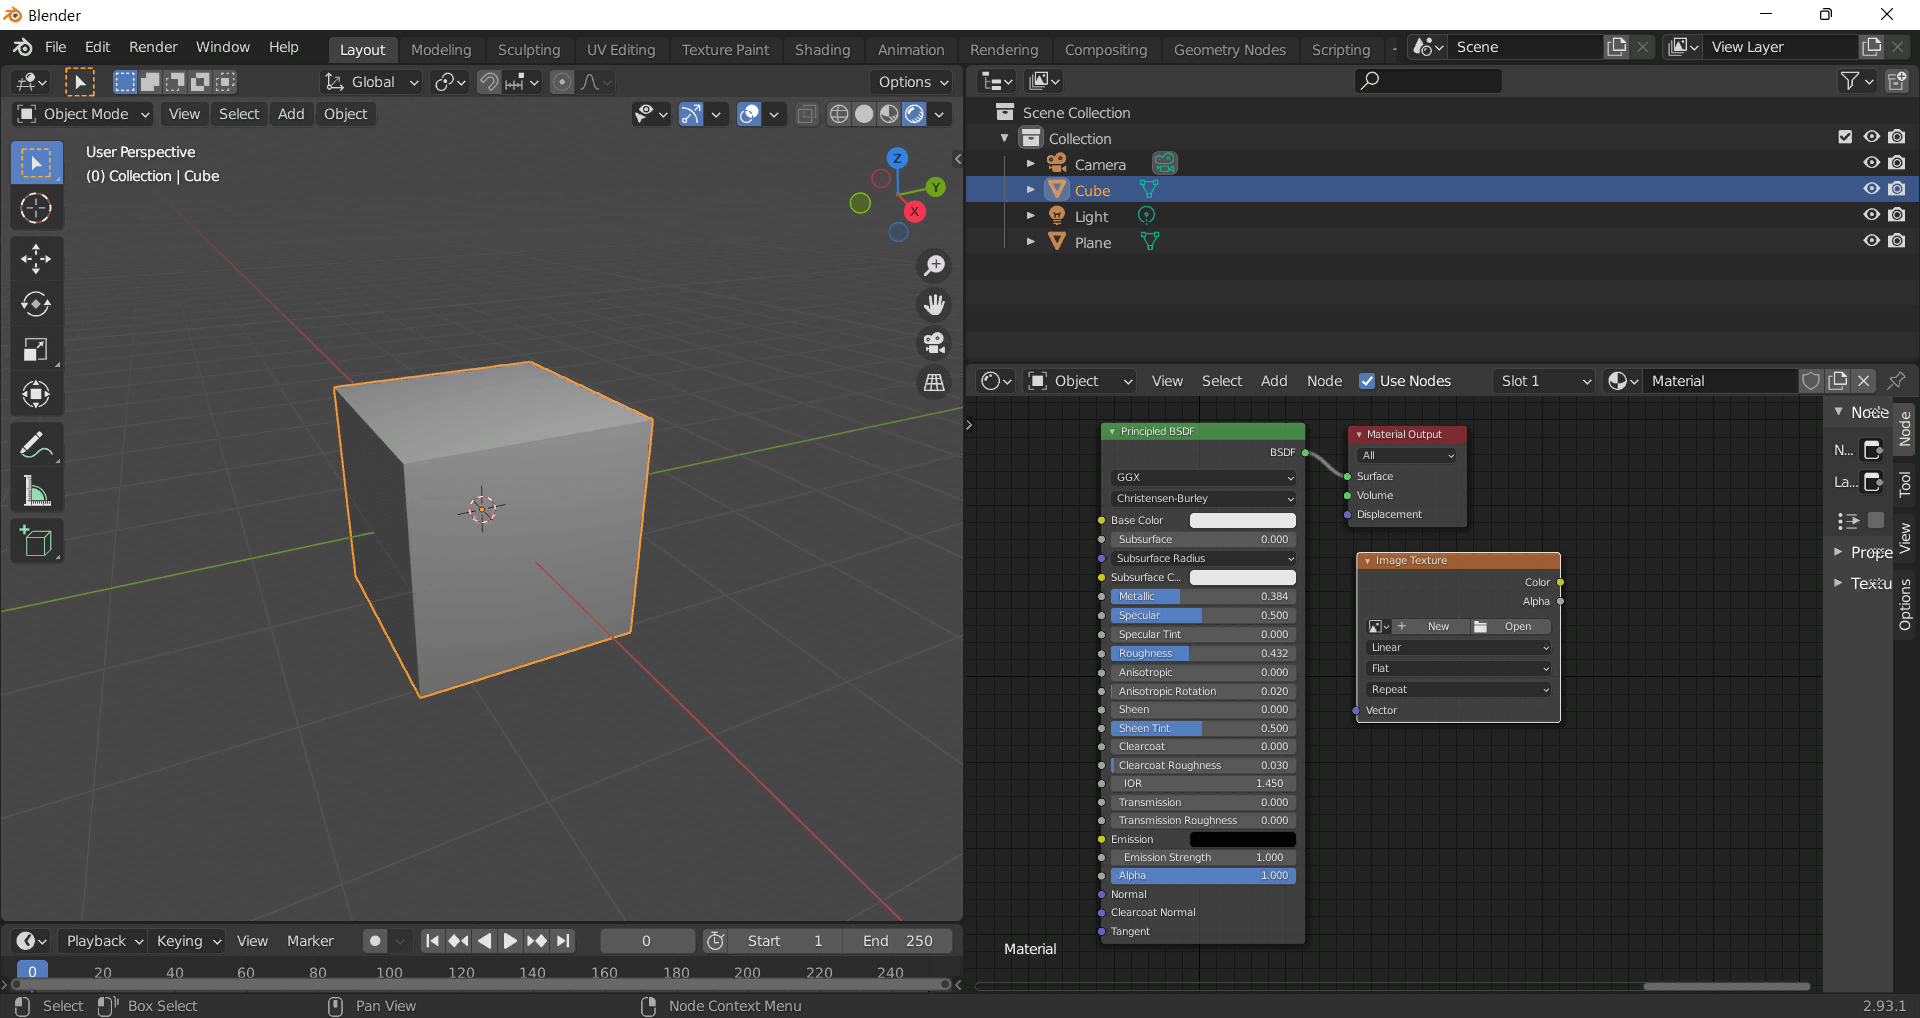
Quick start (Node Wrangler, 30 seconds)

  1. Enable the addon: Edit → Preferences → Add-ons → Node Wrangler.
  2. Create a material and select the Principled BSDF node.
  3. Press Ctrl + Shift + T and select the maps albedo, normal, roughness, metallic (skip height and ORM for now) → Open. The addon wires Base Color, Normal (with a Normal Map node), Roughness, and Metallic automatically.
  4. Add AO and Height using the “Manual wiring” steps below (5 and 6).

Manual wiring (full control)

  1. Create a material (Material Properties → New) and open the Shader Editor.
  2. Add an Image Texture node for each map. Set Color Space:
    • AlbedosRGB
    • AO, Roughness, Metallic, Normal, Height, ORMNon-Color
  3. Connect to Principled BSDF:
    • albedoBase Color
    • roughnessRoughness
    • metallicMetallic (for wood this often stays near 0)
    • normalNormal Map node (Type: Tangent Space) → Normal of Principled. If details look “inverted”, enable Invert Y on the Normal Map node.
  4. Ambient Occlusion (AO):
    • Add a MixRGB (or Mix Color) node in mode Multiply.
    • Input A = albedo, Input B = ao, Factor = 1.0.
    • Output of Mix → Base Color of Principled (replaces the direct albedo connection).
  5. Height / Displacement:
    Cycles — true displacement
    1. Material Properties → SettingsDisplacement: Displacement and Bump.
    2. Add a Displacement node: connect heightHeight, set Midlevel = 0.5, Scale = 0.02–0.08 (tune to taste).
    3. Output of Displacement → Material Output → Displacement.
    4. Add geometry density (e.g., Subdivision Surface) so displacement has polygons to work with.
    Eevee (or lightweight Cycles) — bump only
    1. Add a Bump node: heightHeight.
    2. Set Strength = 0.2–0.5, Distance = 0.05–0.1, and connect Normal output to Principled’s Normal.

Using the packed ORM texture (optional)

Instead of separate AO/Roughness/Metallic maps you can use the single *_ORM.png:

  1. Add one Image Texture (Non-Color) → Separate RGB (or Separate Color).
  2. R (red) → AO (use it in the Multiply node with albedo as above).
  3. G (green) → Roughness of Principled.
  4. B (blue) → Metallic of Principled.

UVs & seamless tiling

  1. These textures are seamless. If your mesh has no UVs, go to UV EditingSmart UV Project.
  2. For scale/repeat, add Texture Coordinate (UV)Mapping and plug it into all texture nodes. Increase Mapping → Scale (e.g., 2/2/2) to tile more densely.

Recommended starter values

  • Normal Map Strength: 0.5–1.0
  • Bump Strength: ~0.3
  • Displacement Scale (Cycles): ~0.03

Common pitfalls

  • Wrong Color Space (normals/roughness/etc. must be Non-Color).
  • “Inverted” details → enable Invert Y on the Normal Map node.
  • Over-strong relief → lower Displacement Scale or Bump Strength.

Example: Download Wood Textures and instantly apply parquet or rustic planks inside Blender for architectural visualization.

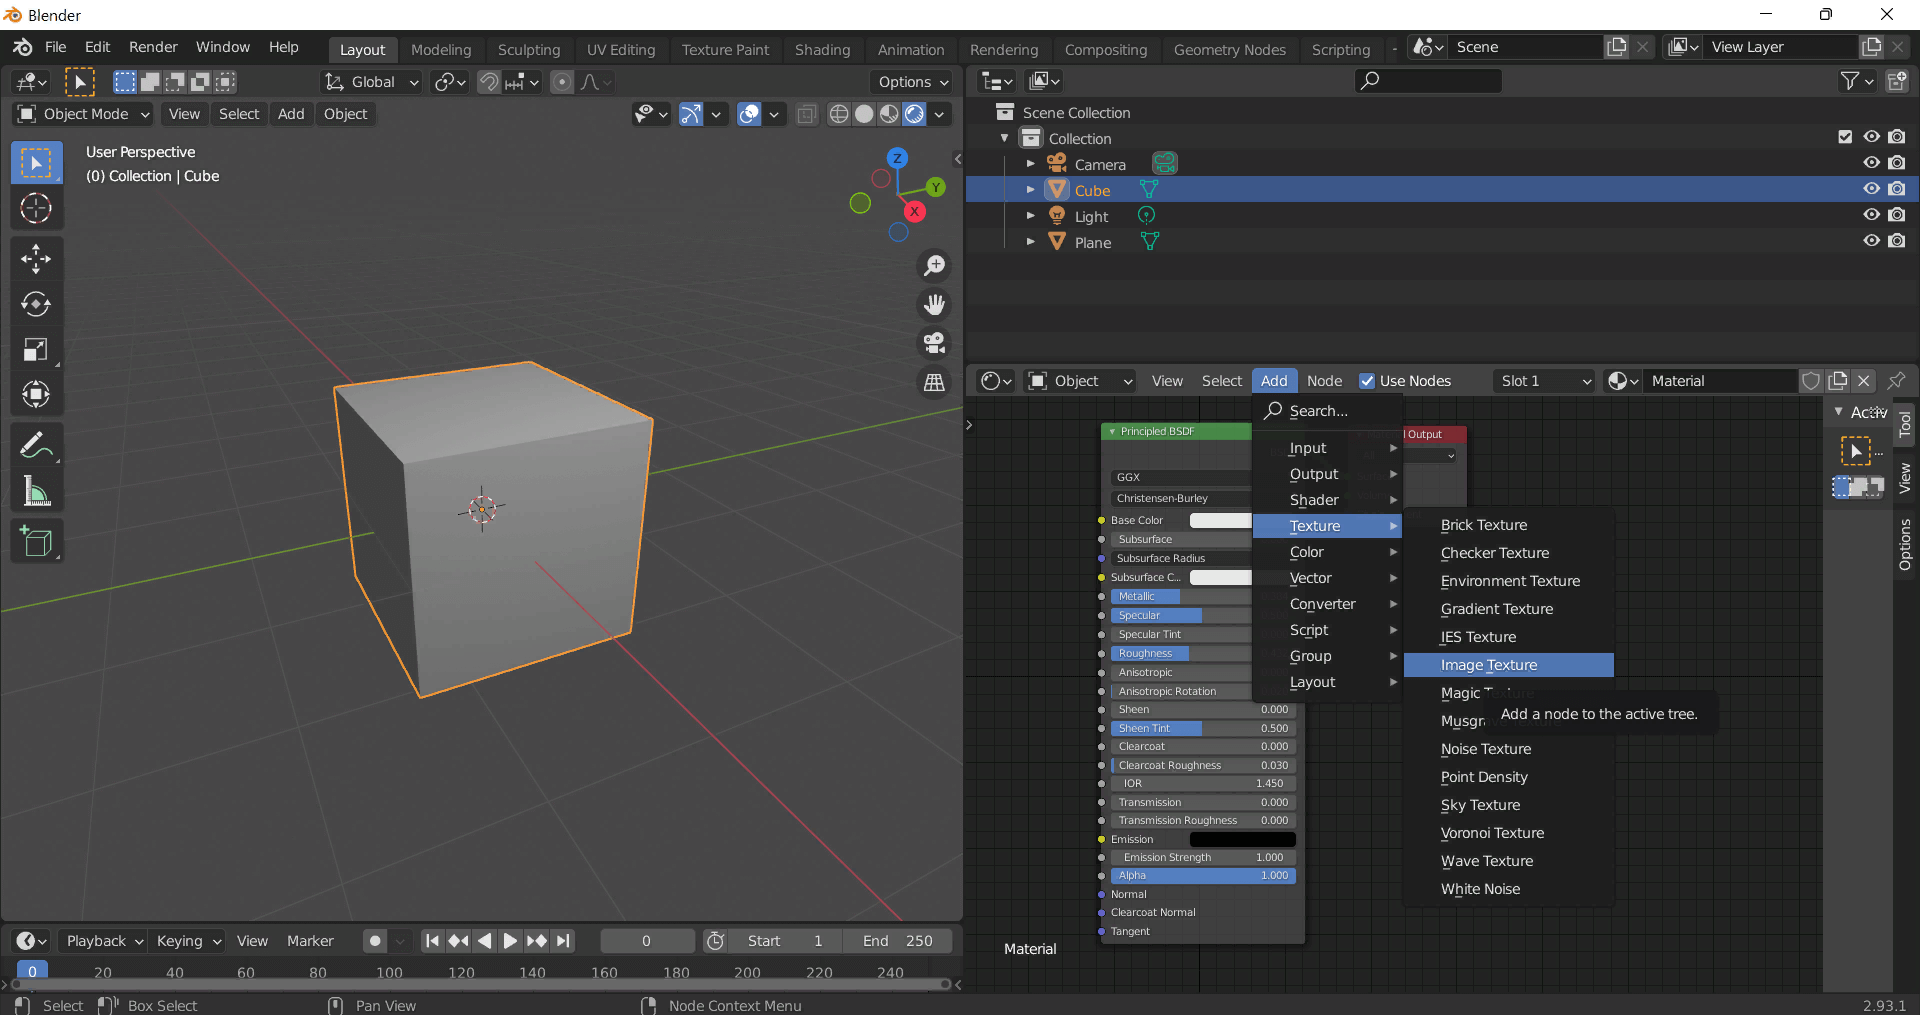
To add the downloaded texture, go to Add — Texture — Image Texture.


Add a node and click the Open button.


Select the required texture on your hard drive and connect Color to Base Color.


::contentReference[oaicite:0]{index=0}

AITEXTURED Tools

Build, preview, and export seamless PBR materials. Generate full map sets from a single image, inspect them in a real-time WebGL viewer, and re-package maps for Unreal, Unity, and Blender—directly in your browser.