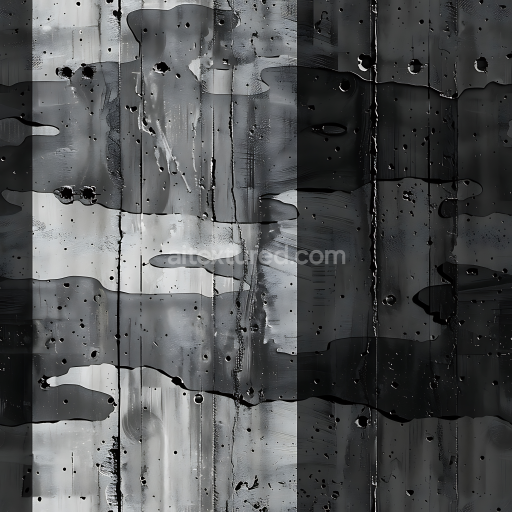
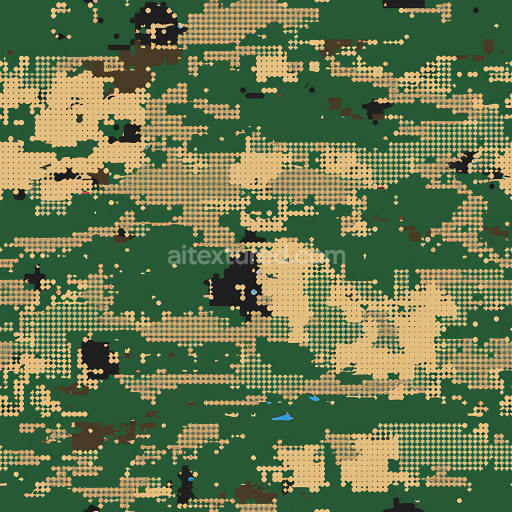
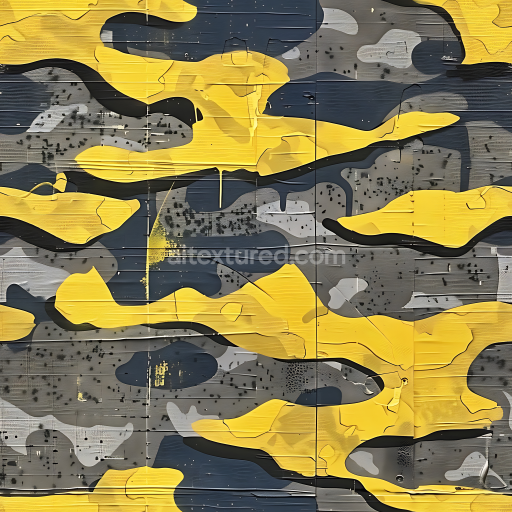
Urban Tactical Camouflage PBR Texture with Distressed Black and Gray Paint
Seamless texture (tileable) · PNG, WEBP, PBR ZIP. License: AITextured Free Commercial License (FCL) v1.1. Free personal and commercial use. Raw resale, standalone redistribution, mirroring/scraping, competing asset packs, and AI/ML training are not allowed without written permission. Attribution is not required, but appreciated..

| ID | seamless-3d-texture-pbr-8k-urban-gray-tiger-stripe-camouflage-fabric |
|---|---|
| Category | Color Camouflage |
| Formats | PNG, WEBP, PBR ZIP |
| Size | 1k (1024x1024px), 2k (2048x2048px), 4k (4096x4096px), 8k (8192x8192px) |
| Color | sRGB |
| Tileable | Yes |
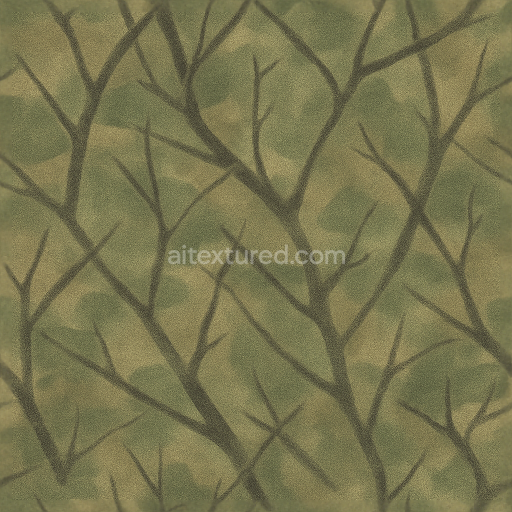
This seamless 3D texture presents an urban gray tiger stripe camouflage fabric rendered at an impressive 8K resolution designed specifically for PBR workflows that demand high fidelity and photorealistic detail. The base material mimics a densely woven polymer fabric substrate characterized by subtle surface irregularities and a matte paint finish that enhances the tactile authenticity of the textile. The fabric’s composition includes fine synthetic fibers aligned to form a durable yet flexible base with colorants applied as high-contrast gray and black pigments forming the distinctive tiger stripe pattern. These pigments are embedded within the fabric’s surface layers creating natural color blocking with a slightly rough texture that simulates wear and environmental exposure typical of urban tactical gear.
In the PBR channel setup the BaseColor (Albedo) accurately reflects the muted urban gray tones contrasted by sharp black stripe elements while the Normal map captures the subtle fiber grain orientation and fabric weave contributing to the realistic light interaction. The Roughness map emphasizes the matte finish by providing a balanced mid-to-high roughness level that diffuses highlights appropriately without losing detail. Metallic values remain near zero consistent with non-metallic fabric materials while Ambient Occlusion enhances shadowing within the weave and stripe recesses adding depth and dimension. The Height/Displacement map conveys slight surface elevation changes caused by fiber texture and pattern borders enabling realistic parallax effects in close-up renders.
Optimized for seamless tiling this texture allows continuous application across large UV surfaces without visible repetition or seams making it ideal for urban tactical gear models in Blender Unreal Engine and Unity. For best results in practical use adjusting the UV scale to maintain natural fabric proportions and fine-tuning the roughness parameter can significantly enhance realism—especially in low-light or dynamic lighting conditions. This texture’s combination of authentic material properties high-resolution detail and seamless integration ensures it meets the needs of artists and developers seeking a high-quality urban gray tiger stripe camouflage fabric for 3D environments.
Import the texture maps into Blender with sRGB color space for albedo/base color and Non-Color for normal, roughness, metallic, AO, height, and ORM maps. Connect normal maps through a Normal Map node, then adjust UV scale with a Mapping node so the material repeats naturally on your model.
For the full step-by-step setup, see How to Use Seamless Textures in Blender. Browse related material examples in wood, concrete, and metal.
Yes. This texture is designed as a seamless tileable PBR material, so it can repeat across large surfaces without visible borders.
You can download PNG/WEBP versions and use 1K, 2K, 4K and 8K download options when available on the page.
Yes. The download options and engine-mapped ZIP workflow are designed for Blender, Unreal Engine, Unity Standard, URP and HDRP material pipelines.
Yes. The texture is available under the AITextured free commercial license. Review the license page for redistribution and AI-training restrictions.


Generate, preview, and export seamless PBR materials for Blender, Unity, and Unreal Engine—directly in your browser.
AI text-to-texture: type a prompt and get a seamless, tileable base image ready for PBR workflows (great starting point for materials).
Create a full PBR set (Normal, Roughness, AO, Metallic, etc.) from a single image. Seamless and tiling-friendly.
Instant WebGL viewer: inspect materials on a sphere, plane, and cube. Check tiling and lighting in real time.
Re-packages maps per engine: Unreal (BaseColor + ORM), Unity (Mask/MetallicSmoothness), Blender (separate channels).
PNG ↔ JPG ↔ SVG: fast convert, SVG rasterize, embed/trace options, quality & background controls.