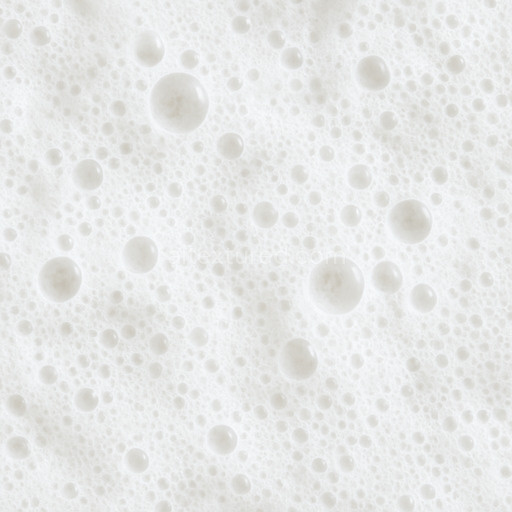
Fluffy Froth Seamless Texture
Seamless texture (tileable) · PNG, WEBP, PBR ZIP. License: AITextured Free Commercial License (FCL) v1.1. Free personal and commercial use. Raw resale, standalone redistribution, mirroring/scraping, competing asset packs, and AI/ML training are not allowed without written permission. Attribution is not required, but appreciated..

| ID | dirty-beer-foam-seamless-texture |
|---|---|
| Category | Foam |
| Formats | PNG, WEBP, PBR ZIP |
| Size | 1k (1024x1024px), 2k (2048x2048px), 4k (4096x4096px), 8k (8192x8192px) |
| Color | sRGB |
| Tileable | Yes |
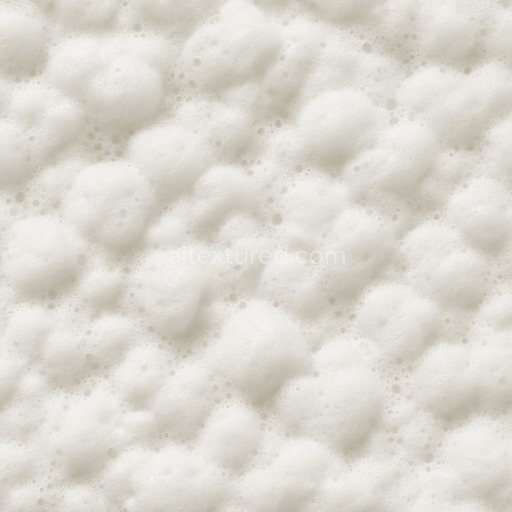
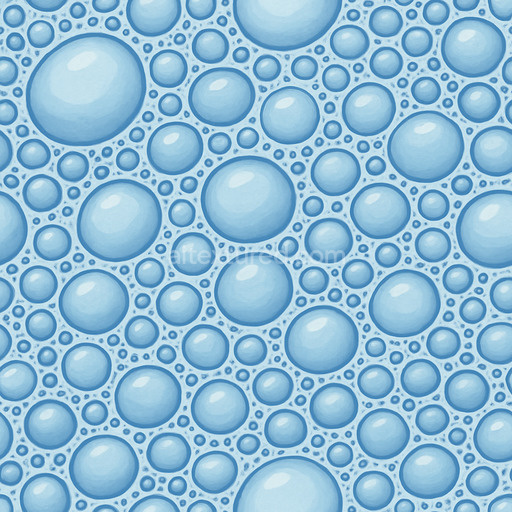
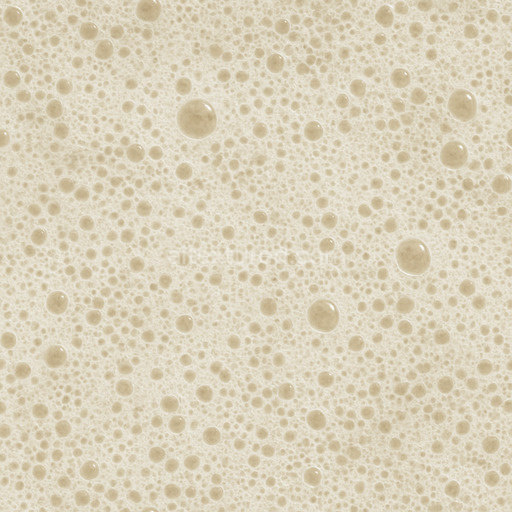
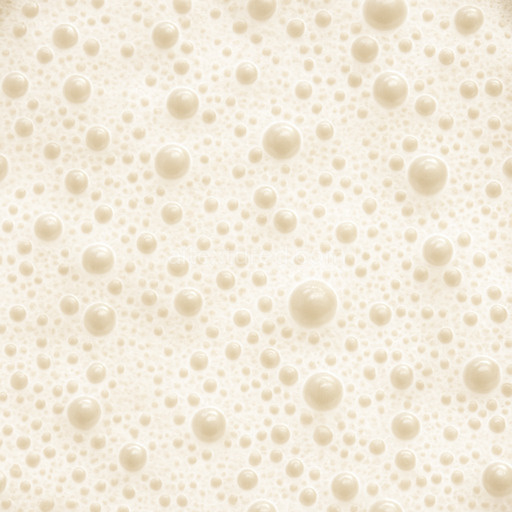
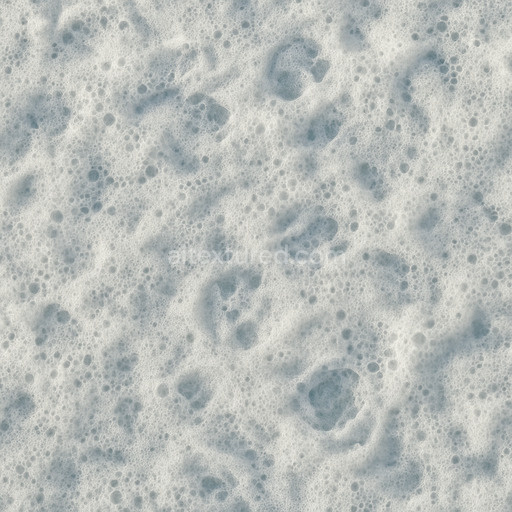
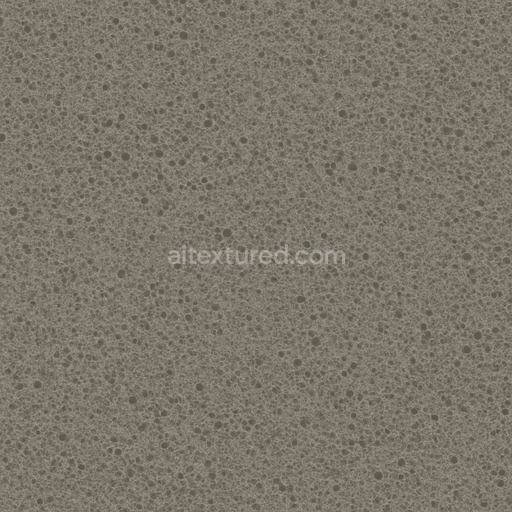
Discover the Dirty Beer Foam Seamless Texture a meticulously crafted PBR texture designed to replicate the organic complexity of beer foam with remarkable realism. This tileable dirty beer foam seamless texture captures the intricate interplay of microbubbles residue and surface irregularities found in aged or spilled beer foam. Its base composition evokes an organic substrate rich in porous frothy material combined with subtle sediment particles reflecting the natural aggregation of proteins yeast and carbonation bubbles. The texture’s surface finish appears slightly matte with a delicate sheen mimicking the wet slightly tacky quality of foam that has settled and begun to dry. Coloration is achieved through nuanced pigments ranging from off-white to amber tones interspersed with darker spots that simulate dirt or residue lending authentic visual depth and variation across the pattern.
In terms of physically based rendering (PBR) channels the base color (Albedo) conveys a gradient of dirty whites yellows and browns faithfully capturing the stained organic nature of the foam. The Normal map emphasizes fine surface details such as bubble curvature and porous indentations enhancing the tactile realism of the texture under dynamic lighting. Roughness values are carefully balanced to reflect the foam’s semi-glossy uneven surface creating subtle specular highlights without appearing overly polished. Metallic influence is minimal appropriate for an organic material while Ambient Occlusion accentuates shadowed crevices within the foam’s structure adding depth and contrast. Height and Displacement maps provide additional surface breakup for realistic parallax effects making this texture ideal for close-up renders and high-detail visualization.
Rendered at an ultra-high resolution of up to 8K this tileable dirty beer foam seamless texture ensures crisp detailed results even on large surfaces or close camera angles. Its seamless tiling capability allows you to cover extensive areas without visible repetition or seams making it perfect for use in Blender Unreal Engine or Unity workflows. This texture fits flawlessly into quick look-dev sessions environment art architectural visualization and concept prototyping where authentic organic foam surfaces are required. For optimal results it is recommended to combine this texture with subtle ambient occlusion and a lightly applied normal map pass to enhance micro-detail without over-sharpening. Adjusting UV scale can help tailor the foam’s granularity to the scene while tuning roughness levels can simulate varying states of wetness or drying foam with ease.
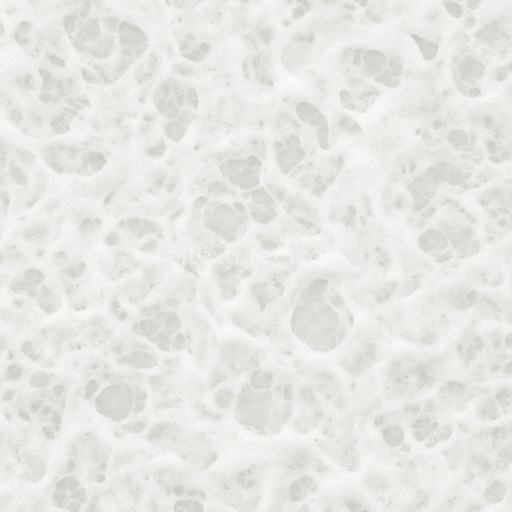
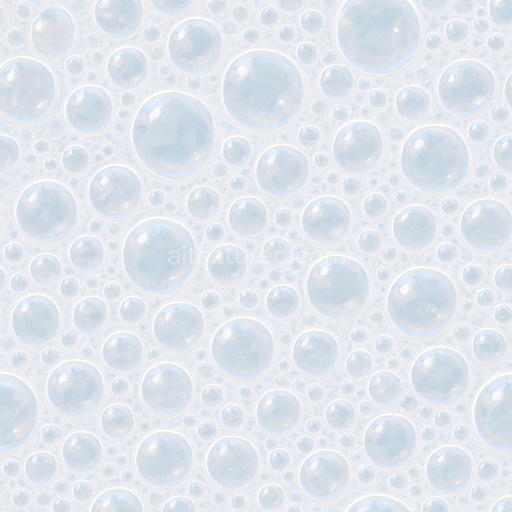
The 3D preview demonstrates the realistic PBR appearance of the seamless dirty beer foam texture highlighting detailed foam textures created with AI to achieve a consistent and natural dirty beer foam seamless texture.
Import the texture maps into Blender with sRGB color space for albedo/base color and Non-Color for normal, roughness, metallic, AO, height, and ORM maps. Connect normal maps through a Normal Map node, then adjust UV scale with a Mapping node so the material repeats naturally on your model.
For the full step-by-step setup, see How to Use Seamless Textures in Blender. Browse related material examples in wood, concrete, and metal.
Yes. This texture is designed as a seamless tileable PBR material, so it can repeat across large surfaces without visible borders.
You can download PNG/WEBP versions and use 1K, 2K, 4K and 8K download options when available on the page.
Yes. The download options and engine-mapped ZIP workflow are designed for Blender, Unreal Engine, Unity Standard, URP and HDRP material pipelines.
Yes. The texture is available under the AITextured free commercial license. Review the license page for redistribution and AI-training restrictions.
Generate, preview, and export seamless PBR materials for Blender, Unity, and Unreal Engine—directly in your browser.
AI text-to-texture: type a prompt and get a seamless, tileable base image ready for PBR workflows (great starting point for materials).
Create a full PBR set (Normal, Roughness, AO, Metallic, etc.) from a single image. Seamless and tiling-friendly.
Instant WebGL viewer: inspect materials on a sphere, plane, and cube. Check tiling and lighting in real time.
Re-packages maps per engine: Unreal (BaseColor + ORM), Unity (Mask/MetallicSmoothness), Blender (separate channels).
PNG ↔ JPG ↔ SVG: fast convert, SVG rasterize, embed/trace options, quality & background controls.