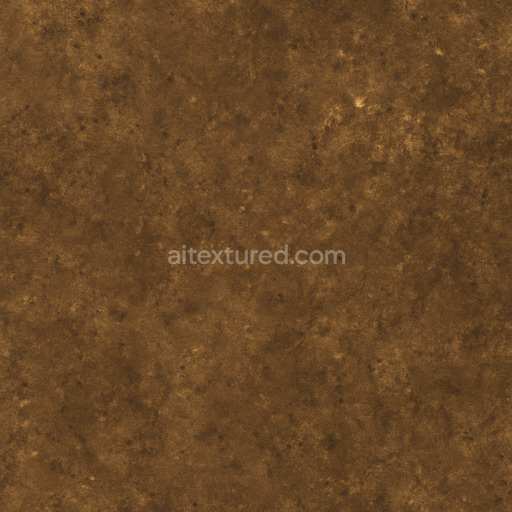
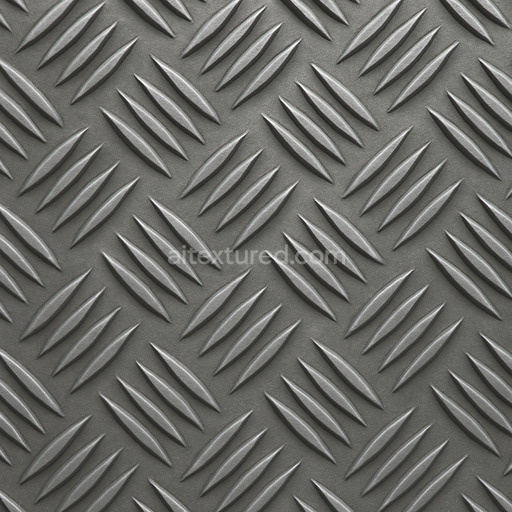
Dirty Bronze Seamless Texture
Seamless texture (tileable) · PNG, WEBP, PBR ZIP. License: AITextured Free Commercial License (FCL) v1.1. Free personal and commercial use. Raw resale, standalone redistribution, mirroring/scraping, competing asset packs, and AI/ML training are not allowed without written permission. Attribution is not required, but appreciated..

| ID | corrugated-steel-006-c-by-textures-pbr-seamless-8k |
|---|---|
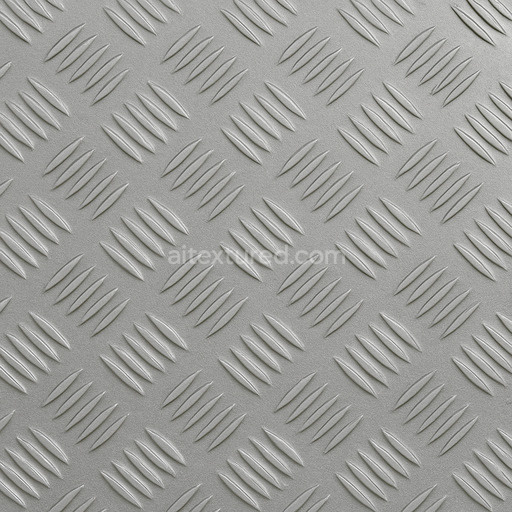
| Category | Metal |
| Formats | PNG, WEBP, PBR ZIP |
| Size | 1k (1024x1024px), 2k (2048x2048px), 4k (4096x4096px), 8k (8192x8192px) |
| Color | sRGB |
| Tileable | Yes |
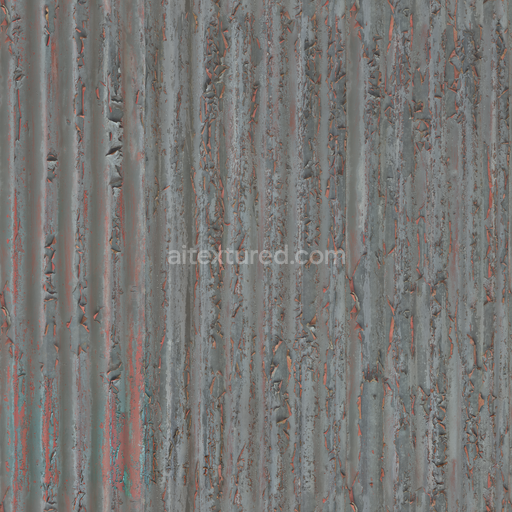
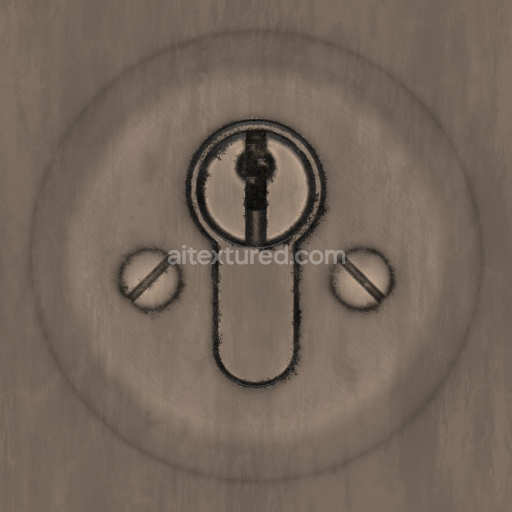
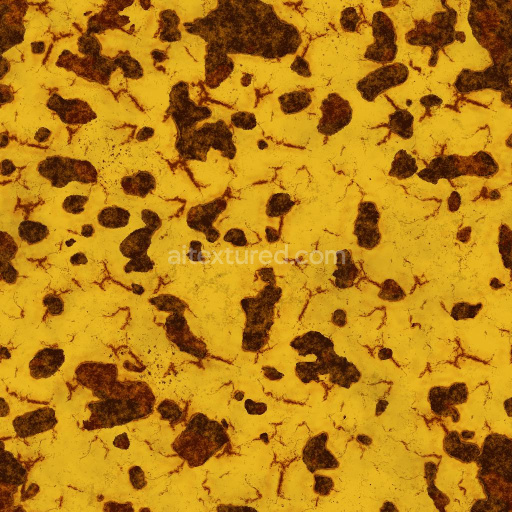
The Seamless Corrugated Steel 006 C texture by Textures is a meticulously crafted photorealistic material designed to replicate the distinct appearance and physical properties of corrugated steel surfaces. This texture captures the essence of galvanized steel sheets which form the base substrate—a robust metal alloy known for its durability and corrosion resistance. The steel panels feature a characteristic wavy pattern created through cold rolling and pressing lending them their iconic corrugated profile. The surface finish is a slightly weathered painted coating exhibiting subtle variations in color and texture that reveal natural wear mild oxidation and the gradual aging of the paint layer. These nuanced details include faint greenish hues and minor rust spots which enrich the visual complexity while maintaining an industrial utilitarian aesthetic typical of outdoor steel structures such as warehouse walls roofing and facades.
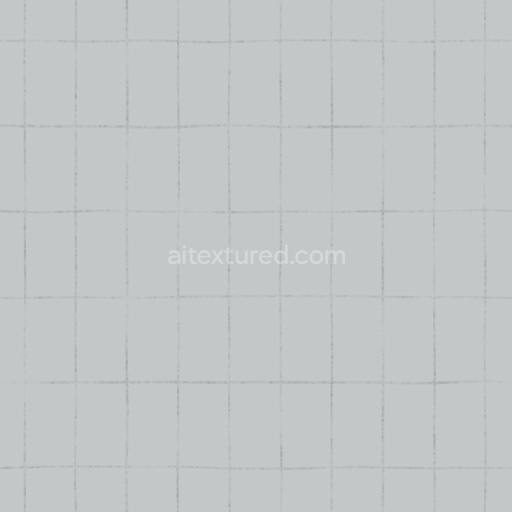
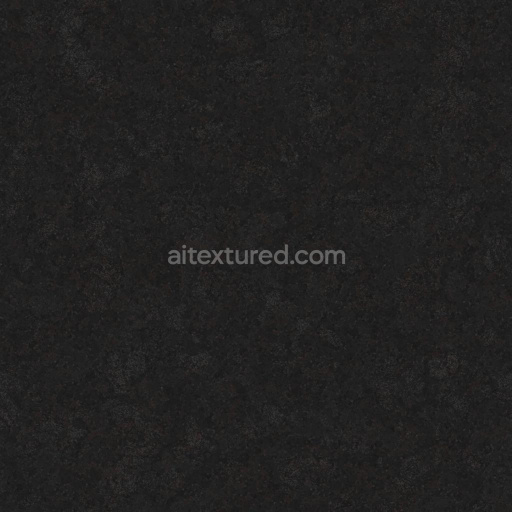
In physically based rendering workflows this texture excels through its carefully constructed PBR channels. The Base Color (Albedo) map faithfully reproduces the painted steel’s muted green tones and surface imperfections free from baked-in lighting ensuring accurate color representation under diverse illumination scenarios. The Normal map accentuates the corrugated ridges and fine surface irregularities adding realistic depth and tactile quality when light interacts with the metal. Roughness values vary across the surface simulating the semi-glossy nature of fresh paint alongside rougher weathered areas to achieve believable specular highlights and diffuse reflections. The Metallic channel highlights the inherently metallic nature of the steel substrate while Ambient Occlusion enhances shadowing within folds and crevices emphasizing structural depth. Additionally the Height (Displacement) map enables subtle surface relief supporting enhanced parallax and displacement effects in rendering engines that utilize these features.
Optimized for seamless tiling at resolutions up to 8K this texture is well-suited for large-scale applications without loss of detail making it ideal for high-fidelity projects in Blender (with Principled BSDF shader) Unreal Engine (integrating Base Color Roughness Normal and AO maps) and Unity’s URP/HDRP pipelines (using Lit shaders). For best results it is advisable to maintain consistent UV scale across UV maps to prevent visible repetition and to experiment with combining Normal and Height maps to maximize depth perception on corrugated metal surfaces. Adjusting roughness values can also fine-tune the balance between weathered and polished areas enhancing realism and material authenticity across various lighting environments.
Import the texture maps into Blender with sRGB color space for albedo/base color and Non-Color for normal, roughness, metallic, AO, height, and ORM maps. Connect normal maps through a Normal Map node, then adjust UV scale with a Mapping node so the material repeats naturally on your model.
For the full step-by-step setup, see How to Use Seamless Textures in Blender. Browse related material examples in wood, concrete, and metal.
Yes. This texture is designed as a seamless tileable PBR material, so it can repeat across large surfaces without visible borders.
You can download PNG/WEBP versions and use 1K, 2K, 4K and 8K download options when available on the page.
Yes. The download options and engine-mapped ZIP workflow are designed for Blender, Unreal Engine, Unity Standard, URP and HDRP material pipelines.
Yes. The texture is available under the AITextured free commercial license. Review the license page for redistribution and AI-training restrictions.


Build, preview, and export seamless PBR materials. Generate full map sets from a single image, inspect them in a real-time WebGL viewer, and re-package maps for Unreal, Unity, and Blender—directly in your browser.
AI text-to-texture: type a prompt and get a seamless, tileable base image ready for PBR workflows (great starting point for materials).
Create a full PBR set (Normal, Roughness, AO, Metallic, etc.) from a single image. Seamless and tiling-friendly.
Instant WebGL viewer: inspect materials on a sphere, plane, and cube. Check tiling and lighting in real time.
Re-packages maps per engine: Unreal (BaseColor + ORM), Unity (Mask/MetallicSmoothness), Blender (separate channels).
PNG ↔ JPG ↔ SVG: fast convert, SVG rasterize, embed/trace options, quality & background controls.