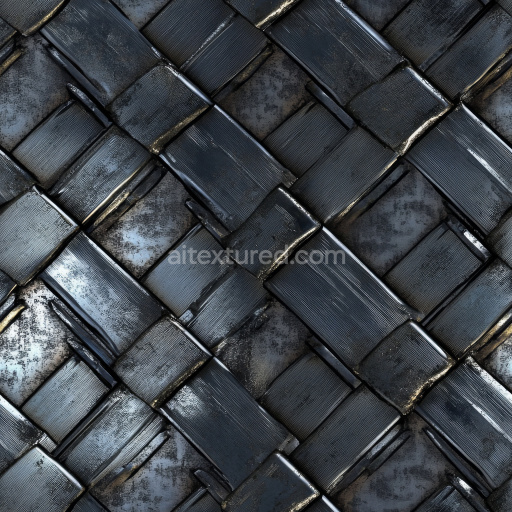
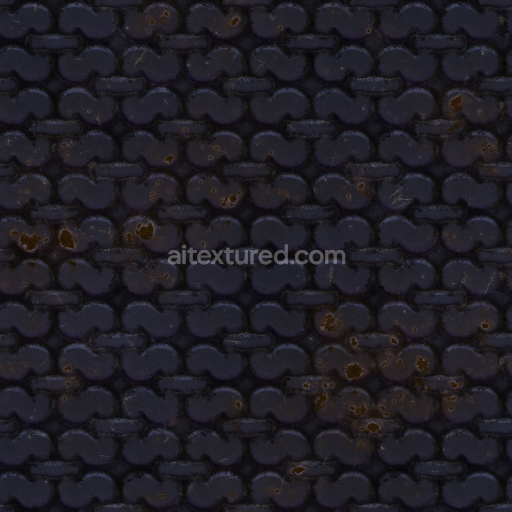
Textured Woven Steel Metal with Dark Metallic Pattern
Seamless texture (tileable) · PNG, WEBP, PBR ZIP. License: AITextured Free Commercial License (FCL) v1.1. Free personal and commercial use. Raw resale, standalone redistribution, mirroring/scraping, competing asset packs, and AI/ML training are not allowed without written permission. Attribution is not required, but appreciated..

| ID | polished-chrome-mirror-finish |
|---|---|
| Category | Metal |
| Formats | PNG, WEBP, PBR ZIP |
| Size | 1k (1024x1024px), 2k (2048x2048px), 4k (4096x4096px), 8k (8192x8192px) |
| Color | sRGB |
| Tileable | Yes |
The polished chrome mirror finish texture is a meticulously crafted seamless texture designed to replicate the pristine surface qualities of high-grade polished chrome metal. At its core this texture emulates a metal substrate known for its dense non-porous composition which has been expertly polished to a mirror-like sheen. The underlying metal base is typically a chromium-plated alloy providing exceptional reflectivity and durability. This texture captures the subtle interplay of light on the surface where the smooth highly reflective qualities are balanced by minute surface imperfections to preserve realism. The colorants are implicit in the metallic base relying on oxide layers and minimal pigmentation to maintain the authentic cool silvery tone characteristic of polished chrome finishes. Adhesives or binders are not directly visible but are conceptually represented in the texture’s even surface cohesion while the absence of grain or fiber orientation highlights the metal’s homogeneous continuous nature. Weathering effects are deliberately minimal to preserve a flawless mirror finish with only faint ambient occlusion and micro-detail variations enhancing depth without compromising reflectivity.
Within physically based rendering (PBR) workflows this tileable polished chrome mirror finish is composed of multiple high-resolution maps reaching up to 8K resolution ensuring crisp details even in close-up renders. The BaseColor/Albedo map defines the metallic silver hue with near-neutral tone variation while the Normal map conveys subtle surface undulations that simulate microscopic imperfections and the natural reflective distortions found on polished metal. The Roughness map is finely tuned to produce the characteristic low roughness of a mirror finish allowing for intense specular highlights and sharp reflections. The Metallic map confirms the fully metallic nature of the surface reinforcing its conductive and reflective properties. Ambient Occlusion subtly enhances crevices and surface breaks adding realism without darkening the overall reflective quality. Finally the Height/Displacement map provides gentle surface relief cues that enrich the tactile perception of the metal without disrupting the seamless reflective effect. These comprehensive maps are optimized for seamless tiling maintaining consistent detail across large surfaces in Blender Unreal Engine and Unity projects.
Designed for a wide range of metal texture applications this polished chrome mirror finish texture excels in architectural visualization environment art product visualization and concept prototyping where a flawless reflective metal surface is paramount. Its seamless tileability and meticulously maintained detail fidelity allow it to cover vast surfaces without visible seams or repetitive artifacts. Artists and developers can leverage this asset to accelerate metal workflows by achieving an authentic mirror-like chrome finish with minimal setup. For optimal results it is recommended to adjust the UV scale to match the project scale—using a finer UV scale for smaller objects enhances perceived detail and realism while a coarser scale is suitable for expansive architectural elements. Additionally fine-tuning the roughness map can simulate varying levels of surface polish or wear enabling subtle control over reflectivity without losing the overall mirror finish effect. This practical adjustment allows for versatile use across different rendering scenarios maximizing the visual impact of the texture.
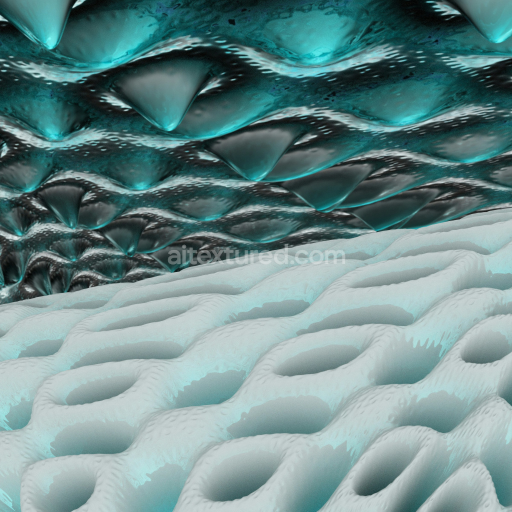
The seamless polished chrome mirror finish offers a highly reflective PBR texture polished chrome mirror finish that accurately replicates metal textures in a realistic 3D preview for precise material evaluation.
Import the texture maps into Blender with sRGB color space for albedo/base color and Non-Color for normal, roughness, metallic, AO, height, and ORM maps. Connect normal maps through a Normal Map node, then adjust UV scale with a Mapping node so the material repeats naturally on your model.
For the full step-by-step setup, see How to Use Seamless Textures in Blender. Browse related material examples in wood, concrete, and metal.
Yes. This texture is designed as a seamless tileable PBR material, so it can repeat across large surfaces without visible borders.
You can download PNG/WEBP versions and use 1K, 2K, 4K and 8K download options when available on the page.
Yes. The download options and engine-mapped ZIP workflow are designed for Blender, Unreal Engine, Unity Standard, URP and HDRP material pipelines.
Yes. The texture is available under the AITextured free commercial license. Review the license page for redistribution and AI-training restrictions.


Build, preview, and export seamless PBR materials. Generate full map sets from a single image, inspect them in a real-time WebGL viewer, and re-package maps for Unreal, Unity, and Blender—directly in your browser.
AI text-to-texture: type a prompt and get a seamless, tileable base image ready for PBR workflows (great starting point for materials).
Create a full PBR set (Normal, Roughness, AO, Metallic, etc.) from a single image. Seamless and tiling-friendly.
Instant WebGL viewer: inspect materials on a sphere, plane, and cube. Check tiling and lighting in real time.
Re-packages maps per engine: Unreal (BaseColor + ORM), Unity (Mask/MetallicSmoothness), Blender (separate channels).
PNG ↔ JPG ↔ SVG: fast convert, SVG rasterize, embed/trace options, quality & background controls.