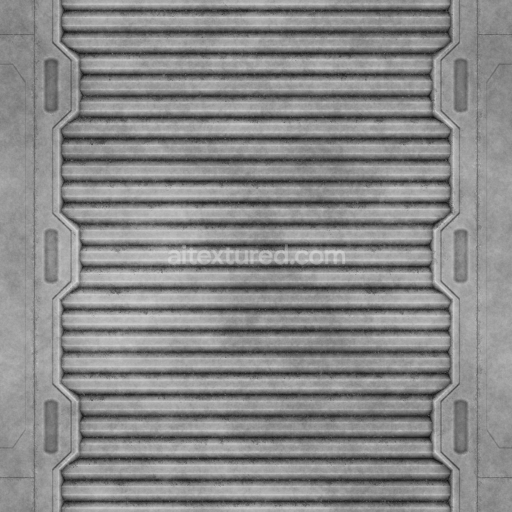
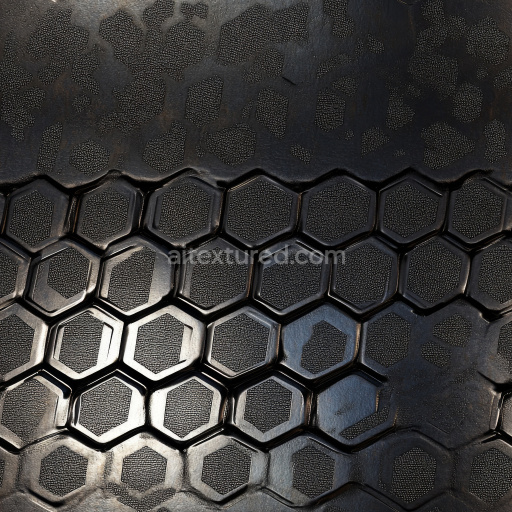
Archviz Metal Metallic Panel Sci Scifi Space - Seamless PBR Texture
Seamless texture (tileable) · PNG, WEBP, PBR ZIP. License: AITextured Free Commercial License (FCL) v1.1. Free personal and commercial use. Raw resale, standalone redistribution, mirroring/scraping, competing asset packs, and AI/ML training are not allowed without written permission. Attribution is not required, but appreciated..

| ID | seamless-pbr-rust-texture |
|---|---|
| Category | Metal |
| Formats | PNG, WEBP, PBR ZIP |
| Size | 1k (1024x1024px), 2k (2048x2048px), 4k (4096x4096px), 8k (8192x8192px) |
| Color | sRGB |
| Tileable | Yes |
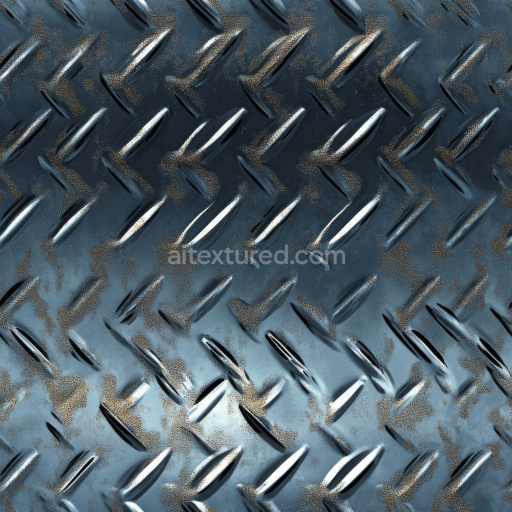
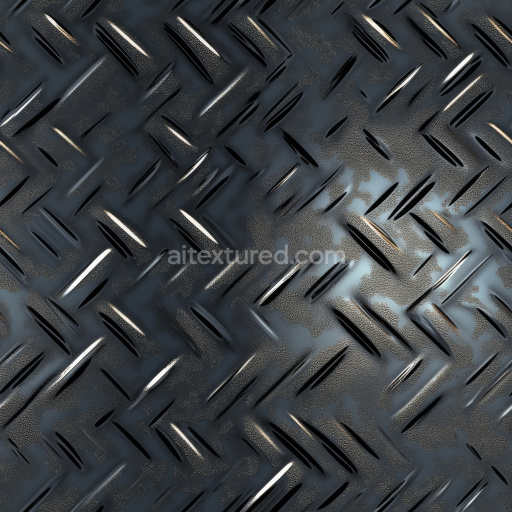
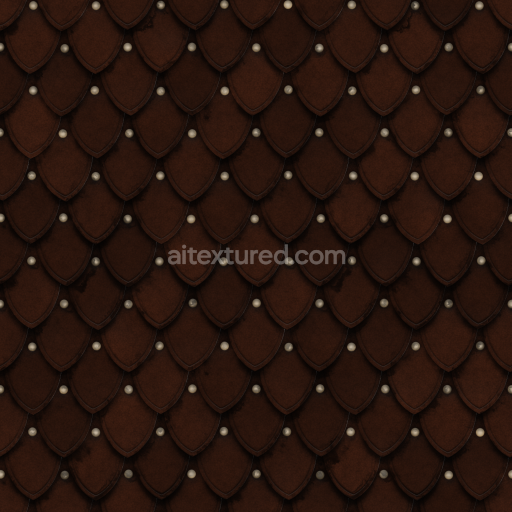
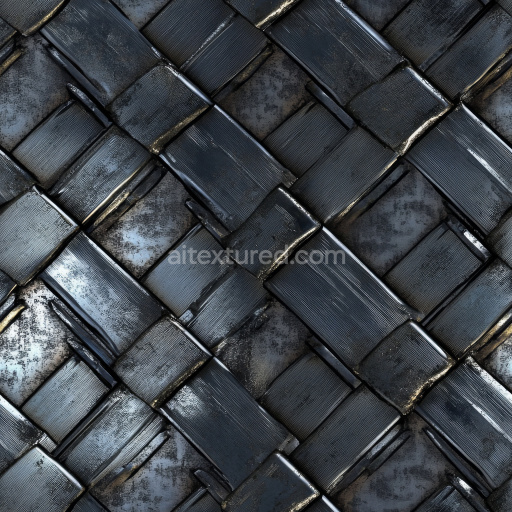
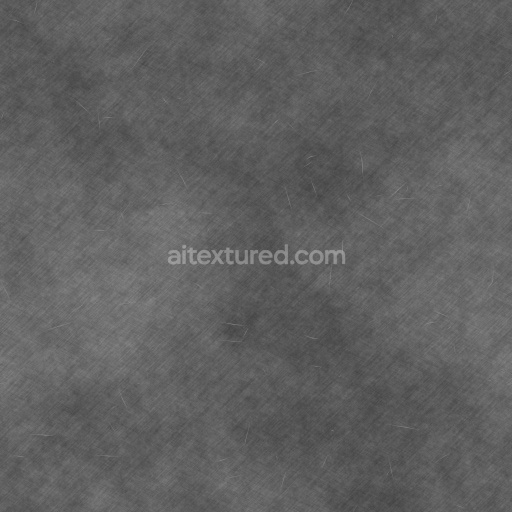
Our seamless PBR rust texture is meticulously crafted to replicate the complex material composition of naturally corroded metal surfaces offering an authentic and highly detailed finish ideal for gaming architectural visualization and artistic 3D modeling. The base substrate is a weathered industrial metal exhibiting characteristic oxidation layers formed through prolonged exposure to moisture and environmental elements. This rusted surface features fine mineral aggregates and microscopic iron oxide particles that create granular textures and subtle porosity contributing to the realism of the pattern. The surface finish is predominantly oxidized with variations of grunge and weathered effects showcasing realistic discoloration and layered corrosion. These elements collectively define the texture’s intricate visual identity where colorants range from deep reddish-browns to orange and yellow oxide hues reflecting natural pigmentations typical of rusted iron and steel.
In terms of PBR channels the BaseColor or Albedo map captures the rich varied palette of rust pigments without baked-in lighting ensuring true-to-life color representation under dynamic illumination. The Normal map reveals the surface’s micro-geometry emphasizing bumps pits and flake patterns inherent to weathered metal enhancing the tactile impression. The Roughness channel controls the surface reflectivity accurately portraying the matte non-reflective nature of rust contrasted with occasional glossy patches of exposed metal. The Metallic map differentiates the metal substrate from non-metallic corrosion by defining rust as predominantly non-metallic while preserving metallic highlights where rust has chipped away. Ambient Occlusion deepens crevices and rust cavities adding depth and realism while the Height or Displacement map simulates the uneven layered corrosion buildup allowing for enhanced parallax or tessellation effects in supported engines.
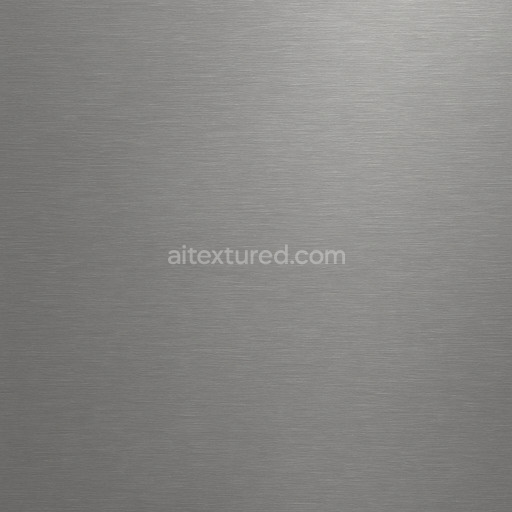
With resolutions up to 8K this texture ensures exceptional detail and clarity for close-up renders and high-fidelity environments. It is fully optimized and compatible with popular platforms including Blender Unreal Engine and Unity providing flexibility for diverse workflows and project scopes. For practical application adjusting the UV scale can help tailor the rust pattern density to your model’s specific surface area while fine-tuning the roughness values allows you to balance the gritty aged feel with subtle specular highlights to match varying environmental conditions. This seamless rust material is perfect for enhancing worn industrial surfaces weathered architectural elements and realistic game assets helping artists and developers craft immersive visually striking environments that authentically convey the passage of time and the effects of corrosion.
Import the texture maps into Blender with sRGB color space for albedo/base color and Non-Color for normal, roughness, metallic, AO, height, and ORM maps. Connect normal maps through a Normal Map node, then adjust UV scale with a Mapping node so the material repeats naturally on your model.
For the full step-by-step setup, see How to Use Seamless Textures in Blender. Browse related material examples in wood, concrete, and metal.
Yes. This texture is designed as a seamless tileable PBR material, so it can repeat across large surfaces without visible borders.
You can download PNG/WEBP versions and use 1K, 2K, 4K and 8K download options when available on the page.
Yes. The download options and engine-mapped ZIP workflow are designed for Blender, Unreal Engine, Unity Standard, URP and HDRP material pipelines.
Yes. The texture is available under the AITextured free commercial license. Review the license page for redistribution and AI-training restrictions.

Build, preview, and export seamless PBR materials. Generate full map sets from a single image, inspect them in a real-time WebGL viewer, and re-package maps for Unreal, Unity, and Blender—directly in your browser.
AI text-to-texture: type a prompt and get a seamless, tileable base image ready for PBR workflows (great starting point for materials).
Create a full PBR set (Normal, Roughness, AO, Metallic, etc.) from a single image. Seamless and tiling-friendly.
Instant WebGL viewer: inspect materials on a sphere, plane, and cube. Check tiling and lighting in real time.
Re-packages maps per engine: Unreal (BaseColor + ORM), Unity (Mask/MetallicSmoothness), Blender (separate channels).
PNG ↔ JPG ↔ SVG: fast convert, SVG rasterize, embed/trace options, quality & background controls.