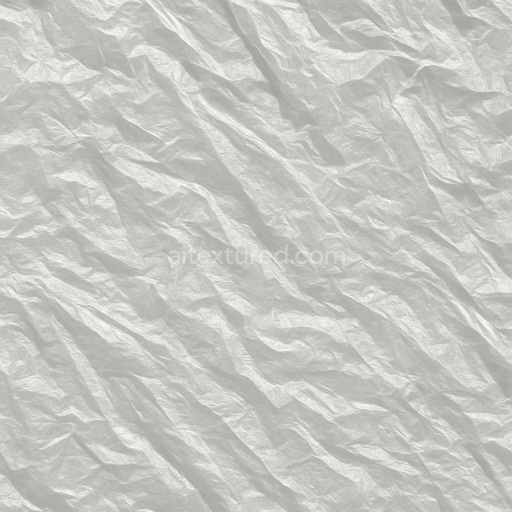
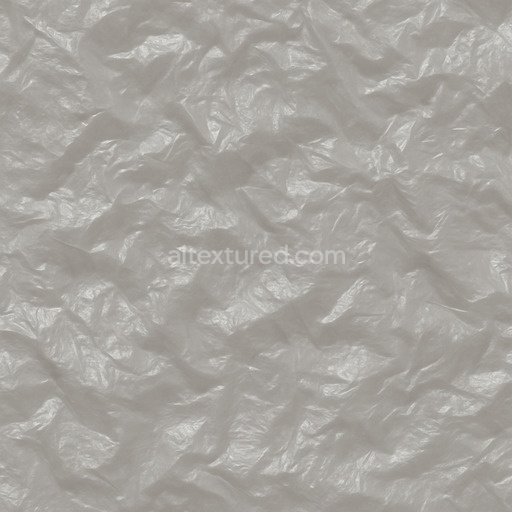
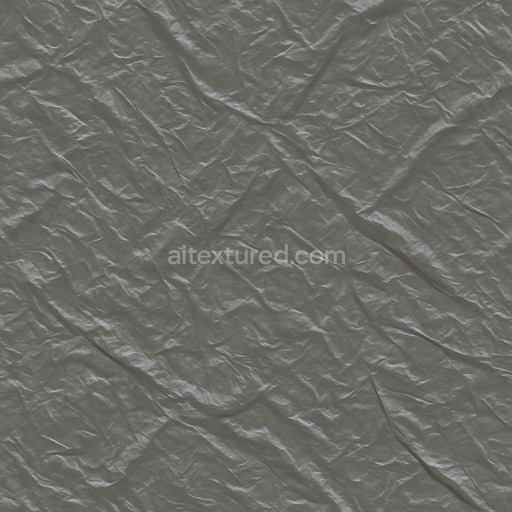
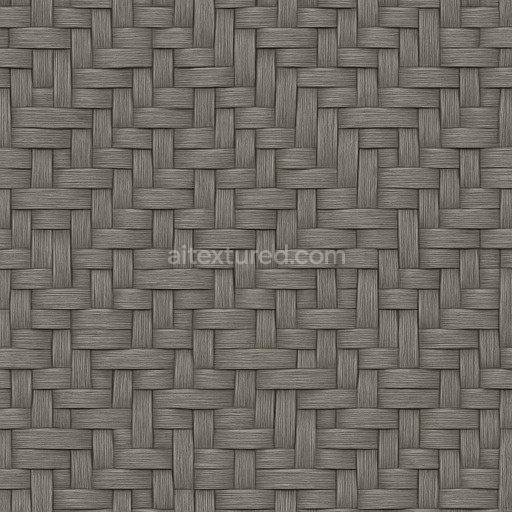
Polyethylene Seamless Texture
Seamless texture (tileable) · PNG, WEBP, PBR ZIP. License: AITextured Free Commercial License (FCL) v1.1. Free personal and commercial use. Raw resale, standalone redistribution, mirroring/scraping, competing asset packs, and AI/ML training are not allowed without written permission. Attribution is not required, but appreciated..

| ID | 2-color-rubber-mulch-playground-flooring-free-pbr |
|---|---|
| Category | Plastic |
| Formats | PNG, WEBP, PBR ZIP |
| Size | 1k (1024x1024px), 2k (2048x2048px), 4k (4096x4096px), 8k (8192x8192px) |
| Color | sRGB |
| Tileable | Yes |
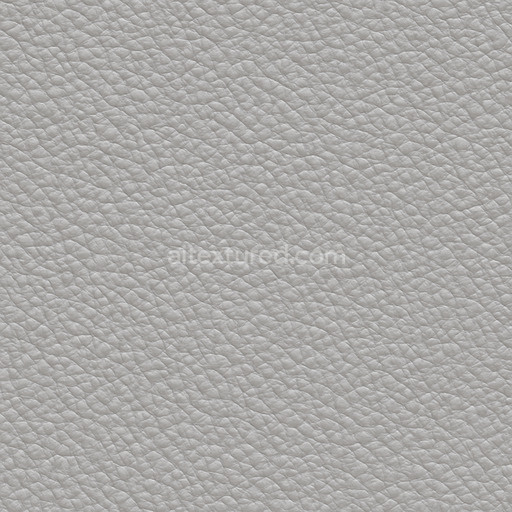
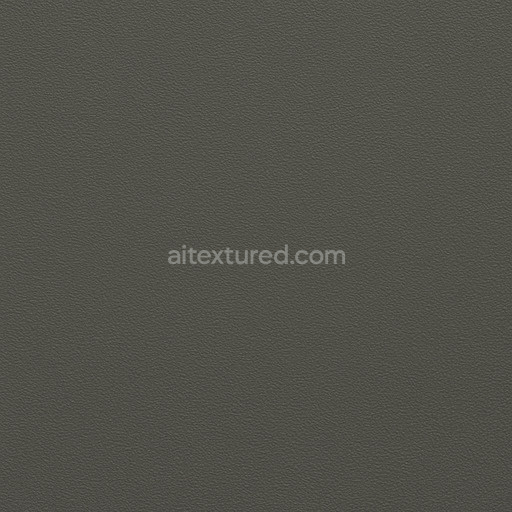
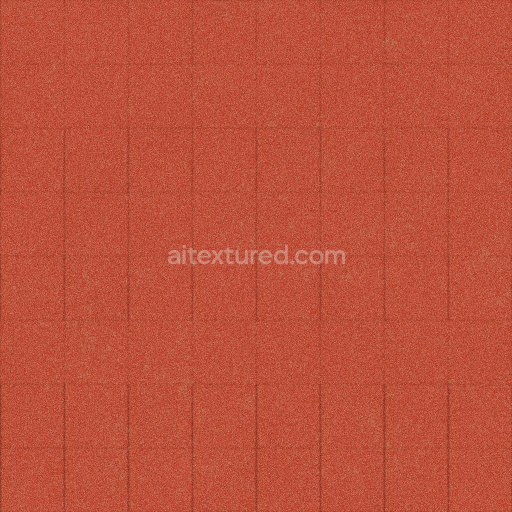
This 2-color rubber mulch playground flooring texture is a meticulously crafted, high-quality seamless PBR material designed to accurately represent the intricate composition and authentic appearance of rubber playground surfaces. The base substrate is primarily composed of recycled polymer granules blended with natural rubber particles, which are securely bound together using durable adhesives to ensure strong cohesion and lasting flexibility. The rubber mulch aggregates vary significantly in size and shape, creating a non-uniform grain orientation that enhances the natural complexity and surface detail. This material exhibits subtle porosity and slight weathering effects, typical of outdoor playground flooring that has been exposed to constant use and varying environmental conditions. The surface finish is matte and slightly roughened, closely mimicking the natural grip and cushioning properties inherent to rubber mulch, while pigments are expertly blended to produce a vibrant and realistic two-tone color scheme that adds depth and visual interest.
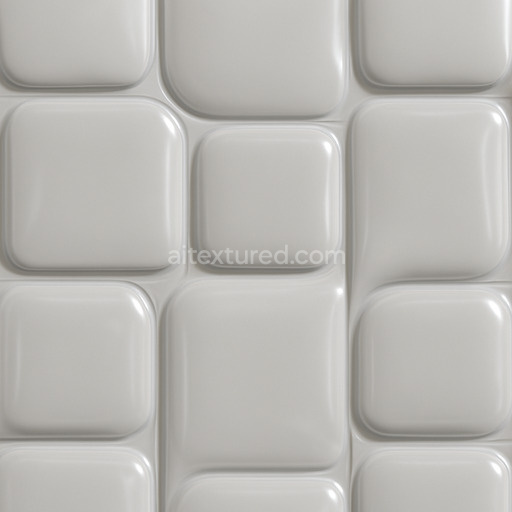
In the PBR texture channels, the BaseColor or Albedo map captures the distinctive 2-color pattern by combining muted earth tones with vivid rubber hues, delivering a visually rich and balanced palette. The Normal map conveys fine surface irregularities and the textured granulated feel of mixed rubber particles, emphasizing the material’s tactile complexity. The Roughness map highlights the non-reflective, subtly textured finish typical of playground mulch, promoting realistic light scattering without unwanted glossiness. Since there are no metallic elements present, the Metallic map remains black, preserving the non-metallic nature of the surface. Ambient Occlusion enhances the perception of depth between the rubber chunks, while the Height or Displacement map introduces subtle elevation differences to simulate the uneven terrain commonly found in rubber mulch flooring, boosting realism when used with parallax or tessellation effects.
Rendered at an impressive 8K resolution, this texture is optimized for seamless tiling and is fully compatible with leading 3D software platforms such as Blender, Unreal Engine, and Unity. This ensures maximum versatility and ease of integration for a wide range of playground and outdoor flooring projects, allowing designers and artists to achieve a highly convincing and immersive look. For practical application, it is recommended to slightly increase the UV scale to minimize visible repetition and to fine-tune the roughness values to strike the ideal balance between realistic surface grip and wear, adapting the material’s appearance to specific lighting conditions and project requirements.
Import the texture maps into Blender with sRGB color space for albedo/base color and Non-Color for normal, roughness, metallic, AO, height, and ORM maps. Connect normal maps through a Normal Map node, then adjust UV scale with a Mapping node so the material repeats naturally on your model.
For the full step-by-step setup, see How to Use Seamless Textures in Blender. Browse related material examples in wood, concrete, and metal.
Yes. This texture is designed as a seamless tileable PBR material, so it can repeat across large surfaces without visible borders.
You can download PNG/WEBP versions and use 1K, 2K, 4K and 8K download options when available on the page.
Yes. The download options and engine-mapped ZIP workflow are designed for Blender, Unreal Engine, Unity Standard, URP and HDRP material pipelines.
Yes. The texture is available under the AITextured free commercial license. Review the license page for redistribution and AI-training restrictions.


Build, preview, and export seamless PBR materials. Generate full map sets from a single image, inspect them in a real-time WebGL viewer, and re-package maps for Unreal, Unity, and Blender—directly in your browser.
AI text-to-texture: type a prompt and get a seamless, tileable base image ready for PBR workflows (great starting point for materials).
Create a full PBR set (Normal, Roughness, AO, Metallic, etc.) from a single image. Seamless and tiling-friendly.
Instant WebGL viewer: inspect materials on a sphere, plane, and cube. Check tiling and lighting in real time.
Re-packages maps per engine: Unreal (BaseColor + ORM), Unity (Mask/MetallicSmoothness), Blender (separate channels).
PNG ↔ JPG ↔ SVG: fast convert, SVG rasterize, embed/trace options, quality & background controls.