
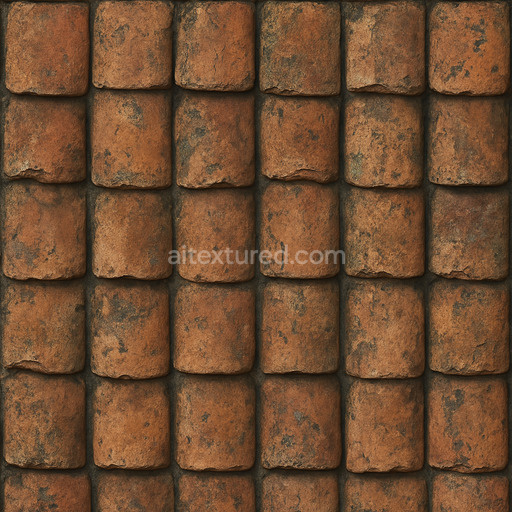
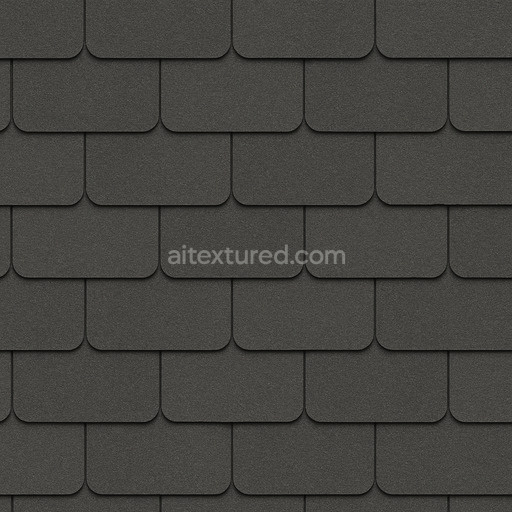
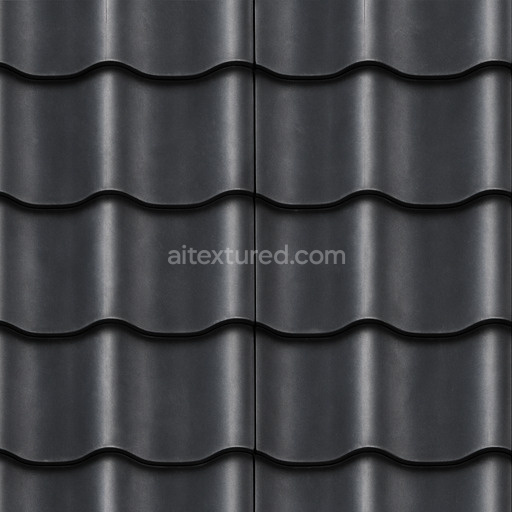
Decorative Shingle Roof Seamless Texture
Seamless texture (tileable) · PNG, WEBP, PBR ZIP. License: AITextured Free Commercial License (FCL) v1.1. Free personal and commercial use. Raw resale, standalone redistribution, mirroring/scraping, competing asset packs, and AI/ML training are not allowed without written permission. Attribution is not required, but appreciated..

| ID | matte-clay-tiles-texture-seamless |
|---|---|
| Category | Roofing |
| Formats | PNG, WEBP, PBR ZIP |
| Size | 1k (1024x1024px), 2k (2048x2048px), 4k (4096x4096px), 8k (8192x8192px) |
| Color | sRGB |
| Tileable | Yes |
Discover the Matte Clay Tiles Texture Seamless high resolution up to 8K a meticulously crafted tileable texture designed specifically for roofing applications and architectural visualizations. This texture replicates the natural composition of traditional clay tiles composed primarily of mineral-based ceramic substrates fused with fine-grained clay and natural binders. The surface finish is distinctly matte achieved through controlled firing processes that create a subtly roughened non-reflective appearance. The tiles exhibit gentle porosity and slight weathering effects simulated through delicate pigment variations and oxide layers that enrich the base color lending authenticity and depth to the texture. The grain orientation and subtle surface irregularities are captured precisely enhancing realism without compromising seamless tiling across large surfaces.
In terms of physically based rendering (PBR) channels the BaseColor or Albedo map reflects the earthy reddish-brown hues typical of clay punctuated by natural color shifts from iron oxide pigments. The Normal map encodes fine surface undulations and tile edges emphasizing the intricate geometry and enhancing light interaction. Roughness maps define the matte low-gloss surface characteristic with variation to simulate wear and weathering while the Metallic channel remains minimal as clay is a non-metallic material. Ambient Occlusion adds realistic shadowing around tile overlaps and crevices and the Height or Displacement map offers subtle depth cues that can be employed for parallax or tessellation effects heightening the tactile quality of the tiles in 3D scenes.
Engineered for high performance and visual fidelity this tileable matte clay tiles texture seamless high resolution up to 8K integrates seamlessly with industry-standard platforms such as Blender Unreal Engine and Unity. The ultra-high resolution ensures crisp detail even on close inspection or large-scale renders making it ideal for real-time scenes cinematic productions level dressing and material studies. Its seamless nature allows for effortless repetition without visible seams streamlining workflow and accelerating iteration cycles. For optimal results adjusting the UV scale to maintain natural tile proportions and fine-tuning the roughness channel according to your scene’s lighting setup will keep the material grounded and believable.
This texture matte clay tiles texture seamless high resolution up to 8K balances high fidelity with efficient performance making it a valuable addition to any roofing textures library. Its carefully curated composition and robust generation workflow deliver a clean repeatable pattern that scales elegantly across diverse architectural surfaces providing a reliable solution for artists and developers seeking realistic clay tile roofing materials with minimal setup and maximum versatility.
The seamless matte clay tiles texture features a high-resolution up to 8K texture that provides a realistic 3D preview with accurate PBR shading and detailed surface composition.
Import the texture maps into Blender with sRGB color space for albedo/base color and Non-Color for normal, roughness, metallic, AO, height, and ORM maps. Connect normal maps through a Normal Map node, then adjust UV scale with a Mapping node so the material repeats naturally on your model.
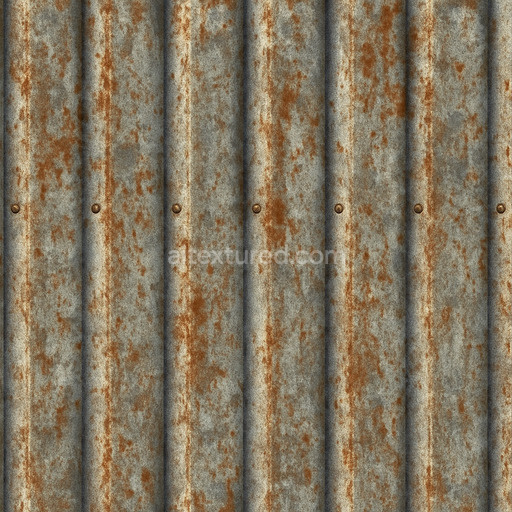
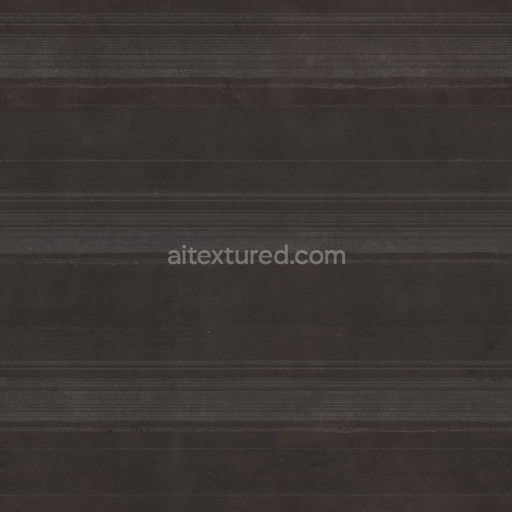
For the full step-by-step setup, see How to Use Seamless Textures in Blender. Browse related material examples in wood, concrete, and metal.
Yes. This texture is designed as a seamless tileable PBR material, so it can repeat across large surfaces without visible borders.
You can download PNG/WEBP versions and use 1K, 2K, 4K and 8K download options when available on the page.
Yes. The download options and engine-mapped ZIP workflow are designed for Blender, Unreal Engine, Unity Standard, URP and HDRP material pipelines.
Yes. The texture is available under the AITextured free commercial license. Review the license page for redistribution and AI-training restrictions.


Build, preview, and export seamless PBR materials. Generate full map sets from a single image, inspect them in a real-time WebGL viewer, and re-package maps for Unreal, Unity, and Blender—directly in your browser.
AI text-to-texture: type a prompt and get a seamless, tileable base image ready for PBR workflows (great starting point for materials).
Create a full PBR set (Normal, Roughness, AO, Metallic, etc.) from a single image. Seamless and tiling-friendly.
Instant WebGL viewer: inspect materials on a sphere, plane, and cube. Check tiling and lighting in real time.
Re-packages maps per engine: Unreal (BaseColor + ORM), Unity (Mask/MetallicSmoothness), Blender (separate channels).
PNG ↔ JPG ↔ SVG: fast convert, SVG rasterize, embed/trace options, quality & background controls.