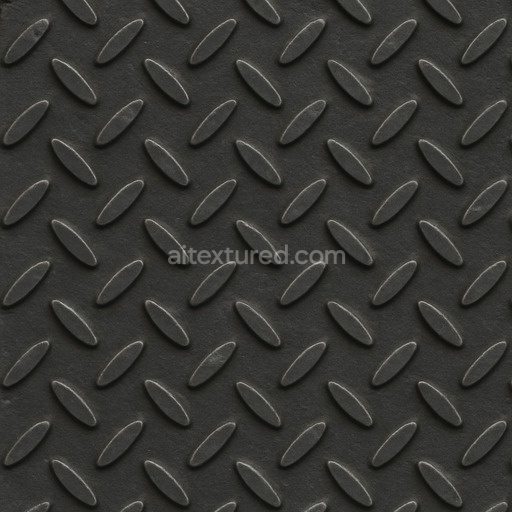
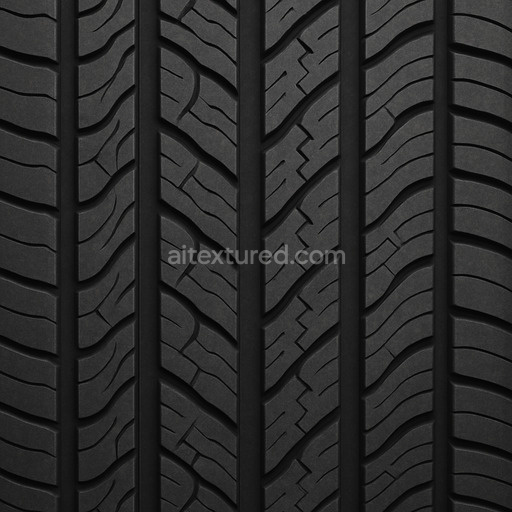
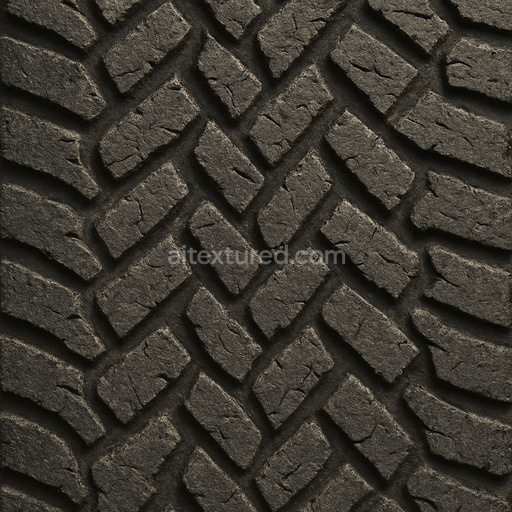
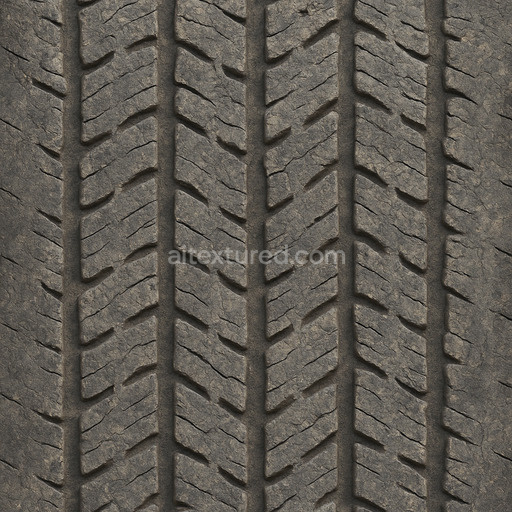
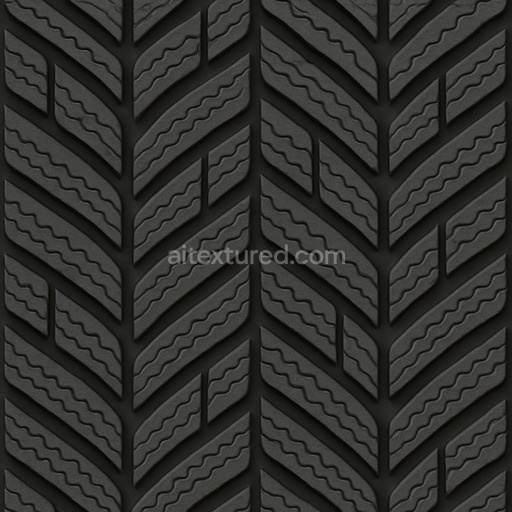
Industrial Rubber Seamless Texture
Seamless texture (tileable) · PNG, WEBP, PBR ZIP. License: AITextured Free Commercial License (FCL) v1.1. Free personal and commercial use. Raw resale, standalone redistribution, mirroring/scraping, competing asset packs, and AI/ML training are not allowed without written permission. Attribution is not required, but appreciated..

| ID | clean-tire-tread-rubber-texture-seamless |
|---|---|
| Category | Rubber |
| Formats | PNG, WEBP, PBR ZIP |
| Size | 1k (1024x1024px), 2k (2048x2048px), 4k (4096x4096px), 8k (8192x8192px) |
| Color | sRGB |
| Tileable | Yes |
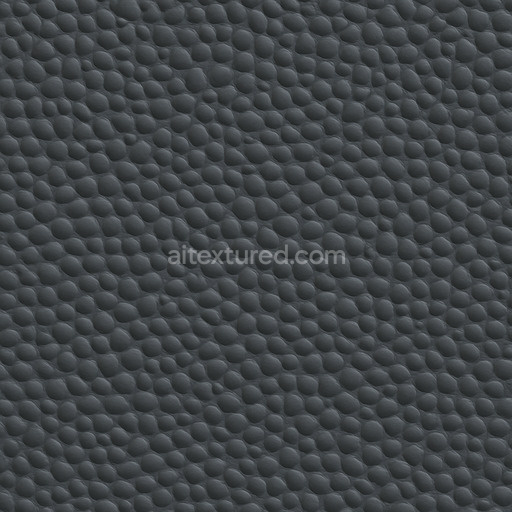
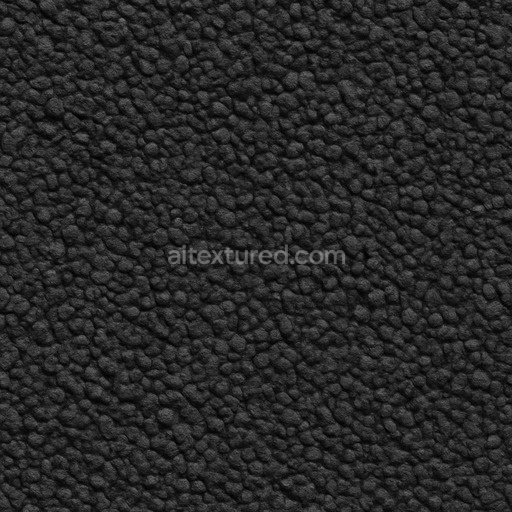
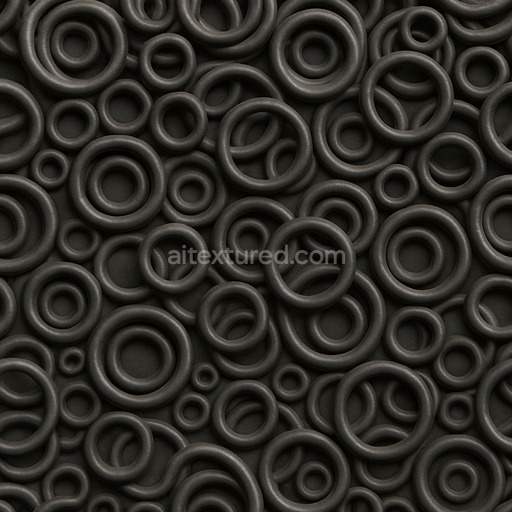
This clean tire tread rubber texture seamless high resolution up to 8K is expertly crafted to replicate the authentic look and feel of fresh unworn rubber tire surfaces with exceptional fidelity. The material composition centers on a polymer-based rubber substrate primarily composed of synthetic elastomers reinforced with carbon black and silica fillers. These components work synergistically to enhance the rubber’s durability wear resistance and mechanical performance. The pigmentation derives from deep black carbon layers imparting a uniform rich black tone across the tread surface. The subtle surface finish exhibits a matte quality with a slight natural sheen that captures the characteristic grip pattern of tire treads without introducing excessive gloss. Micro-roughness and minimal weathering effects are delicately integrated to maintain a pristine appearance while simulating the nuanced texture variations found in new rubber tires.
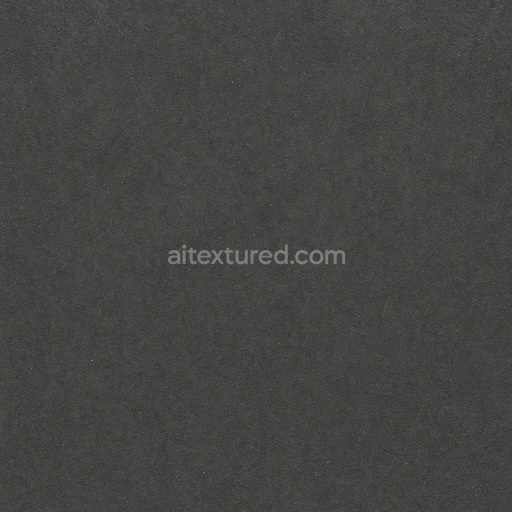
Within the PBR texture channels these material attributes are meticulously represented to ensure realistic rendering and physical accuracy. The BaseColor/Albedo map highlights the uniform black coloration with minimal variation reflecting the consistent carbon pigmentation. The Normal map precisely encodes the intricate tread geometry and subtle surface imperfections enhancing depth and tactile realism. The Roughness map balances smooth rubber gloss with areas of diffuse light scattering simulating the natural interaction between light and the rubber’s microsurface. The Metallic channel remains near zero throughout consistent with the non-metallic nature of rubber compounds. Ambient Occlusion adds depth to crevices and tread recesses while the Height/Displacement map supports realistic parallax effects enhancing 3D surface perception in real-time engines and offline renders.
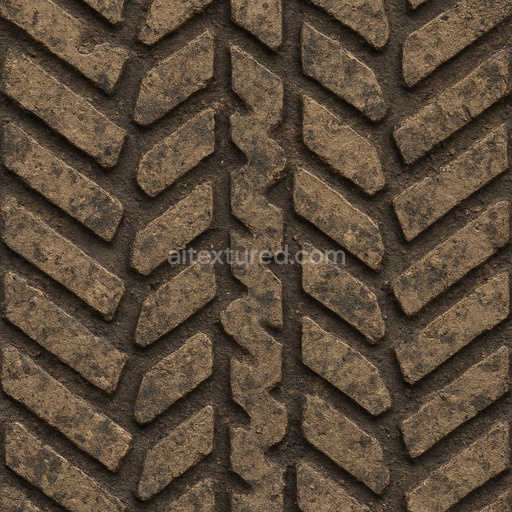
Optimized for high-end 3D workflows this tileable clean tire tread rubber texture seamless high resolution up to 8K delivers unparalleled detail and clarity for use in Blender Unity and Unreal Engine projects. The ultra-high resolution ensures crispness even on large UV islands or close-up cinematic shots making it ideal for realistic vehicle modeling environment dressing and material studies. Generated through advanced AI techniques the texture maintains a natural balance between sharp detail and controlled noise avoiding repetitive patterns and preserving seamless tiling. To maximize realism it is recommended to maintain uniform texel density across your asset’s UV maps to prevent distortion and stretching. Additionally fine-tuning the roughness parameter can simulate varying rubber wear levels or wetness adapting the material for diverse lighting conditions and scene requirements.
This seamless clean tire tread rubber texture rendered in seamless high resolution up to 8K with AI enhancement offers realistic rubber textures and a detailed 3D preview for accurate material representation.
Import the texture maps into Blender with sRGB color space for albedo/base color and Non-Color for normal, roughness, metallic, AO, height, and ORM maps. Connect normal maps through a Normal Map node, then adjust UV scale with a Mapping node so the material repeats naturally on your model.
For the full step-by-step setup, see How to Use Seamless Textures in Blender. Browse related material examples in wood, concrete, and metal.
Yes. This texture is designed as a seamless tileable PBR material, so it can repeat across large surfaces without visible borders.
You can download PNG/WEBP versions and use 1K, 2K, 4K and 8K download options when available on the page.
Yes. The download options and engine-mapped ZIP workflow are designed for Blender, Unreal Engine, Unity Standard, URP and HDRP material pipelines.
Yes. The texture is available under the AITextured free commercial license. Review the license page for redistribution and AI-training restrictions.

Build, preview, and export seamless PBR materials. Generate full map sets from a single image, inspect them in a real-time WebGL viewer, and re-package maps for Unreal, Unity, and Blender—directly in your browser.
AI text-to-texture: type a prompt and get a seamless, tileable base image ready for PBR workflows (great starting point for materials).
Create a full PBR set (Normal, Roughness, AO, Metallic, etc.) from a single image. Seamless and tiling-friendly.
Instant WebGL viewer: inspect materials on a sphere, plane, and cube. Check tiling and lighting in real time.
Re-packages maps per engine: Unreal (BaseColor + ORM), Unity (Mask/MetallicSmoothness), Blender (separate channels).
PNG ↔ JPG ↔ SVG: fast convert, SVG rasterize, embed/trace options, quality & background controls.