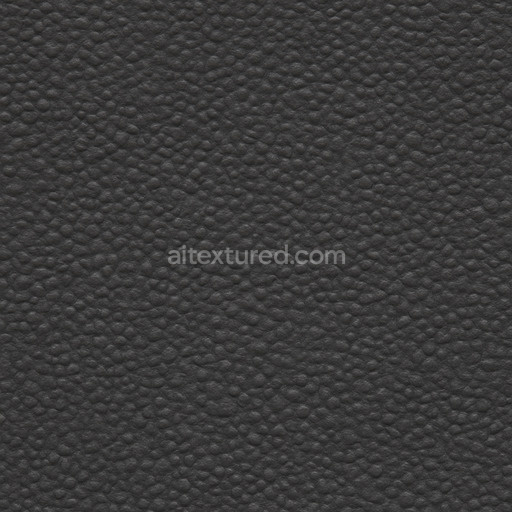
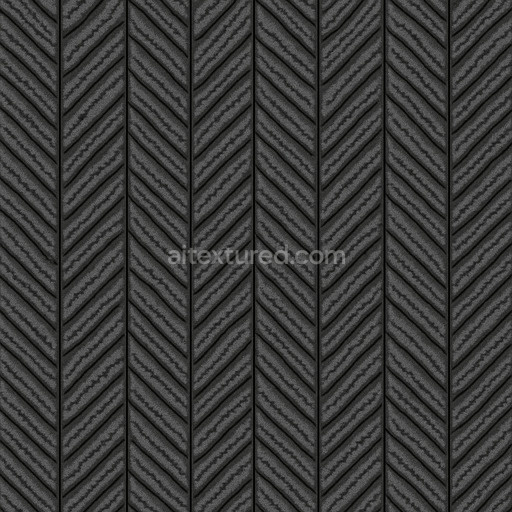
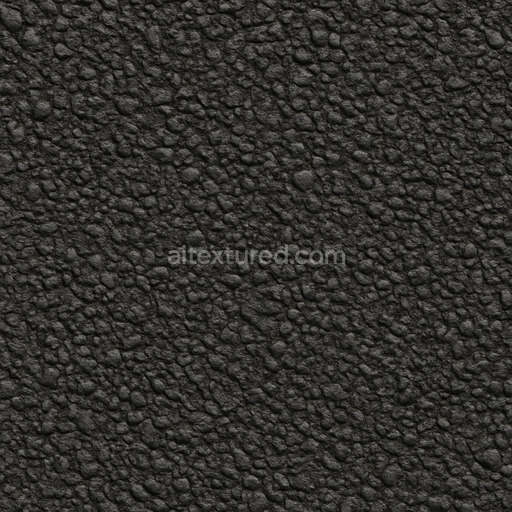
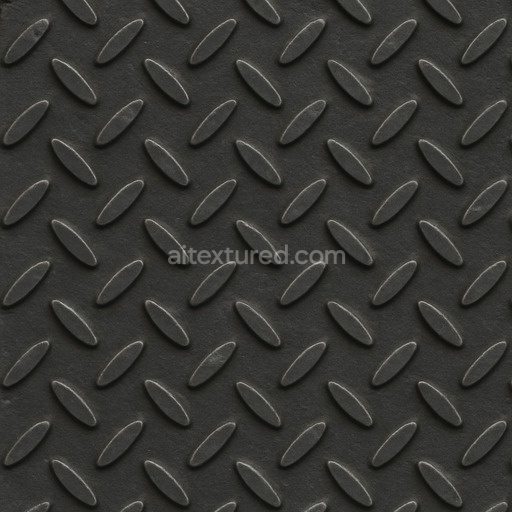
Photorealistic Rubber Seamless Texture
Seamless texture (tileable) · PNG, WEBP, PBR ZIP. License: AITextured Free Commercial License (FCL) v1.1. Free personal and commercial use. Raw resale, standalone redistribution, mirroring/scraping, competing asset packs, and AI/ML training are not allowed without written permission. Attribution is not required, but appreciated..

| ID | shiny-tire-tread-rubber-texture-seamless |
|---|---|
| Category | Rubber |
| Formats | PNG, WEBP, PBR ZIP |
| Size | 1k (1024x1024px), 2k (2048x2048px), 4k (4096x4096px), 8k (8192x8192px) |
| Color | sRGB |
| Tileable | Yes |
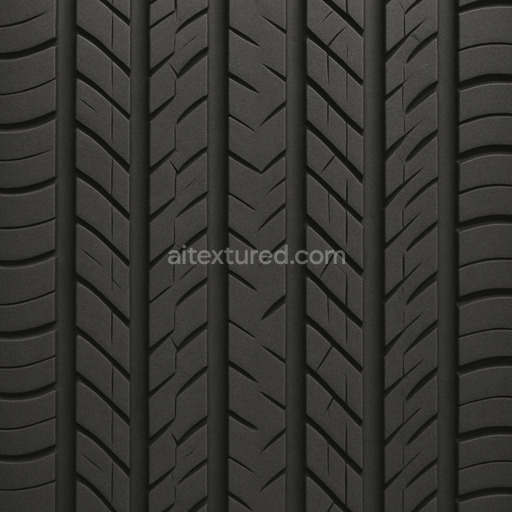
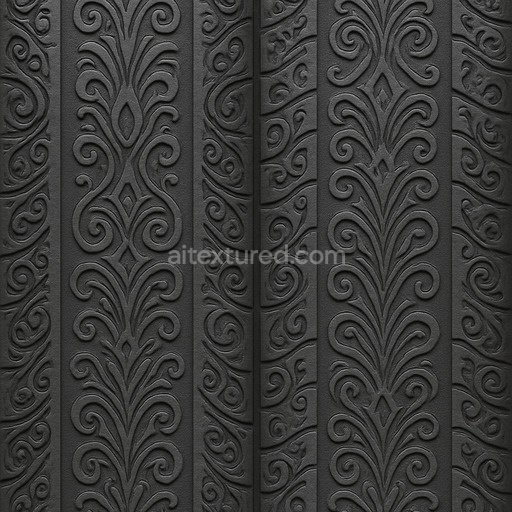
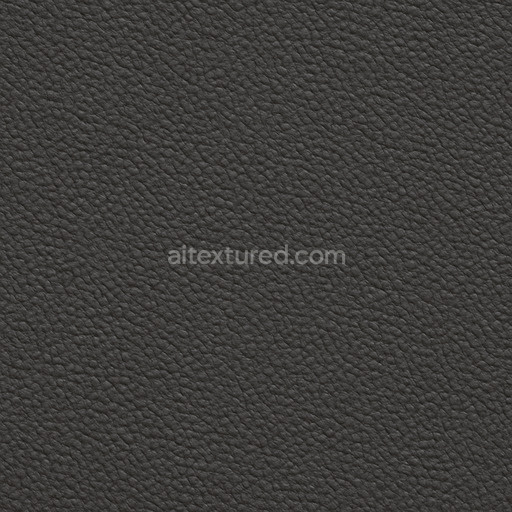
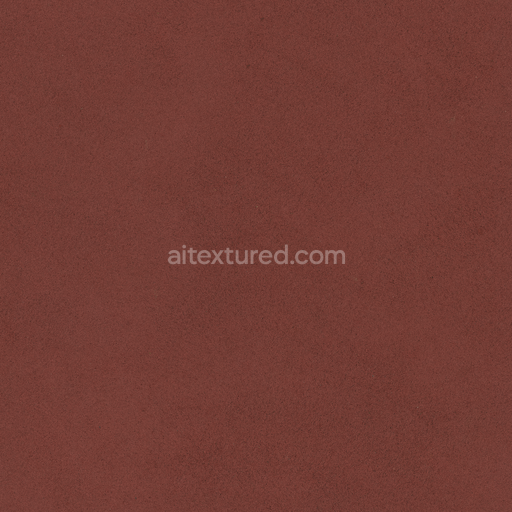
Experience the exceptional quality of this shiny tire tread rubber texture seamless high resolution up to 8K expertly designed to replicate the complex material characteristics of premium synthetic rubber used in tire manufacturing. This texture showcases a polymer-based substrate composed of densely packed synthetic rubber compounds reinforced with fibers and fillers that ensure both structural strength and flexibility. The surface features a subtle glossy finish achieved through a polished yet wear-resistant layer that softly reflects light accentuating the intricate geometric tread pattern without producing harsh glare. Embedded black pigments provide a deep uniform coloration while microscopic porosity and finely oriented grain structures contribute to natural light diffusion and realistic shadowing effects. Minimal weathering preserves the clean and consistent appearance making it ideal for depicting new or lightly used tire surfaces across various digital environments.
Each PBR map within this seamless shiny tire tread rubber texture seamless high resolution up to 8K package is carefully calibrated to embody these material properties with precision. The BaseColor or Albedo channel delivers a rich black tone with subtle pigment variations that mirror the natural dispersion in rubber. The Normal map captures the detailed relief and depth of the tread pattern highlighting grooves and raised sections for enhanced dimensionality. Roughness is finely tuned to balance the semi-glossy finish enabling a realistic interplay between matte and reflective areas across the surface. The Metallic map remains near zero consistent with the non-metallic nature of rubber while Ambient Occlusion adds soft natural shadows within crevices boosting the overall three-dimensional effect. Height or Displacement maps offer additional depth information accentuating tread details to elevate realism in 3D modeling and rendering workflows.
Optimized for seamless integration with leading 3D software platforms such as Blender Unreal Engine and Unity this tileable shiny tire tread rubber texture seamless high resolution up to 8K ensures visually consistent results across a wide range of projects including environment art automotive visualization and prototype design. The ultra-high resolution up to 8K allows for exceptional clarity on large surfaces without visible seams supporting close-up renders and detailed 3D previews with impressive fidelity. For practical application adjusting the UV scale within your 3D software can help align the tread pattern proportionally to your scene while fine-tuning the roughness map under different lighting conditions enhances the subtle shiny finish. Employing the height or displacement map further adds tactile depth making the tire tread stand out with convincing physicality in any digital environment.
Import the texture maps into Blender with sRGB color space for albedo/base color and Non-Color for normal, roughness, metallic, AO, height, and ORM maps. Connect normal maps through a Normal Map node, then adjust UV scale with a Mapping node so the material repeats naturally on your model.
For the full step-by-step setup, see How to Use Seamless Textures in Blender. Browse related material examples in wood, concrete, and metal.
Yes. This texture is designed as a seamless tileable PBR material, so it can repeat across large surfaces without visible borders.
You can download PNG/WEBP versions and use 1K, 2K, 4K and 8K download options when available on the page.
Yes. The download options and engine-mapped ZIP workflow are designed for Blender, Unreal Engine, Unity Standard, URP and HDRP material pipelines.
Yes. The texture is available under the AITextured free commercial license. Review the license page for redistribution and AI-training restrictions.
Build, preview, and export seamless PBR materials. Generate full map sets from a single image, inspect them in a real-time WebGL viewer, and re-package maps for Unreal, Unity, and Blender—directly in your browser.
AI text-to-texture: type a prompt and get a seamless, tileable base image ready for PBR workflows (great starting point for materials).
Create a full PBR set (Normal, Roughness, AO, Metallic, etc.) from a single image. Seamless and tiling-friendly.
Instant WebGL viewer: inspect materials on a sphere, plane, and cube. Check tiling and lighting in real time.
Re-packages maps per engine: Unreal (BaseColor + ORM), Unity (Mask/MetallicSmoothness), Blender (separate channels).
PNG ↔ JPG ↔ SVG: fast convert, SVG rasterize, embed/trace options, quality & background controls.