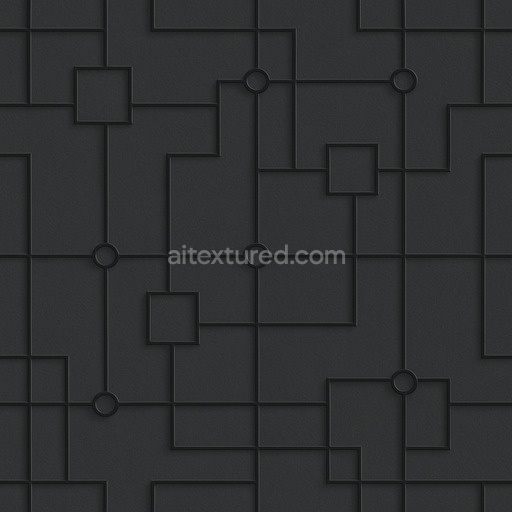
Worn Futuristic Panel Seamless Texture
Seamless texture (tileable) · PNG, WEBP, PBR ZIP. License: AITextured Free Commercial License (FCL) v1.1. Free personal and commercial use. Raw resale, standalone redistribution, mirroring/scraping, competing asset packs, and AI/ML training are not allowed without written permission. Attribution is not required, but appreciated..

| ID | coarse-techno-grid-texture-seamless |
|---|---|
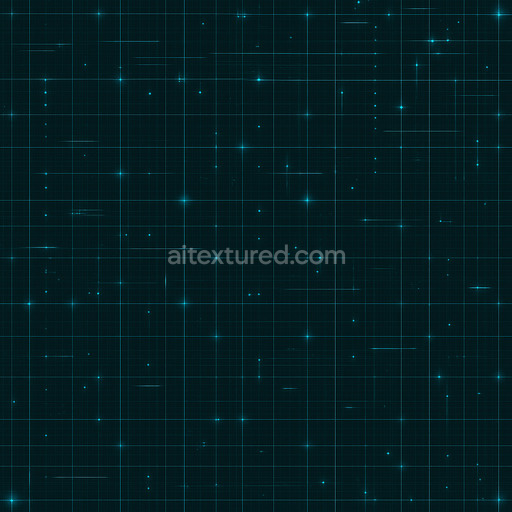
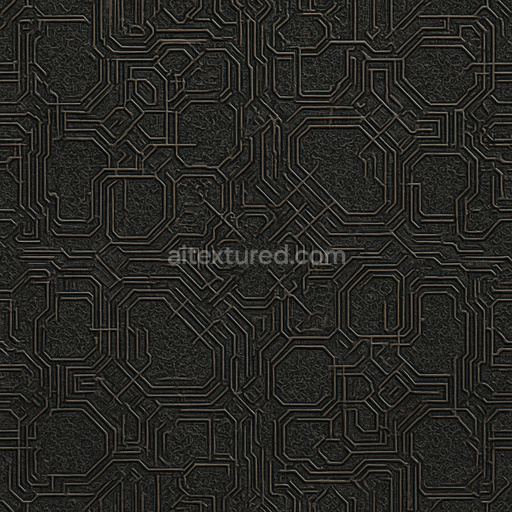
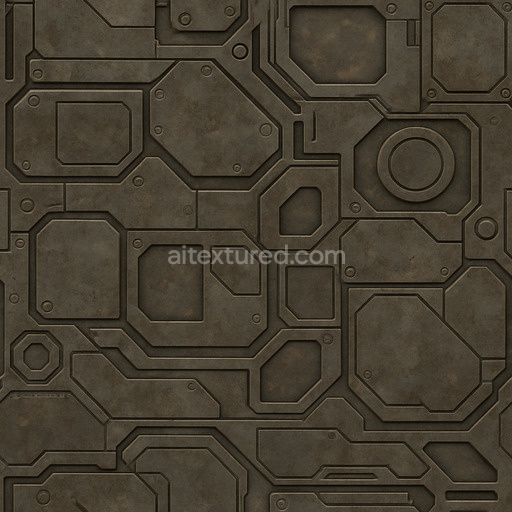
| Category | Sci-fi |
| Formats | PNG, WEBP, PBR ZIP |
| Size | 1k (1024x1024px), 2k (2048x2048px), 4k (4096x4096px), 8k (8192x8192px) |
| Color | sRGB |
| Tileable | Yes |
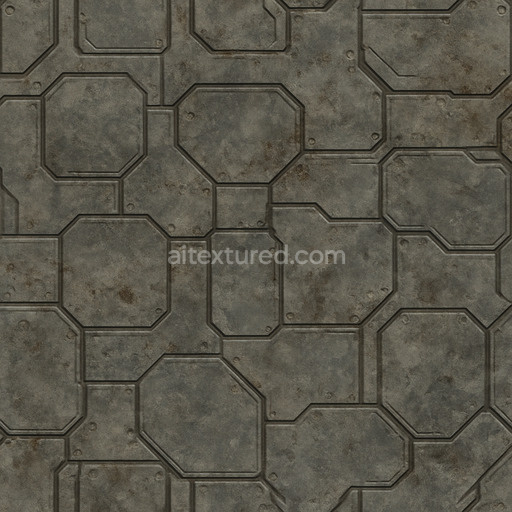
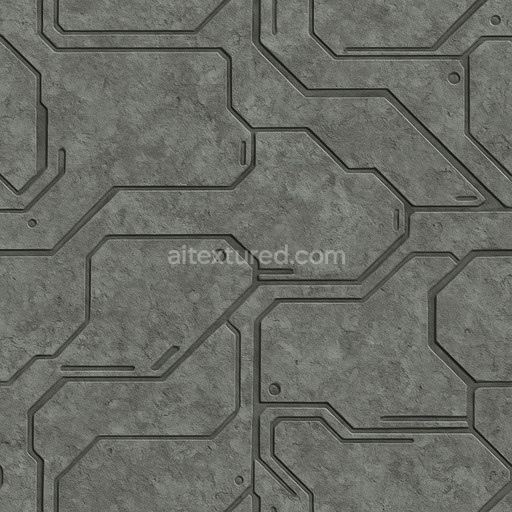
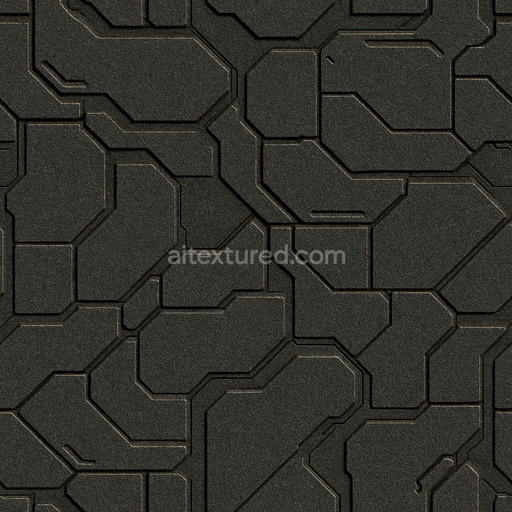
The Coarse Techno Grid Texture Seamless high resolution up to 8K is a meticulously crafted material inspired by futuristic industrial surfaces often featured in sci-fi textures and environments. This texture simulates a durable composite substrate composed primarily of finely milled metallic alloys and polymer-based binders creating a robust grid pattern with a pronounced coarse grain orientation. The surface mimics a subtly brushed metal finish with controlled oxidation and mild wear which lends a tactile authenticity to the material. Layers of muted steel-gray pigments combined with dark oxide hues contribute to the texture’s distinctive high-tech appearance. The overall finish balances polished metallic sheen with strategically roughened patches reflecting realistic weathering effects typical of advanced architectural surfaces exposed to environmental conditions over time.
Within physically based rendering workflows the tileable coarse techno grid texture seamless high resolution up to 8K excels by integrating complex material characteristics across multiple PBR channels. The BaseColor (Albedo) channel captures the nuanced interplay of metallic pigments and oxidized layers delivering a rich palette with subtle tonal variation. The Normal map encodes the intricate details of the grid’s raised ridges and recessed junctions enhancing depth perception and surface realism without harsh shadows. Roughness values are finely tuned to represent the semi-matte finish simulating the interplay between glossy metal areas and worn polymer composites. The Metallic channel reinforces the conductive properties of the material emphasizing its techno-industrial identity while Ambient Occlusion adds realistic shadowing within crevices. Additionally the Height/Displacement map provides enhanced surface relief for parallax effects improving dimensional accuracy on large-scale models.
Optimized for demanding workflows in Blender Unity and Unreal Engine this texture coarse techno grid texture seamless high resolution up to 8K offers seamless repeatability that scales elegantly across extensive 3D models architectural visualizations game environments and product mockups without visible seams or distortion. To achieve the best results maintaining consistent UV scaling across assets is advised to prevent texture stretching. Fine-tuning the roughness parameter according to lighting conditions can further enhance the balance between specular highlights and diffuse reflection ensuring the texture’s sophisticated high-tech appearance stays cohesive within any sci-fi project. This advanced ai-generated texture combines crisp detail with natural noise patterns providing a coherent and immersive 3D preview for high-fidelity digital scenes requiring realistic coarse techno grid surfaces.
Import the texture maps into Blender with sRGB color space for albedo/base color and Non-Color for normal, roughness, metallic, AO, height, and ORM maps. Connect normal maps through a Normal Map node, then adjust UV scale with a Mapping node so the material repeats naturally on your model.
For the full step-by-step setup, see How to Use Seamless Textures in Blender. Browse related material examples in wood, concrete, and metal.
Yes. This texture is designed as a seamless tileable PBR material, so it can repeat across large surfaces without visible borders.
You can download PNG/WEBP versions and use 1K, 2K, 4K and 8K download options when available on the page.
Yes. The download options and engine-mapped ZIP workflow are designed for Blender, Unreal Engine, Unity Standard, URP and HDRP material pipelines.
Yes. The texture is available under the AITextured free commercial license. Review the license page for redistribution and AI-training restrictions.


Build, preview, and export seamless PBR materials. Generate full map sets from a single image, inspect them in a real-time WebGL viewer, and re-package maps for Unreal, Unity, and Blender—directly in your browser.
AI text-to-texture: type a prompt and get a seamless, tileable base image ready for PBR workflows (great starting point for materials).
Create a full PBR set (Normal, Roughness, AO, Metallic, etc.) from a single image. Seamless and tiling-friendly.
Instant WebGL viewer: inspect materials on a sphere, plane, and cube. Check tiling and lighting in real time.
Re-packages maps per engine: Unreal (BaseColor + ORM), Unity (Mask/MetallicSmoothness), Blender (separate channels).
PNG ↔ JPG ↔ SVG: fast convert, SVG rasterize, embed/trace options, quality & background controls.