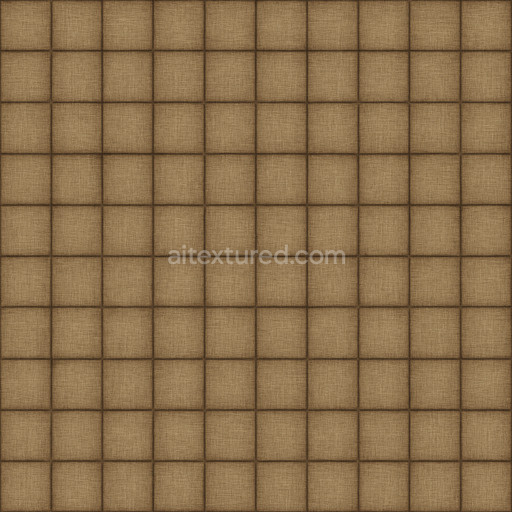
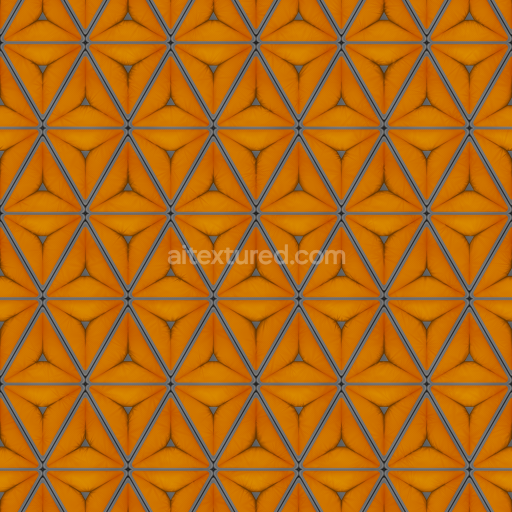
Natural Techno Grid Seamless Texture
Seamless texture (tileable) · PNG, WEBP, PBR ZIP. License: AITextured Free Commercial License (FCL) v1.1. Free personal and commercial use. Raw resale, standalone redistribution, mirroring/scraping, competing asset packs, and AI/ML training are not allowed without written permission. Attribution is not required, but appreciated..

| ID | aged-futuristic-panel-texture-seamless |
|---|---|
| Category | Sci-fi |
| Formats | PNG, WEBP, PBR ZIP |
| Size | 1k (1024x1024px), 2k (2048x2048px), 4k (4096x4096px), 8k (8192x8192px) |
| Color | sRGB |
| Tileable | Yes |
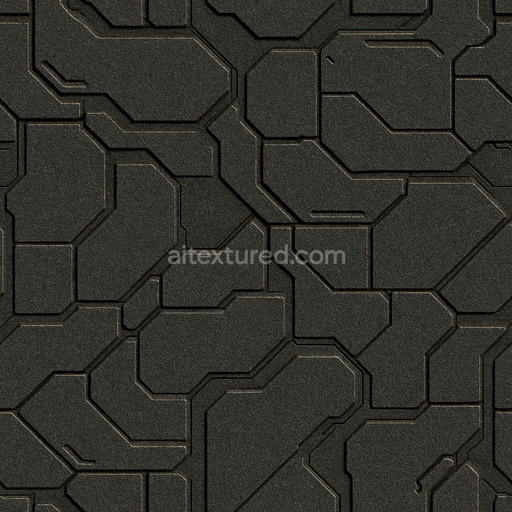
The aged futuristic panel texture seamless high resolution up to 8K is a meticulously engineered material that harmonizes advanced synthetic polymers with a durable metallic substrate capturing a sci-fi aesthetic enriched by realistic signs of wear and technological refinement. Its foundational composition resembles a lightweight alloy panel reinforced by polymer-based adhesives that securely bind layered composite fibers delivering both structural integrity and subtle flexibility. The surface finish features a weathered oxidized patina accented with controlled abrasions and slight corrosion marks reflecting prolonged exposure to harsh futuristic environments. Embedded pigmented oxide layers and nano-particles contribute to a complex color palette of muted grays cool blues and faded metallic tones enhancing the natural aged effect while maintaining a distinctly futuristic appeal. Micro-surface irregularities and porosity simulate authentic material degradation adding convincing depth and realism to digital sci-fi scenes.
This tileable aged futuristic panel texture seamless high resolution up to 8K excels in physically based rendering workflows with well-defined channel separation. The BaseColor or Albedo map displays the nuanced interplay of oxidized metals and polymer surfaces showcasing subtle discoloration and pigment variations that bring the material to life. The Normal map encodes fine details such as panel seams micro-scratches and raised rivets delivering tactile depth and realism. Roughness maps highlight the contrast between smoother polished areas and rougher corroded sections while the Metallic channel reveals the reflective properties of the underlying alloy framework emphasizing intact metal surfaces. Ambient Occlusion enhances shadowing around grooves and layered components and the Height or Displacement map provides slight surface relief perfect for parallax effects in close-up renders. Supporting up to 8k resolution this texture aged futuristic panel texture seamless high resolution up to 8K ensures crisp detail even on large UV islands making it ideal for high-fidelity sci-fi textures in Blender Unity and Unreal Engine projects.
Designed for seamless integration into modern 3D pipelines this tileable aged futuristic panel texture seamless high resolution up to 8K offers unmatched versatility for cinematic and real-time applications alike. Its advanced composition and high resolution detail make it suitable for level dressing environmental storytelling or material studies where a balance of futuristic design and realistic wear is essential. For optimal results it is recommended to carefully adjust the roughness intensity to match your lighting conditions preventing unnatural reflections and enhancing material grounding. Additionally scaling the UV coordinates thoughtfully helps maintain texture detail without introducing repetition artifacts ensuring a consistent immersive visual experience across varied sci-fi scenes.
Import the texture maps into Blender with sRGB color space for albedo/base color and Non-Color for normal, roughness, metallic, AO, height, and ORM maps. Connect normal maps through a Normal Map node, then adjust UV scale with a Mapping node so the material repeats naturally on your model.
For the full step-by-step setup, see How to Use Seamless Textures in Blender. Browse related material examples in wood, concrete, and metal.
Yes. This texture is designed as a seamless tileable PBR material, so it can repeat across large surfaces without visible borders.
You can download PNG/WEBP versions and use 1K, 2K, 4K and 8K download options when available on the page.
Yes. The download options and engine-mapped ZIP workflow are designed for Blender, Unreal Engine, Unity Standard, URP and HDRP material pipelines.
Yes. The texture is available under the AITextured free commercial license. Review the license page for redistribution and AI-training restrictions.


Build, preview, and export seamless PBR materials. Generate full map sets from a single image, inspect them in a real-time WebGL viewer, and re-package maps for Unreal, Unity, and Blender—directly in your browser.
AI text-to-texture: type a prompt and get a seamless, tileable base image ready for PBR workflows (great starting point for materials).
Create a full PBR set (Normal, Roughness, AO, Metallic, etc.) from a single image. Seamless and tiling-friendly.
Instant WebGL viewer: inspect materials on a sphere, plane, and cube. Check tiling and lighting in real time.
Re-packages maps per engine: Unreal (BaseColor + ORM), Unity (Mask/MetallicSmoothness), Blender (separate channels).
PNG ↔ JPG ↔ SVG: fast convert, SVG rasterize, embed/trace options, quality & background controls.