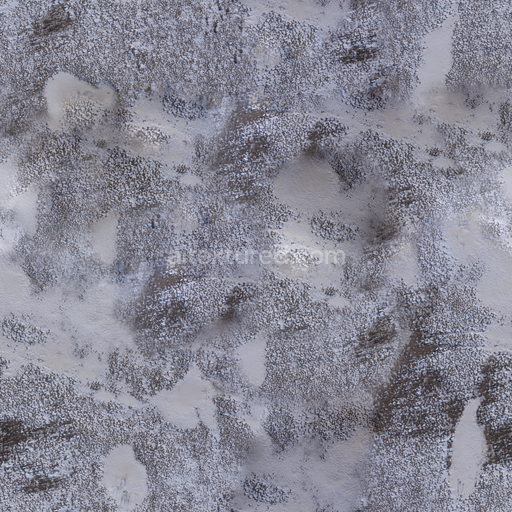
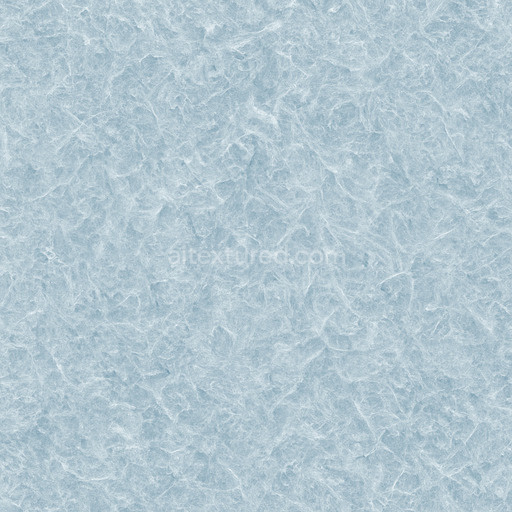
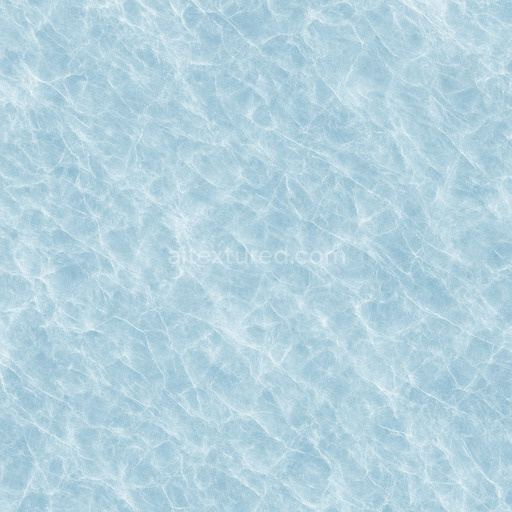
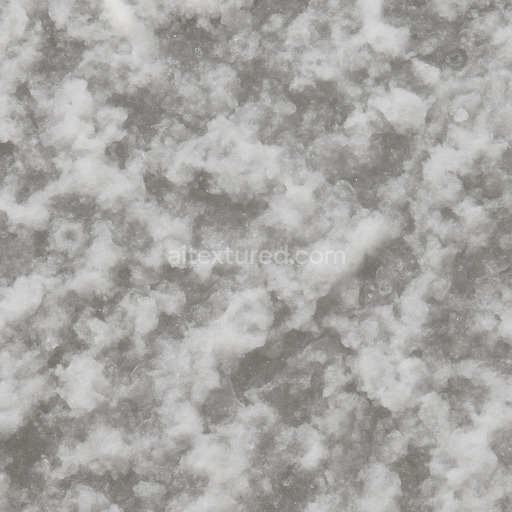
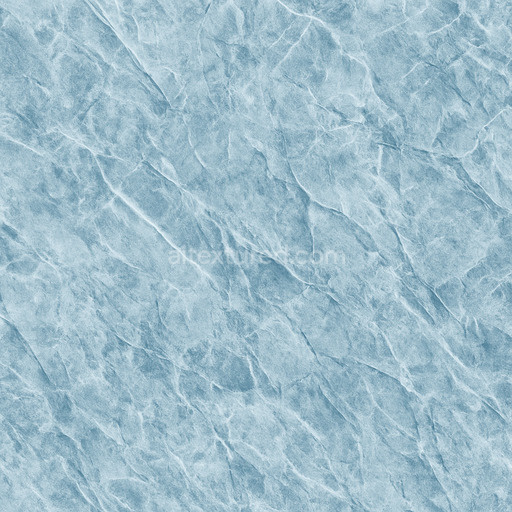
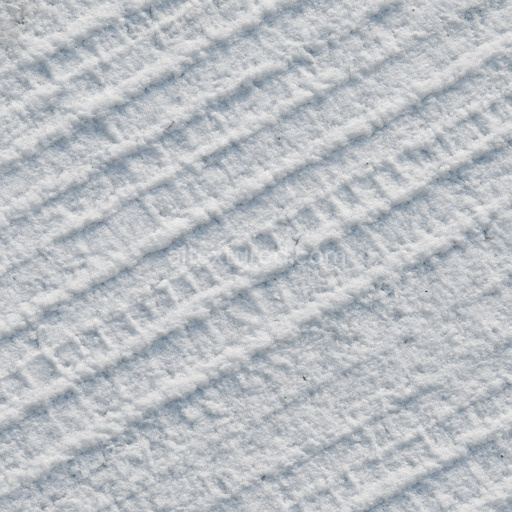
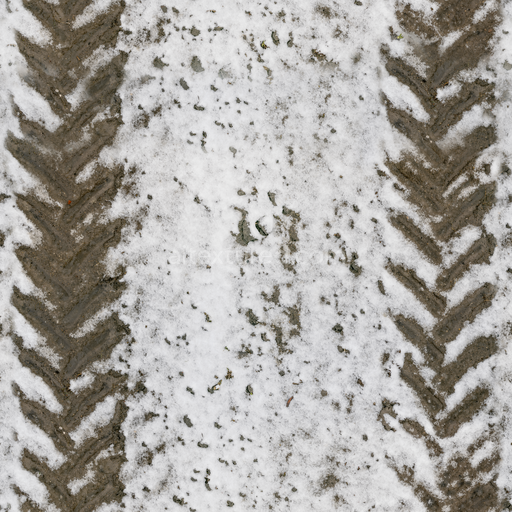
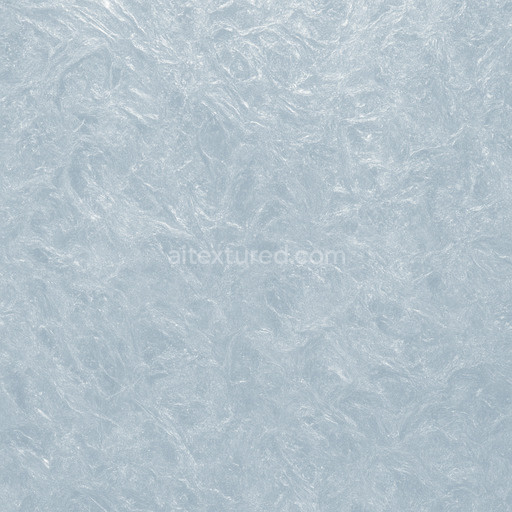
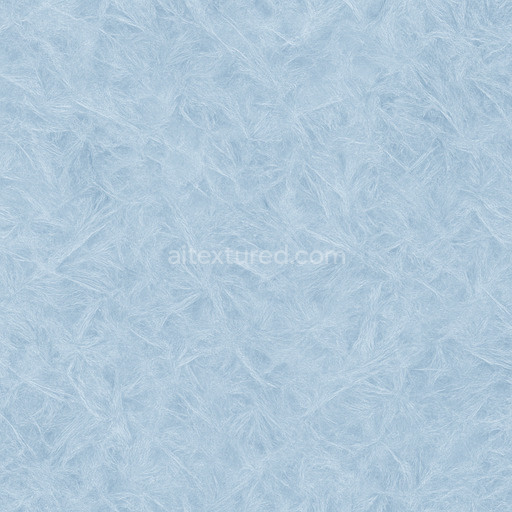
Aerial Snow Field
Seamless texture (tileable) · PNG, WEBP, PBR ZIP. License: AITextured Free Commercial License (FCL) v1.1. Free personal and commercial use. Raw resale, standalone redistribution, mirroring/scraping, competing asset packs, and AI/ML training are not allowed without written permission. Attribution is not required, but appreciated..

| ID | high-quality-seamless-snow-texture |
|---|---|
| Category | Snow-ice |
| Formats | PNG, WEBP, PBR ZIP |
| Size | 1k (1024x1024px), 2k (2048x2048px), 4k (4096x4096px), 8k (8192x8192px) |
| Color | sRGB |
| Tileable | Yes |
This high-quality seamless snow texture is meticulously crafted to replicate the intricate details of natural winter surfaces making it ideal for a wide range of digital applications such as game design architectural visualization and immersive scenic environments. The base substrate mimics a fine-grained frozen terrain composed primarily of compacted ice crystals interspersed with delicate mineral dust giving a realistic organic structure. This natural composition is enhanced with subtle variations in porosity and micro-fissures that reflect gradual weathering effects creating a believable matte finish that captures the diffuse reflection of white snow under varying lighting conditions.
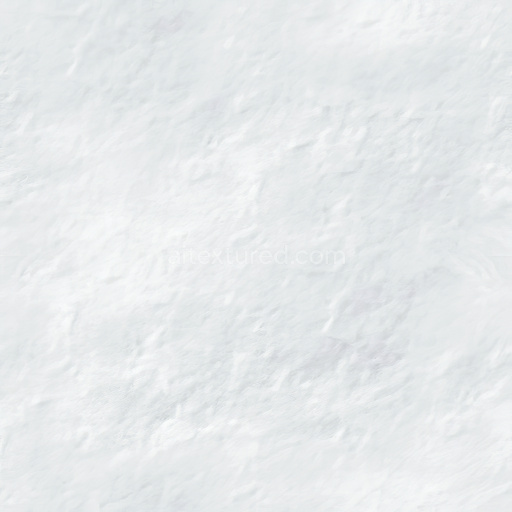
The material’s detailed composition is accurately translated across PBR texture channels to maximize realism and adaptability. The BaseColor (Albedo) channel delivers a pristine white snow appearance with nuanced tonal shifts caused by microscopic impurities and reflective ice layers. The Normal map captures the fine-grained texture and undulating surface patterns typical of fresh snow providing depth without harsh contrasts. Roughness is calibrated to reflect the matte slightly rough surface that diffuses light softly avoiding any unnatural glossiness. The Metallic channel is intentionally kept minimal as snow is non-metallic by nature while Ambient Occlusion accentuates subtle shadows in crevices and uneven terrain. Height and Displacement maps emphasize the delicate surface relief allowing for enhanced parallax effects in real-time engines like Unreal and Unity or detailed displacement in Blender.
Available in ultra-high 8K resolution this snow texture ensures exceptional detail even on large-scale landscape models or close-up shots preserving the natural intricacies of frozen terrain. It is fully optimized for seamless tiling to prevent visible repetitions making it suitable for expansive winter scenes and digital nature landscapes. The material integrates smoothly within PBR workflows offering flexibility to artists and designers who need a reliable realistic snow surface for games architectural projects or film production. A practical tip for usage is to adjust the UV scale depending on scene requirements—larger scales for wide terrains to maintain natural pattern repetition and finer scales for close-up assets. Additionally tuning the roughness channel can help simulate different snow conditions from freshly fallen powder to slightly compacted icy surfaces.
Designed to elevate your creative potential this seamless snow material provides a stunningly realistic frozen surface that enhances any digital environment with a serene winter aesthetic. Its detailed composition and versatile PBR maps facilitate easy customization and seamless integration into various projects whether for scenic landscapes game levels or architectural exteriors. Experience the natural beauty of winter with this high-quality snow texture perfect for achieving authentic snowy finishes across multiple digital platforms and artistic endeavors.
Import the texture maps into Blender with sRGB color space for albedo/base color and Non-Color for normal, roughness, metallic, AO, height, and ORM maps. Connect normal maps through a Normal Map node, then adjust UV scale with a Mapping node so the material repeats naturally on your model.
For the full step-by-step setup, see How to Use Seamless Textures in Blender. Browse related material examples in wood, concrete, and metal.
Yes. This texture is designed as a seamless tileable PBR material, so it can repeat across large surfaces without visible borders.
You can download PNG/WEBP versions and use 1K, 2K, 4K and 8K download options when available on the page.
Yes. The download options and engine-mapped ZIP workflow are designed for Blender, Unreal Engine, Unity Standard, URP and HDRP material pipelines.
Yes. The texture is available under the AITextured free commercial license. Review the license page for redistribution and AI-training restrictions.

Build, preview, and export seamless PBR materials. Generate full map sets from a single image, inspect them in a real-time WebGL viewer, and re-package maps for Unreal, Unity, and Blender—directly in your browser.
AI text-to-texture: type a prompt and get a seamless, tileable base image ready for PBR workflows (great starting point for materials).
Create a full PBR set (Normal, Roughness, AO, Metallic, etc.) from a single image. Seamless and tiling-friendly.
Instant WebGL viewer: inspect materials on a sphere, plane, and cube. Check tiling and lighting in real time.
Re-packages maps per engine: Unreal (BaseColor + ORM), Unity (Mask/MetallicSmoothness), Blender (separate channels).
PNG ↔ JPG ↔ SVG: fast convert, SVG rasterize, embed/trace options, quality & background controls.