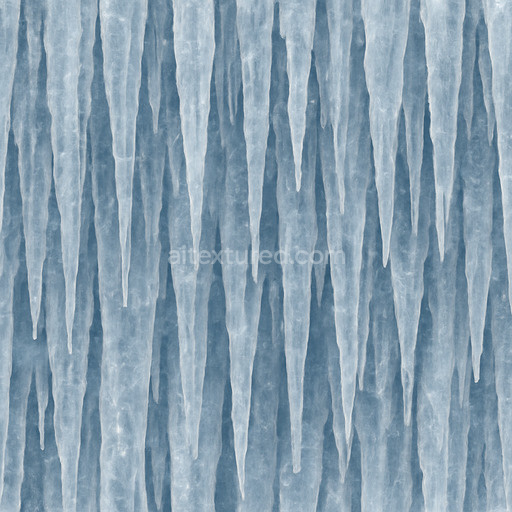
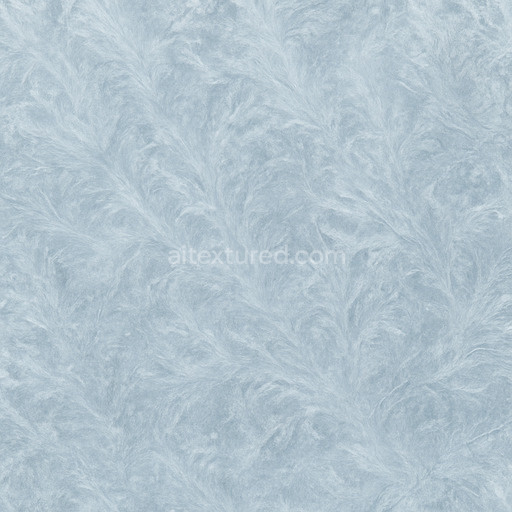
Icicles Close Up Striations
Seamless texture (tileable) · PNG, WEBP, PBR ZIP. License: AITextured Free Commercial License (FCL) v1.1. Free personal and commercial use. Raw resale, standalone redistribution, mirroring/scraping, competing asset packs, and AI/ML training are not allowed without written permission. Attribution is not required, but appreciated..

| ID | industrial-ice-seamless-texture |
|---|---|
| Category | Snow-ice |
| Formats | PNG, WEBP, PBR ZIP |
| Size | 1k (1024x1024px), 2k (2048x2048px), 4k (4096x4096px), 8k (8192x8192px) |
| Color | sRGB |
| Tileable | Yes |
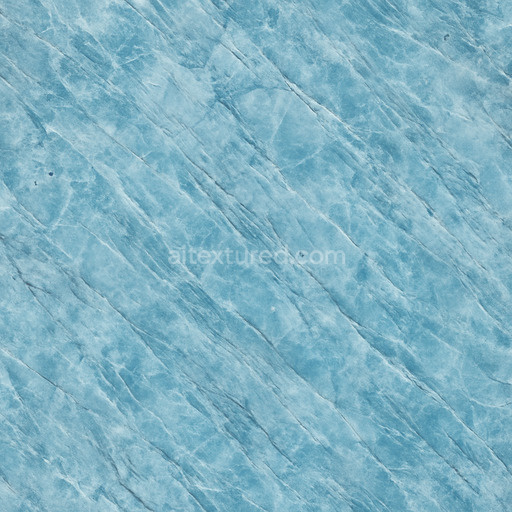
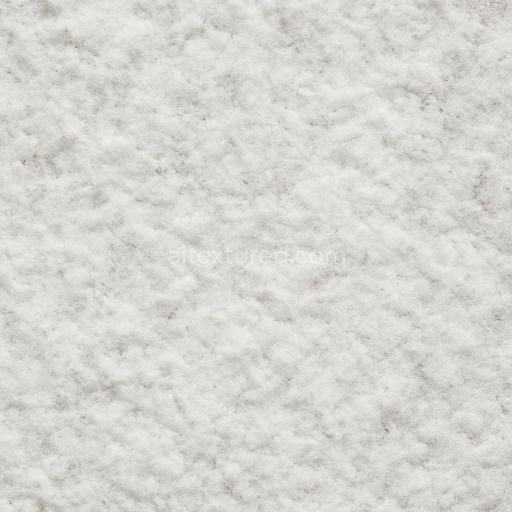
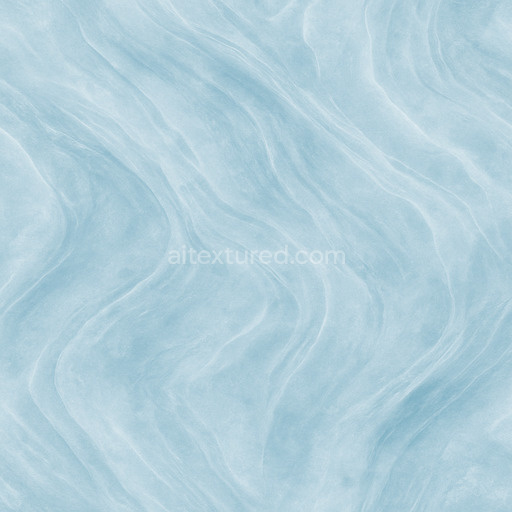
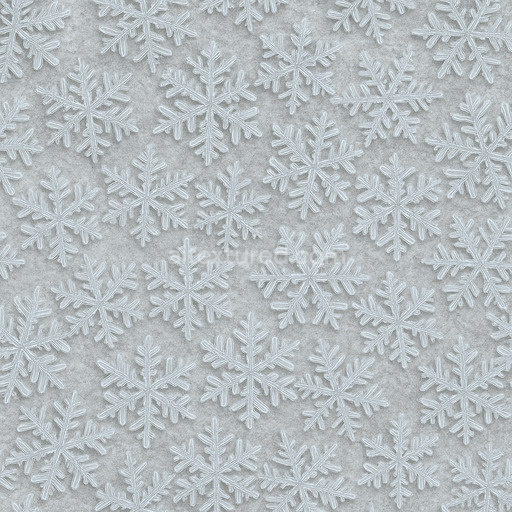
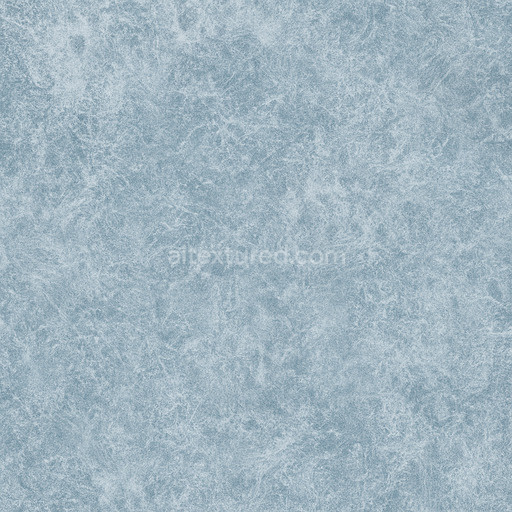
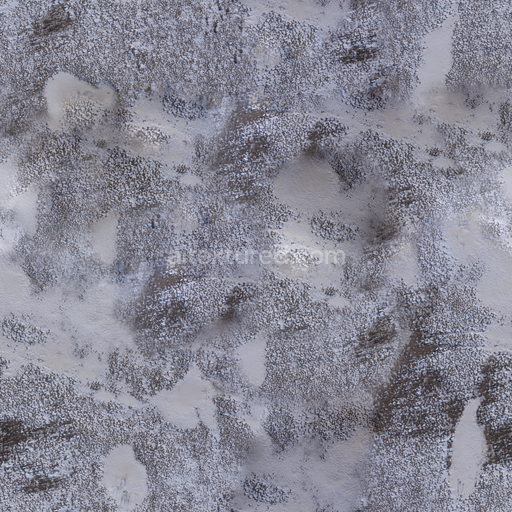
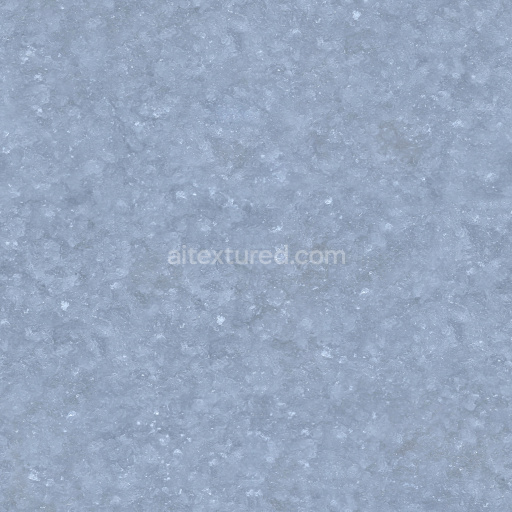
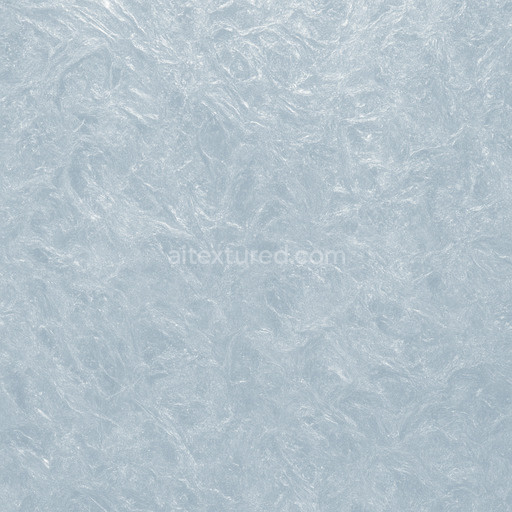
The Industrial Ice Seamless Texture is a meticulously crafted generated texture that captures the intricate composition of industrial ice formations with exceptional realism. This texture simulates a complex base substrate combining mineral-like crystalline structures and subtle polymeric frost layers producing a unique blend of solid and semi-translucent ice surfaces. Embedded micro-fibers and fine-grain ice crystals create a natural anisotropy that reflects the directional growth and layering typical of frozen industrial environments. The texture’s surface finish is a balanced mix of polished and lightly frosted areas mimicking the interplay of smooth icy planes and weathered frost buildup. Delicate oxide layers and faint pigment variations add subtle blue-gray tones enhancing the cold mechanical aesthetic while preserving a natural feel. These compositional details are expressed with high fidelity across the PBR channels: BaseColor/Albedo captures soft color gradients and subtle translucency; Normal maps convey fine surface irregularities and micro-structure; Roughness defines a nuanced contrast between glossy ice facets and matte frosted patches; Metallic remains low to non-metallic reflecting the organic ice nature; Ambient Occlusion emphasizes depth in crevices and crystal junctions; Height/Displacement channels deliver realistic surface relief highlighting ridges and indentations typical of ice growth.
Rendered at an impressive 8K resolution this tileable industrial ice seamless texture scales elegantly across large surfaces without visible seams making it ideal for high-end environment art architectural visualization and concept prototyping workflows. It is optimized for seamless integration into popular 3D platforms such as Blender Unity and Unreal Engine ensuring a smooth iteration loop and immediate usability out of the box. The texture’s AI-driven pipeline prioritizes micro-detail and structural consistency producing a convincing production-ready result that enhances realism and depth in snow-ice textures. For optimal results it is recommended to carefully match texel density across your assets and maintain uniform UV scaling to avoid distortion or stretching. Additionally fine-tuning the roughness channel can help balance reflections and diffuse light scattering enhancing the natural icy appearance in diverse lighting conditions.
The industrial ice seamless texture features a highly detailed generated industrial ice seamless texture with realistic PBR properties providing a consistent and immersive 3D preview for various material applications.
Import the texture maps into Blender with sRGB color space for albedo/base color and Non-Color for normal, roughness, metallic, AO, height, and ORM maps. Connect normal maps through a Normal Map node, then adjust UV scale with a Mapping node so the material repeats naturally on your model.
For the full step-by-step setup, see How to Use Seamless Textures in Blender. Browse related material examples in wood, concrete, and metal.
Yes. This texture is designed as a seamless tileable PBR material, so it can repeat across large surfaces without visible borders.
You can download PNG/WEBP versions and use 1K, 2K, 4K and 8K download options when available on the page.
Yes. The download options and engine-mapped ZIP workflow are designed for Blender, Unreal Engine, Unity Standard, URP and HDRP material pipelines.
Yes. The texture is available under the AITextured free commercial license. Review the license page for redistribution and AI-training restrictions.
Build, preview, and export seamless PBR materials. Generate full map sets from a single image, inspect them in a real-time WebGL viewer, and re-package maps for Unreal, Unity, and Blender—directly in your browser.
AI text-to-texture: type a prompt and get a seamless, tileable base image ready for PBR workflows (great starting point for materials).
Create a full PBR set (Normal, Roughness, AO, Metallic, etc.) from a single image. Seamless and tiling-friendly.
Instant WebGL viewer: inspect materials on a sphere, plane, and cube. Check tiling and lighting in real time.
Re-packages maps per engine: Unreal (BaseColor + ORM), Unity (Mask/MetallicSmoothness), Blender (separate channels).
PNG ↔ JPG ↔ SVG: fast convert, SVG rasterize, embed/trace options, quality & background controls.