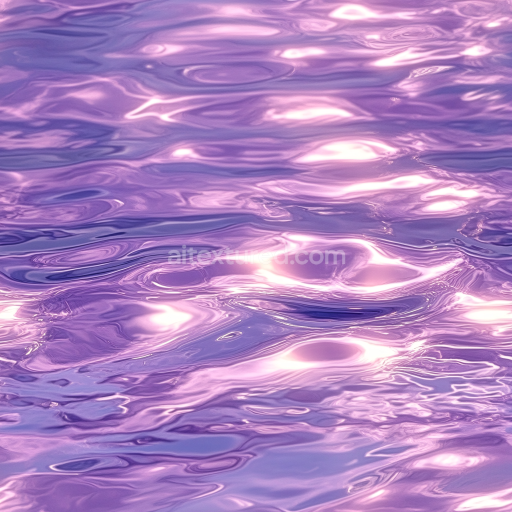
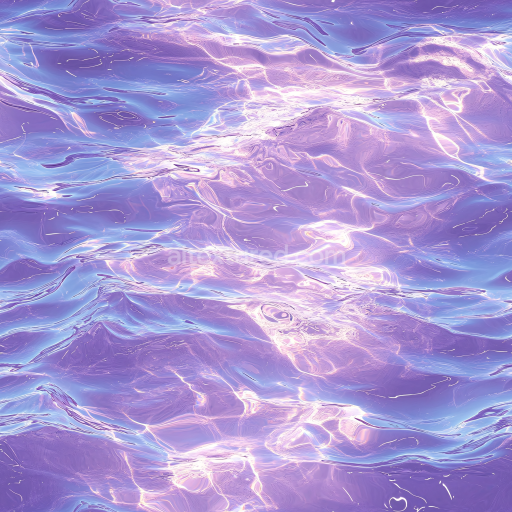
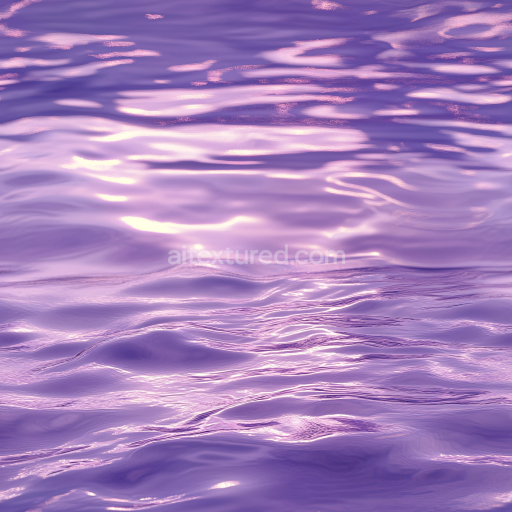
Water PBR Texture of Stylized Purple Reflective Water Surface
Seamless texture (tileable) · PNG, WEBP, PBR ZIP. License: AITextured Free Commercial License (FCL) v1.1. Free personal and commercial use. Raw resale, standalone redistribution, mirroring/scraping, competing asset packs, and AI/ML training are not allowed without written permission. Attribution is not required, but appreciated..

| ID | transparent-stream-seamless-texture |
|---|---|
| Category | Water |
| Formats | PNG, WEBP, PBR ZIP |
| Size | 1k (1024x1024px), 2k (2048x2048px), 4k (4096x4096px), 8k (8192x8192px) |
| Color | sRGB |
| Tileable | Yes |
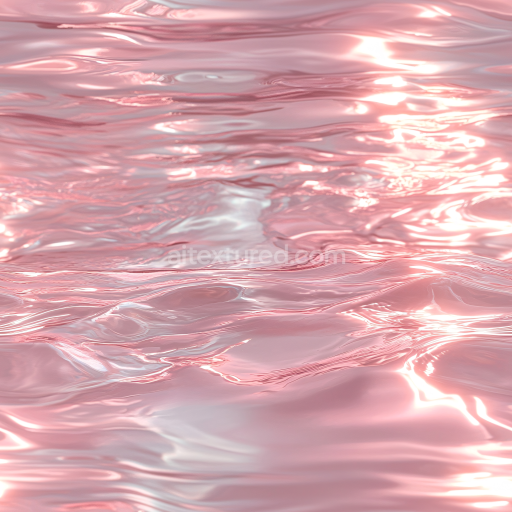
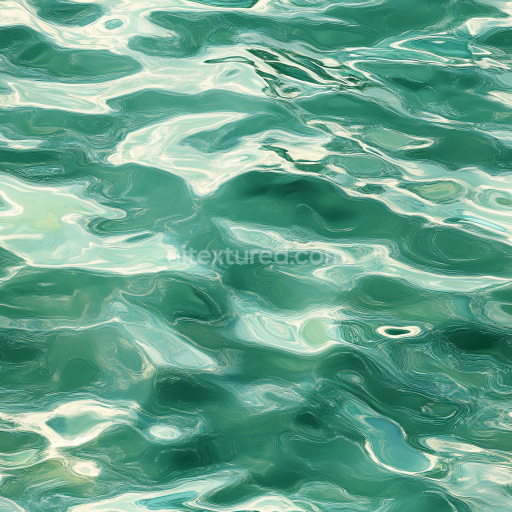
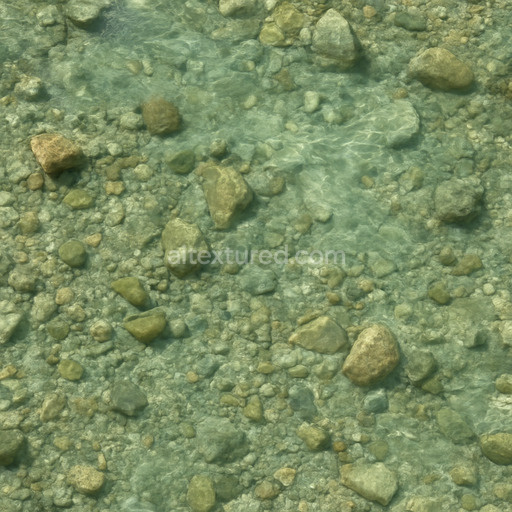
The Transparent Stream Seamless Texture captures the organic complexity of a flowing water surface with exceptional realism and precision. This high-resolution texture reaching up to 8K is crafted to emulate a clear shallow stream bed where natural mineral substrates combine with subtle sedimentary particles and fine organic matter. The base material mimics a smooth slightly polished stone bed interspersed with delicate aggregates like sand grains and tiny aquatic vegetation fragments all held together by a thin transparent water layer acting as a natural binder. The surface finish reflects a gently undulating water-worn patina exhibiting subtle weathering and micro-etching that enhances its authenticity. Colorants in this texture arise from natural oxide layers and mineral pigments beneath the water delivering nuanced variations in greenish-blue hues and earthy tones that shift with lighting and angle providing an immersive water effect ideal for environmental scenes.
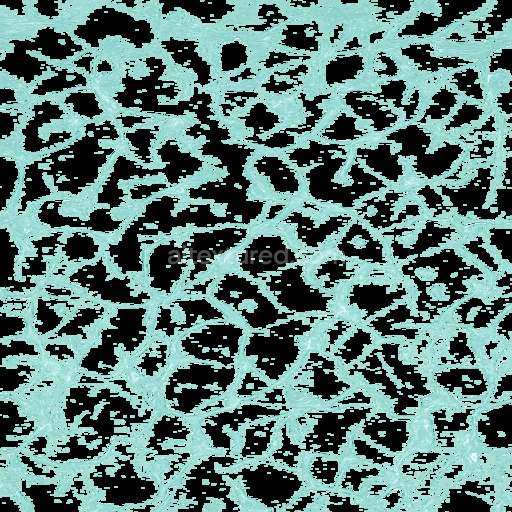
In terms of physically based rendering (PBR) channels the BaseColor map reveals the translucent quality of the water combined with the underlying streambed details showing a harmonious blend of muted blues greens and natural earth pigments. The Normal map encodes the delicate ripples and micro-relief of the water surface conveying depth and motion without harsh distortions. Roughness values are finely tuned to reflect the semi-glossy nature of wet stones and water producing realistic specular highlights that react dynamically under different lighting rigs. The Metallic channel is minimal reflecting the non-metallic nature of the substrate and water while Ambient Occlusion enhances the perception of depth in crevices and sediment pockets. Height and Displacement maps contribute subtle elevation changes to simulate water flow and surface irregularities perfect for parallax effects in real-time engines.
This tileable transparent stream seamless texture excels in versatility offering flawless tiling that allows users to cover expansive terrain or water bodies without visible seams or repetition artifacts. It integrates seamlessly into popular 3D platforms such as Blender Unity and Unreal Engine ensuring predictable and repeatable results for both cinematic renders and real-time projects. For optimal realism adjusting the roughness and normal intensity parameters to match your scene’s lighting conditions is recommended keeping the texture visually grounded and enhancing the sense of depth and fluidity. Additionally scaling the UV coordinates appropriately helps maintain the fine micro-details at different scene scales ensuring the texture retains its high-quality appearance across various uses.
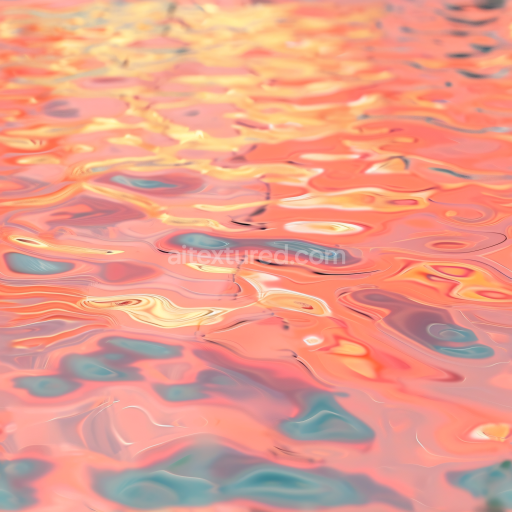
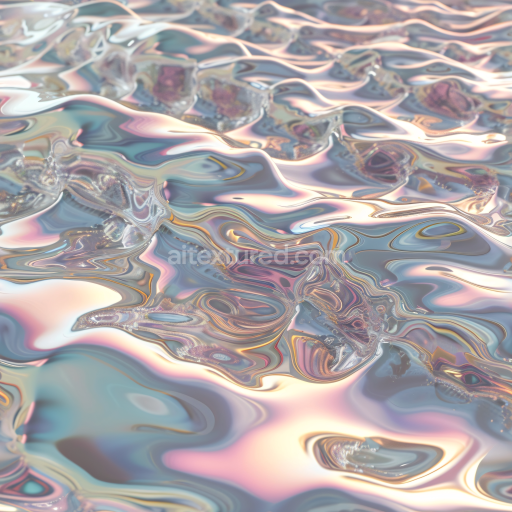
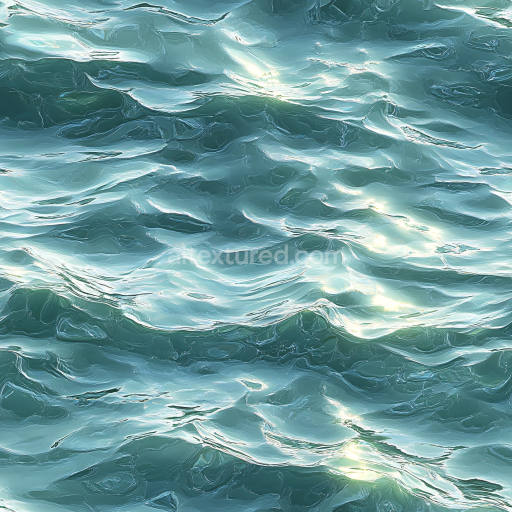
The PBR texture transparent stream seamless texture offers a realistic PBR appearance with water textures that create a transparent stream seamless texture effect perfectly showcased in a 3D preview for accurate material visualization.
Import the texture maps into Blender with sRGB color space for albedo/base color and Non-Color for normal, roughness, metallic, AO, height, and ORM maps. Connect normal maps through a Normal Map node, then adjust UV scale with a Mapping node so the material repeats naturally on your model.
For the full step-by-step setup, see How to Use Seamless Textures in Blender. Browse related material examples in wood, concrete, and metal.
Yes. This texture is designed as a seamless tileable PBR material, so it can repeat across large surfaces without visible borders.
You can download PNG/WEBP versions and use 1K, 2K, 4K and 8K download options when available on the page.
Yes. The download options and engine-mapped ZIP workflow are designed for Blender, Unreal Engine, Unity Standard, URP and HDRP material pipelines.
Yes. The texture is available under the AITextured free commercial license. Review the license page for redistribution and AI-training restrictions.
Build, preview, and export seamless PBR materials. Generate full map sets from a single image, inspect them in a real-time WebGL viewer, and re-package maps for Unreal, Unity, and Blender—directly in your browser.
AI text-to-texture: type a prompt and get a seamless, tileable base image ready for PBR workflows (great starting point for materials).
Create a full PBR set (Normal, Roughness, AO, Metallic, etc.) from a single image. Seamless and tiling-friendly.
Instant WebGL viewer: inspect materials on a sphere, plane, and cube. Check tiling and lighting in real time.
Re-packages maps per engine: Unreal (BaseColor + ORM), Unity (Mask/MetallicSmoothness), Blender (separate channels).
PNG ↔ JPG ↔ SVG: fast convert, SVG rasterize, embed/trace options, quality & background controls.