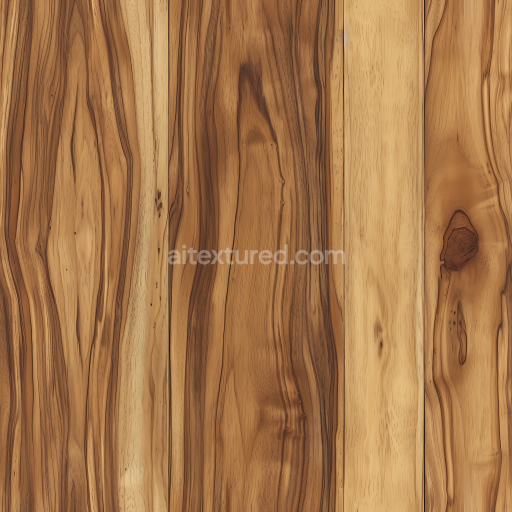
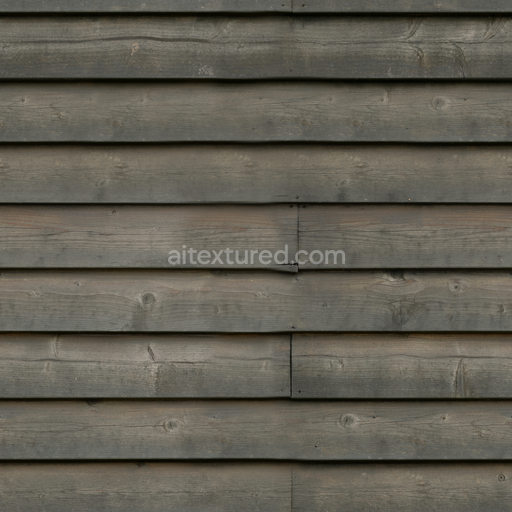
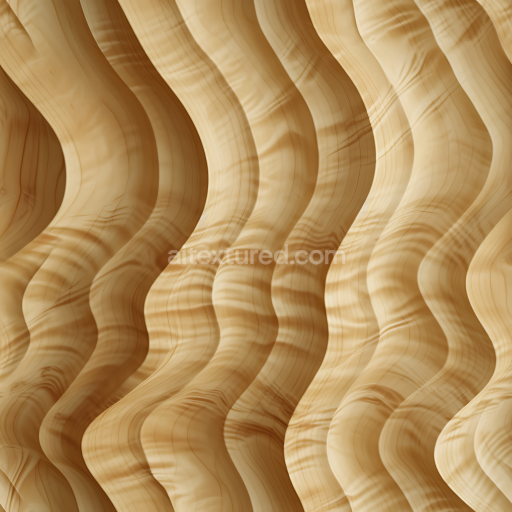
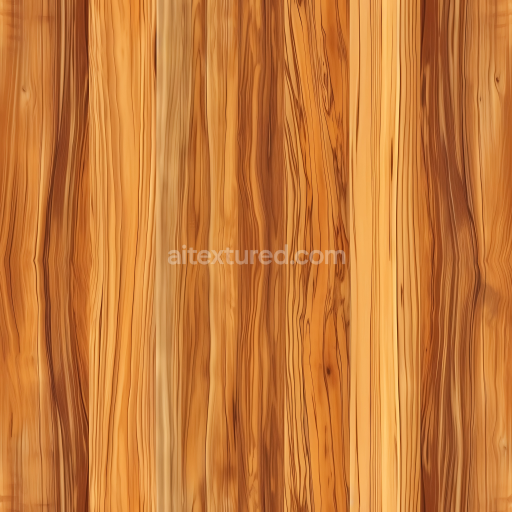
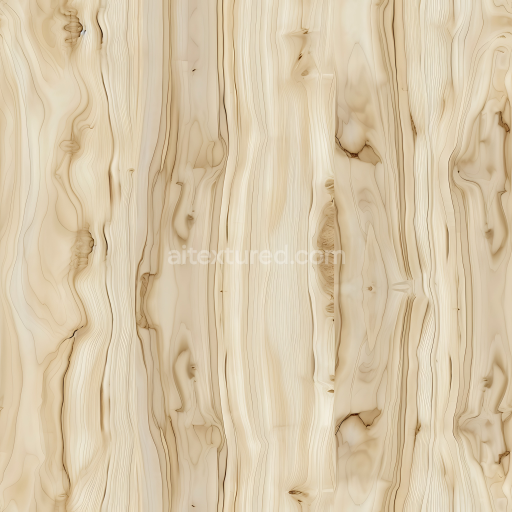
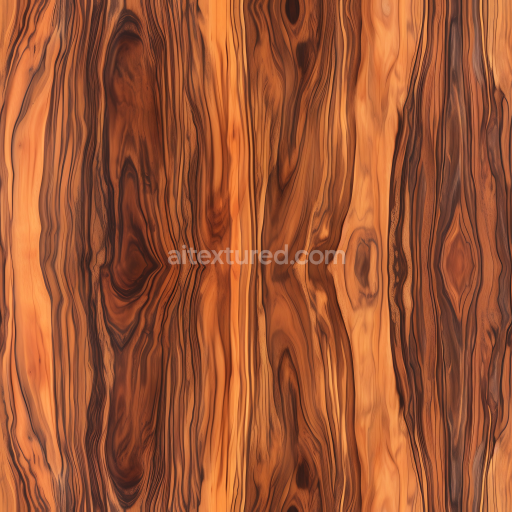
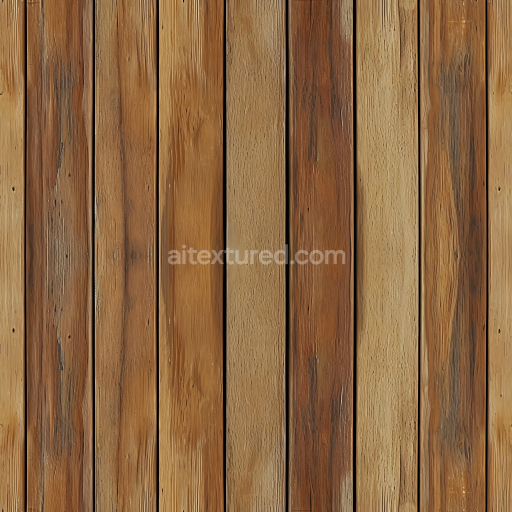
Olive Wood Planks PBR Texture with Natural Grain and Knots
Seamless texture (tileable) · PNG, WEBP, PBR ZIP. License: AITextured Free Commercial License (FCL) v1.1. Free personal and commercial use. Raw resale, standalone redistribution, mirroring/scraping, competing asset packs, and AI/ML training are not allowed without written permission. Attribution is not required, but appreciated..

| ID | wood-cabinet-worn-long-wood-planks-cabinet-worn-non-square-long |
|---|---|
| Category | Wood |
| Formats | PNG, WEBP, PBR ZIP |
| Size | 1k (1024x1024px), 2k (2048x2048px), 4k (4096x4096px), 8k (8192x8192px) |
| Color | sRGB |
| Tileable | Yes |
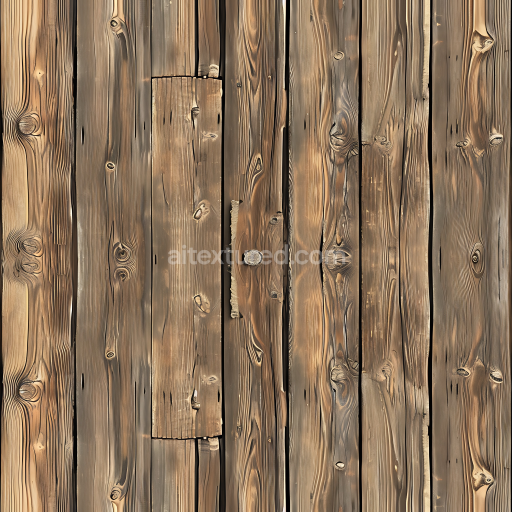
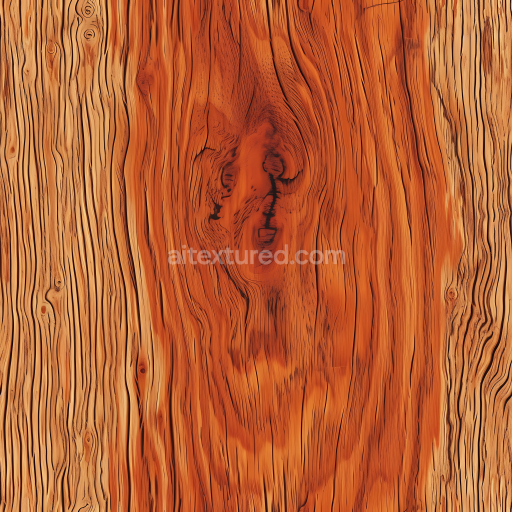
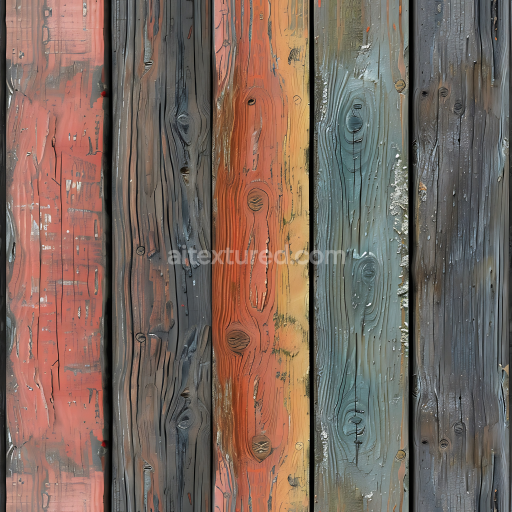
This seamless 3D texture captures the authentic look of a wood cabinet worn long surface crafted from natural wooden planks arranged in a distinctively non-square elongated format. The base substrate consists of aged wood featuring irregular grain orientation that mirrors the organic growth patterns of the timber. Over time exposure to environmental factors has imparted a rough weathered character to the surface with visible signs of wear such as chipped edges surface damage and subtle discoloration in muted red and brown tones. This combination results in a textured rustic aesthetic reminiscent of antique wooden cabinetry historic indoor walls and vintage cabin interiors. The finish is matte emphasizing the wood’s natural porosity and slight erosion caused by long-term exposure creating a grungy distressed appearance without any metallic shine or gloss.*
Physically based rendering (PBR) maps meticulously represent these material qualities to enhance realism. The albedo (BaseColor) channel displays nuanced color variations and the distinctive stained wood effect highlighting the aged and discolored nature of the planks. The normal map defines the tactile depth of the rough grain chipped edges and subtle surface irregularities providing a convincing three-dimensional feel. Roughness maps balance the matte worn wood surfaces with occasional faintly glossy areas simulating realistic reflectivity from natural wear patterns. The metallic channel remains non-reflective true to the organic wooden substrate. Ambient occlusion adds depth by shading crevices and indentations while the height map allows for fine displacement of plank edges and grain variation further enhancing the texture’s authenticity. Offered in high-definition 4K resolution with an optional upgrade to 8K this seamless texture is optimized for tileable use and fully compatible with Blender Unreal Engine and Unity ensuring consistent shading and lighting for both real-time and offline rendering workflows.*
Ideal for digital projects requiring an indoor man-made wooden surface with a vintage antique or rustic flavor this wood cabinet worn long texture brings a realistic aged and historic character to cabinetry wall paneling or rustic flooring. Adjusting the UV scale can enhance the natural layout of the non-square long wooden planks improving visual realism. Additionally fine-tuning the roughness channel allows precise control over surface reflectivity balancing the distressed matte finish with subtle glossy highlights caused by wear. This flexibility ensures the preservation of the wood’s grungy textured essence making it perfect for architectural visualizations and digital art that demand authentic physically based seamless wood surfaces.*
Import the texture maps into Blender with sRGB color space for albedo/base color and Non-Color for normal, roughness, metallic, AO, height, and ORM maps. Connect normal maps through a Normal Map node, then adjust UV scale with a Mapping node so the material repeats naturally on your model.
For the full step-by-step setup, see How to Use Seamless Textures in Blender. Browse related material examples in wood, concrete, and metal.
Yes. This texture is designed as a seamless tileable PBR material, so it can repeat across large surfaces without visible borders.
You can download PNG/WEBP versions and use 1K, 2K, 4K and 8K download options when available on the page.
Yes. The download options and engine-mapped ZIP workflow are designed for Blender, Unreal Engine, Unity Standard, URP and HDRP material pipelines.
Yes. The texture is available under the AITextured free commercial license. Review the license page for redistribution and AI-training restrictions.
Build, preview, and export seamless PBR materials. Generate full map sets from a single image, inspect them in a real-time WebGL viewer, and re-package maps for Unreal, Unity, and Blender—directly in your browser.
AI text-to-texture: type a prompt and get a seamless, tileable base image ready for PBR workflows (great starting point for materials).
Create a full PBR set (Normal, Roughness, AO, Metallic, etc.) from a single image. Seamless and tiling-friendly.
Instant WebGL viewer: inspect materials on a sphere, plane, and cube. Check tiling and lighting in real time.
Re-packages maps per engine: Unreal (BaseColor + ORM), Unity (Mask/MetallicSmoothness), Blender (separate channels).
PNG ↔ JPG ↔ SVG: fast convert, SVG rasterize, embed/trace options, quality & background controls.