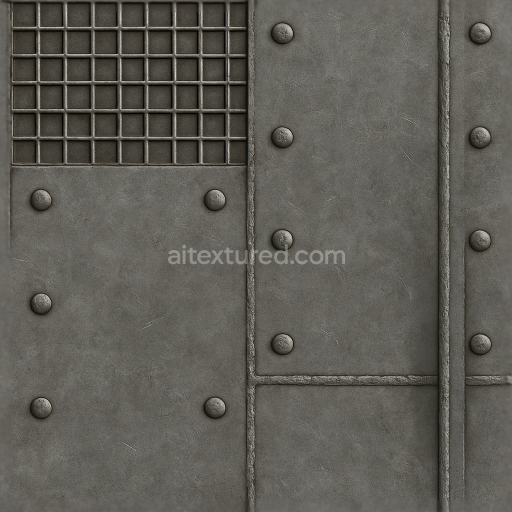
Parquet Floor Wood Texture For Luxurious Interior Architecture
Seamless texture (tileable) · PNG, WEBP, PBR ZIP. License: AITextured Free Commercial License (FCL) v1.1. Free personal and commercial use. Raw resale, standalone redistribution, mirroring/scraping, competing asset packs, and AI/ML training are not allowed without written permission. Attribution is not required, but appreciated..

| ID | seamless-3d-texture-pbr-8k-asphalt-road-surface-with-road-markings-for-urban-architectural-scenes |
|---|---|
| Category | Architecture |
| Formats | PNG, WEBP, PBR ZIP |
| Size | 1k (1024x1024px), 2k (2048x2048px), 4k (4096x4096px), 8k (8192x8192px) |
| Color | sRGB |
| Tileable | Yes |
This seamless 3D texture depicts a highly detailed asphalt road surface designed specifically for urban architectural scenes. The primary material is dense asphalt concrete, composed of a dark bitumen binder mixed with coarse and fine aggregates such as crushed rock, gravel, and sand. This composite forms a rough, irregularly patterned substrate with visible fine grain and occasional embedded pebbles. Over time, environmental exposure causes subtle concrete cracks to appear, creating a network of fissures that break the otherwise continuous surface. Water stains and slight surface discolorations further enhance the natural weathering effect, capturing the typical wear and tear found on city streets. The geometric form is essentially a flat plane interrupted by random fissures and road markings, with a texture that simulates the granular, porous nature of asphalt combined with painted lane dividers and symbols.*
The surface finish reflects a matte, slightly roughened asphalt pavement with a low gloss sheen caused by occasional moisture residues. The road markings are painted with reflective white and yellow pigments, exhibiting wear through small chips and faded edges. These markings contrast against the dark gray to black asphalt base color, which contains subtle variations due to aggregate exposure and water absorption. The texture maps are meticulously crafted to represent these materials via physically based rendering (PBR) channels: the BaseColor (Albedo) map captures the color nuances and painted details; the Normal map encodes fine surface irregularities such as cracks and aggregate relief; Roughness defines the varied surface reflectivity, differentiating asphalt’s matte roughness from the slightly glossier road paint; the Metallic channel remains near zero, consistent with non-metallic pavement; Ambient Occlusion enhances shadowing in cracks and crevices; and the Height/Displacement map provides depth cues for realistic surface geometry.*
Rendered at an ultra-high 8K resolution, this texture ensures exceptional clarity and fidelity, suitable for close-up architectural visualizations and large-scale urban environment projects. It is fully optimized for seamless tiling, allowing continuous coverage without visible seams or repetition artifacts. Compatibility with Blender, Unreal Engine, and Unity ensures ease of integration into a variety of 3D workflows, from game development to architectural rendering. The texture's precision supports accurate lighting responses and material interaction, enabling photorealistic results in physically based rendering pipelines.*
For practical application, it is recommended to adjust UV scaling to maintain the authenticity of aggregate and crack sizes relative to the scene scale. Fine-tuning roughness values can help simulate different weather conditions, such as wetter surfaces appearing smoother and more reflective. Additionally, blending height or parallax maps with normal maps can enhance the perception of depth and surface complexity without excessive geometry, improving visual realism while maintaining performance efficiency.*
Import the texture maps into Blender with sRGB color space for albedo/base color and Non-Color for normal, roughness, metallic, AO, height, and ORM maps. Connect normal maps through a Normal Map node, then adjust UV scale with a Mapping node so the material repeats naturally on your model.
For the full step-by-step setup, see How to Use Seamless Textures in Blender. Browse related material examples in wood, concrete, and metal.
Yes. This texture is designed as a seamless tileable PBR material, so it can repeat across large surfaces without visible borders.
You can download PNG/WEBP versions and use 1K, 2K, 4K and 8K download options when available on the page.
Yes. The download options and engine-mapped ZIP workflow are designed for Blender, Unreal Engine, Unity Standard, URP and HDRP material pipelines.
Yes. The texture is available under the AITextured free commercial license. Review the license page for redistribution and AI-training restrictions.
Build, preview, and export seamless PBR materials. Generate full map sets from a single image, inspect them in a real-time WebGL viewer, and re-package maps for Unreal, Unity, and Blender—directly in your browser.
AI text-to-texture: type a prompt and get a seamless, tileable base image ready for PBR workflows (great starting point for materials).
Create a full PBR set (Normal, Roughness, AO, Metallic, etc.) from a single image. Seamless and tiling-friendly.
Instant WebGL viewer: inspect materials on a sphere, plane, and cube. Check tiling and lighting in real time.
Re-packages maps per engine: Unreal (BaseColor + ORM), Unity (Mask/MetallicSmoothness), Blender (separate channels).
PNG ↔ JPG ↔ SVG: fast convert, SVG rasterize, embed/trace options, quality & background controls.