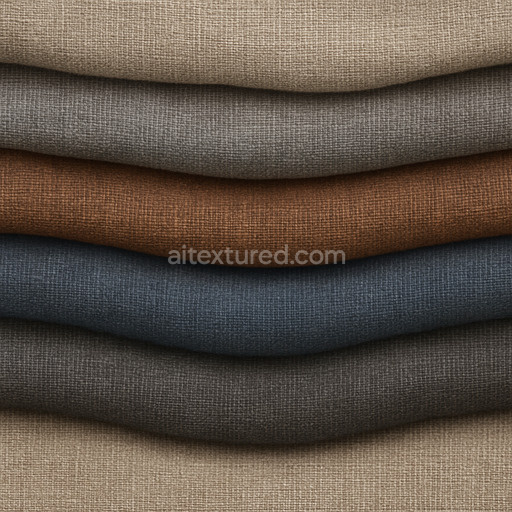
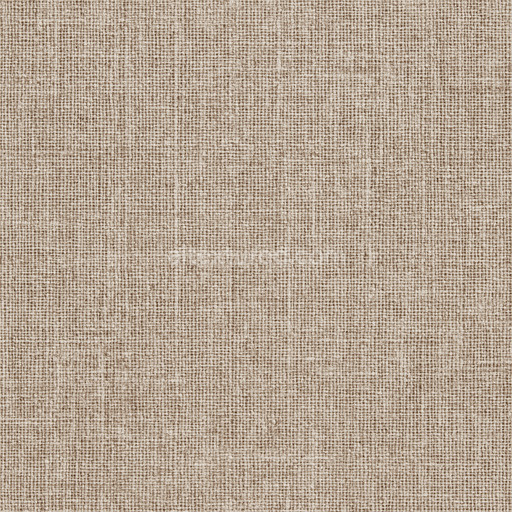
Layered Fabric Seamless Texture
Seamless texture (tileable) · PNG, WEBP, PBR ZIP. License: AITextured Free Commercial License (FCL) v1.1. Free personal and commercial use. Raw resale, standalone redistribution, mirroring/scraping, competing asset packs, and AI/ML training are not allowed without written permission. Attribution is not required, but appreciated..

| ID | realistic-carbon-fiber-seamless-texture |
|---|---|
| Category | Basic-materials |
| Formats | PNG, WEBP, PBR ZIP |
| Size | 1k (1024x1024px), 2k (2048x2048px), 4k (4096x4096px), 8k (8192x8192px) |
| Color | sRGB |
| Tileable | Yes |
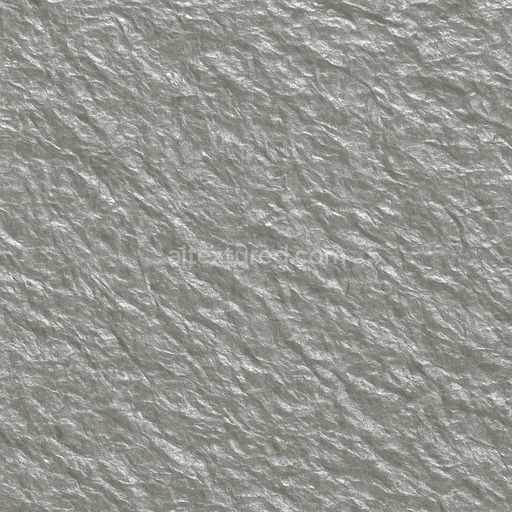
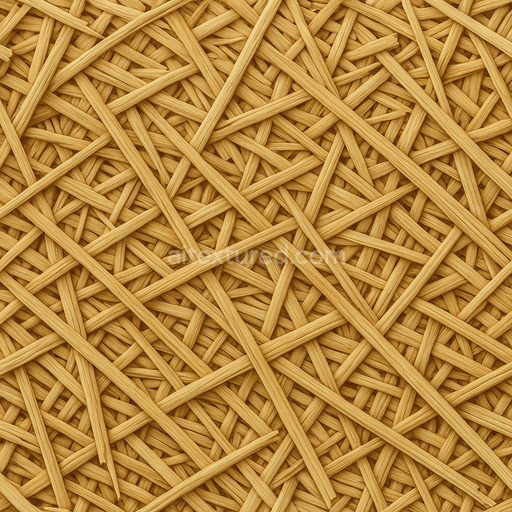
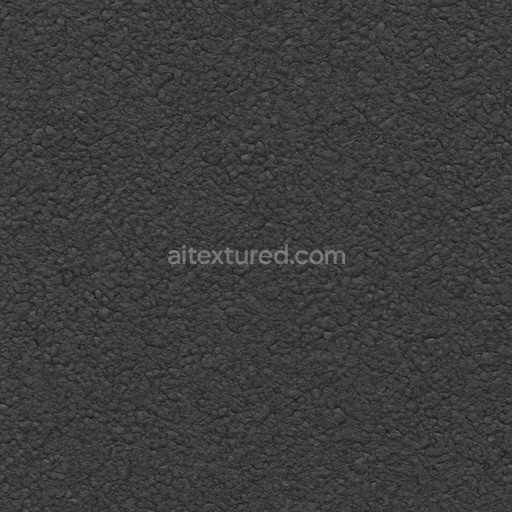
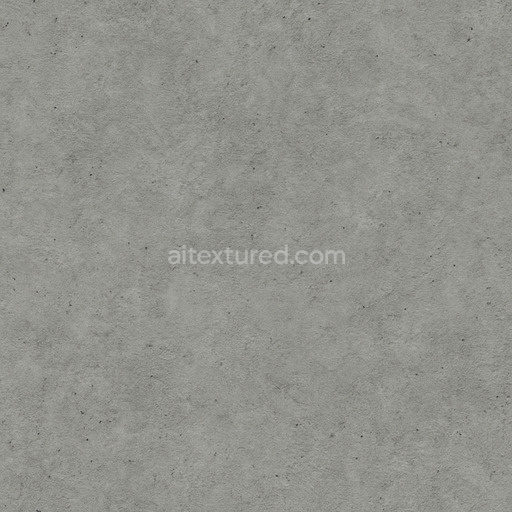
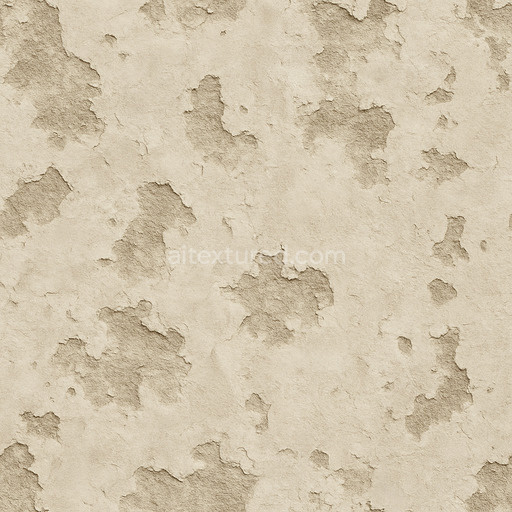
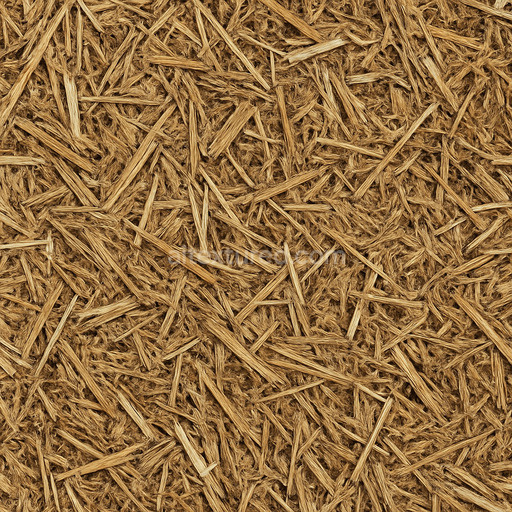
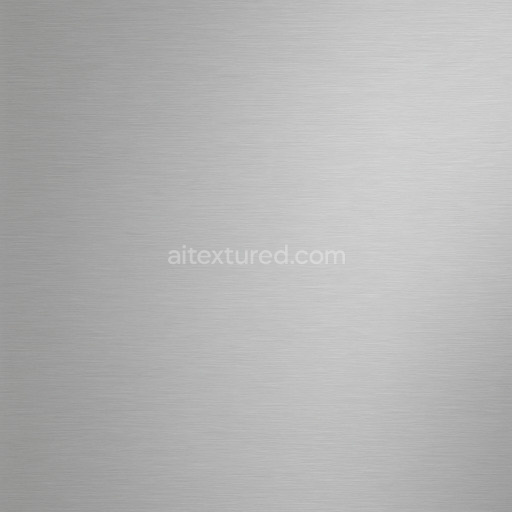
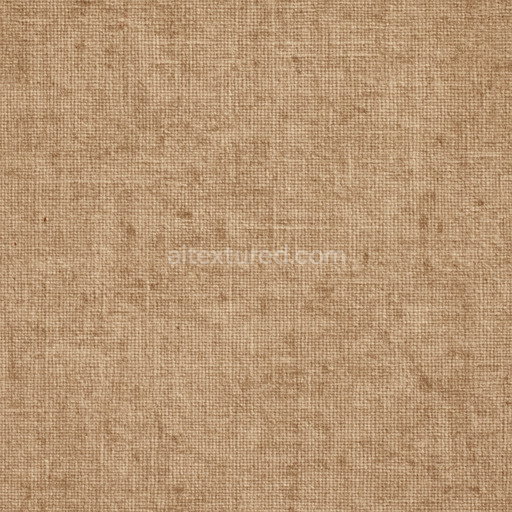
The Realistic Carbon Fiber Seamless Texture presents a meticulously crafted material designed to replicate the complex interplay of carbon fibers woven into a polymer matrix. This texture faithfully captures the fine interlaced fiber bundles embedded within a resin binder reflecting the characteristic twill pattern that defines high-performance carbon fiber composites. The surface finish mimics a smooth slightly polished look highlighting the subtle sheen and depth that carbon fiber typically exhibits with dark almost black base color enriched by faint variations in tone from fiber orientation and resin translucency. Fine details such as micro-porosity and minimal surface wear are subtly suggested through controlled noise and displacement enhancing realism without compromising the seamless repeatability across large surfaces. The texture’s material characteristics translate naturally across PBR channels: the BaseColor or Albedo map provides the rich dark carbon weave with nuanced shading; the Normal map emphasizes the fiber relief and subtle undulations; Roughness is calibrated to reflect the semi-glossy finish typical of carbon fiber surfaces; Metallic remains low to reflect the non-metallic polymer matrix; Ambient Occlusion adds depth to fiber intersections and Height or Displacement maps offer gentle surface contouring for enhanced tactile realism.
Engineered for compatibility and ease of use this tileable realistic carbon fiber seamless texture supports ultra-high resolutions up to 8K allowing for crisp detail retention even on expansive 3D models and environments. Its seamless tiling capability ensures that the distinctive woven pattern scales elegantly without visible seams making it an ideal choice for diverse applications including architectural visualization detailed product mockups immersive game environments and sophisticated interior staging. The texture files are fully optimized for integration with popular 3D engines such as Blender Unreal Engine and Unity requiring minimal setup to achieve photorealistic results with physically based rendering workflows. The use of AI-driven generation techniques ensures a balanced combination of sharp fiber detail and natural surface noise enhancing believability while maintaining the clean repeatable pattern essential for basic-materials textures.
For practical implementation it is recommended to fine-tune the roughness parameter to suit your specific lighting conditions as carbon fiber surfaces can range from matte to semi-gloss depending on resin finish and wear. Adjusting the UV scale allows the woven pattern to align proportionally with the model’s geometry preserving visual accuracy without distortion. Additionally subtle use of height or parallax mapping can significantly enhance the perception of fiber depth and texture under varying light angles further grounding the material within the scene. Incorporating this tileable realistic carbon fiber seamless texture into your material library streamlines iteration and elevates the quality of your 3D projects ensuring a professional highly detailed finish that convincingly simulates the sophisticated look of authentic carbon fiber composites.
The 3D preview highlights the PBR texture realistic carbon fiber seamless texture’s intricate weave and depth showcasing a seamless realistic carbon fiber seamless texture that delivers a highly realistic carbon fiber seamless texture ideal for PBR material applications.
Import the texture maps into Blender with sRGB color space for albedo/base color and Non-Color for normal, roughness, metallic, AO, height, and ORM maps. Connect normal maps through a Normal Map node, then adjust UV scale with a Mapping node so the material repeats naturally on your model.
For the full step-by-step setup, see How to Use Seamless Textures in Blender. Browse related material examples in wood, concrete, and metal.
Yes. This texture is designed as a seamless tileable PBR material, so it can repeat across large surfaces without visible borders.
You can download PNG/WEBP versions and use 1K, 2K, 4K and 8K download options when available on the page.
Yes. The download options and engine-mapped ZIP workflow are designed for Blender, Unreal Engine, Unity Standard, URP and HDRP material pipelines.
Yes. The texture is available under the AITextured free commercial license. Review the license page for redistribution and AI-training restrictions.

Generate, preview, and export seamless PBR materials for Blender, Unity, and Unreal Engine—directly in your browser.
AI text-to-texture: type a prompt and get a seamless, tileable base image ready for PBR workflows (great starting point for materials).
Create a full PBR set (Normal, Roughness, AO, Metallic, etc.) from a single image. Seamless and tiling-friendly.
Instant WebGL viewer: inspect materials on a sphere, plane, and cube. Check tiling and lighting in real time.
Re-packages maps per engine: Unreal (BaseColor + ORM), Unity (Mask/MetallicSmoothness), Blender (separate channels).
PNG ↔ JPG ↔ SVG: fast convert, SVG rasterize, embed/trace options, quality & background controls.