Texture Info
| ID | camouflage-seamless-pbr-stylized-camouflage-pattern-texture |
|---|
| Category | Color Camouflage |
|---|
| Formats | PNG, WEBP, PBR ZIP |
|---|
| Size | 1k (1024x1024px), 2k (2048x2048px), 4k (4096x4096px), 8k (8192x8192px) |
|---|
| Color | sRGB |
|---|
| Tileable | Yes |
|---|
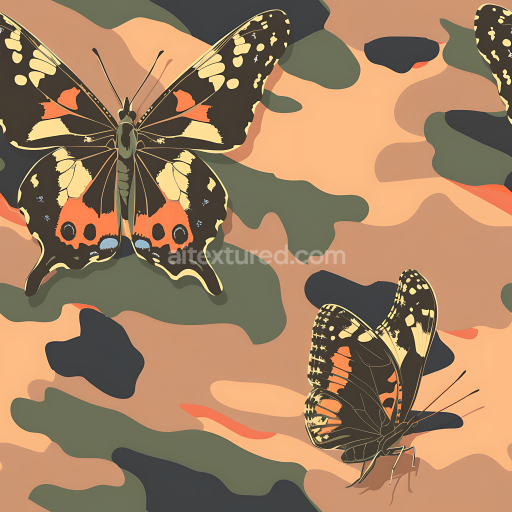
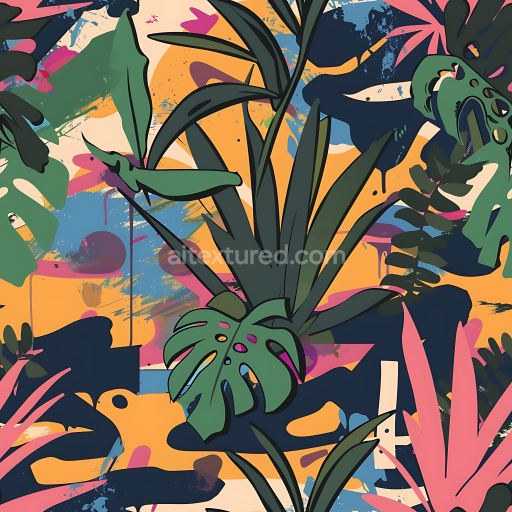
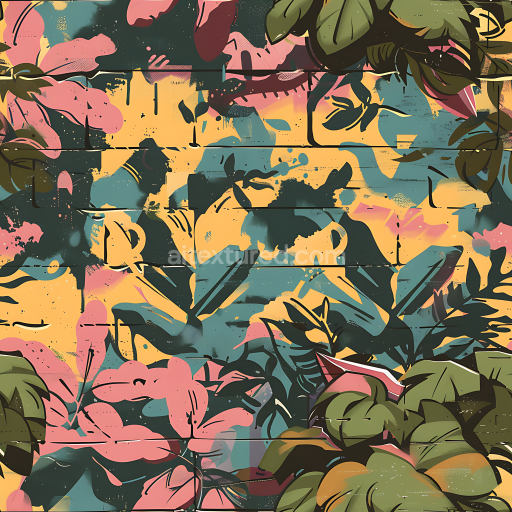
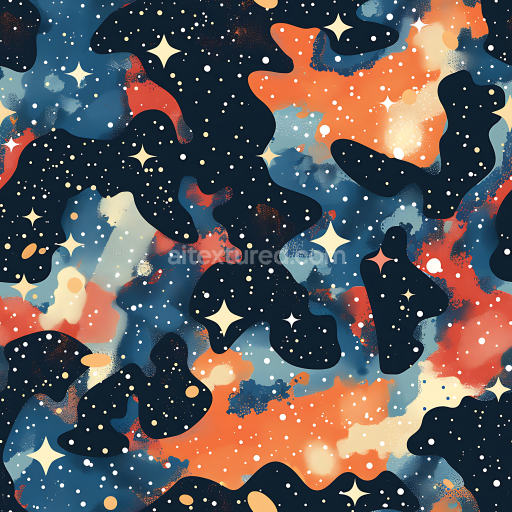
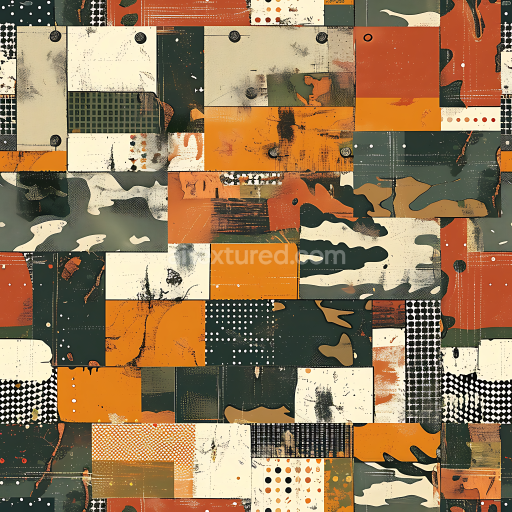
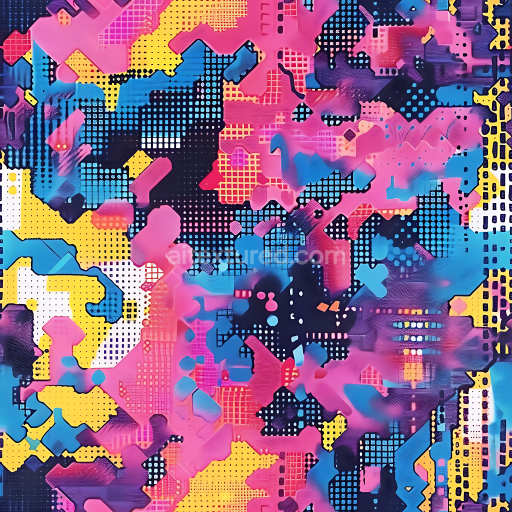
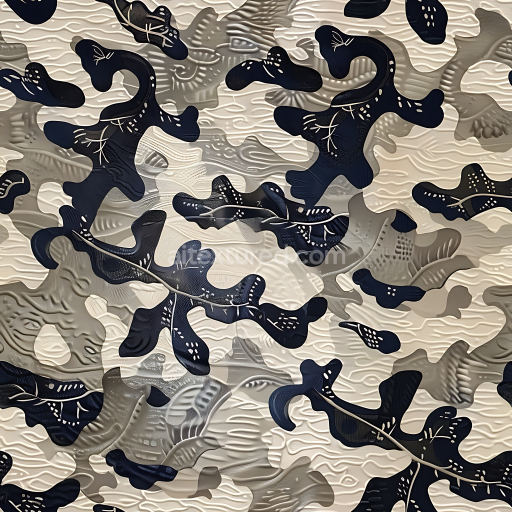
This seamless PBR camouflage texture showcases a highly stylized and abstract pattern distinct from traditional military camo. The design is composed of smooth, organic blobs and curving shapes that intertwine fluidly, creating a visually striking, layered effect reminiscent of bold pop art or retro aesthetics rather than functional concealment. The color palette is vivid and unconventional for camo, featuring saturated hues of bright red, sunny yellow, deep green, forest green, orange, teal, cream, and black accents. These colors create strong contrast and vibrant energy throughout the pattern, making it ideal for stylized or artistic applications instead of traditional tactical use.
The material appearance is flat and smooth, emphasizing the graphic quality of the pattern without any fabric texture or realistic wear. This clean, paint-like finish reflects a deliberately artificial and creative look rather than rugged or worn surfaces. Being fully seamless and tileable, it’s well suited for 3D digital projects needing repeated coverage without visible seams.
This camouflage PBR texture is perfect for artistic and game development projects, especially for stylized characters, sci-fi troops, futuristic props, or imaginative environment surfaces in engines like Blender, Unreal Engine, Unity, 3ds Max, or Cinema 4D. It offers a unique visual alternative to typical woodland or desert camo, emphasizing expression and color over concealment. Use this for eye-catching weapons skins, tactical gear with flair, or vibrant environmental decals to add bold personality to your 3D assets.
Advertisement
Best Uses for This Texture
- 3D environment surfaces
- Game art and realtime rendering
- Archviz and product visualization
- WebGL previews and material studies
- Blender, Unreal Engine and Unity workflows
Using This PBR Texture in Blender
Import the texture maps into Blender with sRGB color space for albedo/base color and
Non-Color for normal, roughness, metallic, AO, height, and ORM maps. Connect normal maps
through a Normal Map node, then adjust UV scale with a Mapping node so the material repeats naturally on
your model.
- Albedo -> Principled BSDF Base Color
- Roughness -> Roughness, Metallic -> Metallic
- Normal -> Normal Map node -> Normal
- Height -> Bump or Displacement depending on render setup
For the full step-by-step setup, see
How to Use Seamless Textures in Blender.
Browse related material examples in
wood,
concrete, and
metal.
Advertisement
FAQ
Is this texture seamless and tileable?
Yes. This texture is designed as a seamless tileable PBR material, so it can repeat across large surfaces without visible borders.
Which resolutions and formats are available?
You can download PNG/WEBP versions and use 1K, 2K, 4K and 8K download options when available on the page.
Can I use it in Blender, Unreal Engine and Unity?
Yes. The download options and engine-mapped ZIP workflow are designed for Blender, Unreal Engine, Unity Standard, URP and HDRP material pipelines.
Is commercial use allowed?
Yes. The texture is available under the AITextured free commercial license. Review the license page for redistribution and AI-training restrictions.