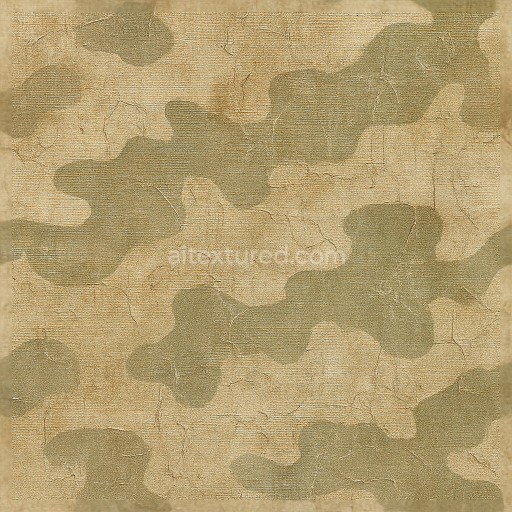
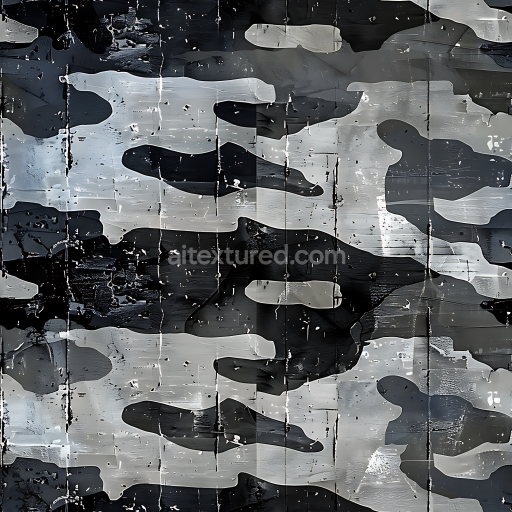
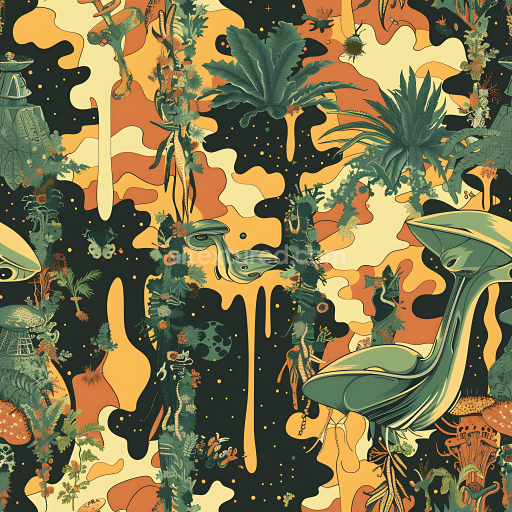
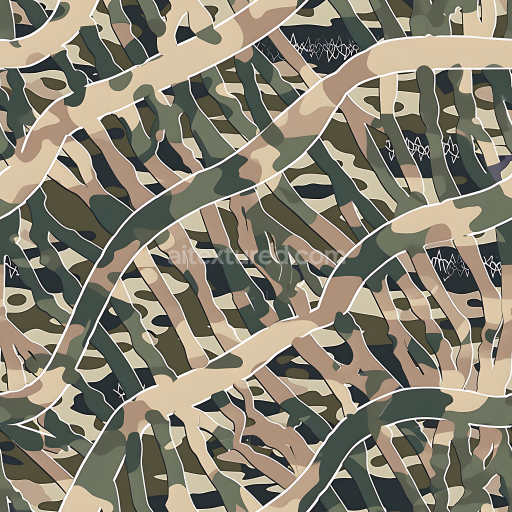
Abstract Camouflage PBR Texture Featuring Paint Splatter and Graphic Elements
Seamless texture (tileable) · PNG, WEBP, PBR ZIP. License: AITextured Free Commercial License (FCL) v1.1. Free personal and commercial use. Raw resale, standalone redistribution, mirroring/scraping, competing asset packs, and AI/ML training are not allowed without written permission. Attribution is not required, but appreciated..

| ID | seamless-3d-texture-pbr-8k-khaki-brown-ghillie-style-camouflage |
|---|---|
| Category | Color Camouflage |
| Formats | PNG, WEBP, PBR ZIP |
| Size | 1k (1024x1024px), 2k (2048x2048px), 4k (4096x4096px), 8k (8192x8192px) |
| Color | sRGB |
| Tileable | Yes |
This seamless 3D texture presents an 8K resolution khaki brown ghillie style camouflage fabric meticulously designed for photorealistic physically-based rendering (PBR). The base material mimics a dense organic textile substrate composed of interwoven natural fibers and polymer binders replicating the look of lightweight breathable fabric used in outdoor and military concealment gear. The surface exhibits a matte finish with subtle roughness achieved through fine leaf litter and twig patterns embedded within the texture. These natural elements introduce intricate layering and organic porosity simulating slight weathering and accumulated debris that enhance realism. Colorants include earthy khaki and brown pigments carefully balanced to produce authentic camouflage tones without oversaturation contributing to the BaseColor (Albedo) channel’s natural appearance.
In PBR terms the Normal map captures the complex fiber orientation and delicate twigs’ three-dimensional relief adding depth and tactile detail to the fabric’s surface. The Roughness channel reflects the matte finish providing a balanced light diffusion typical of untreated cloth rather than glossy synthetic materials. The Metallic channel remains near zero as the fabric is non-metallic while Ambient Occlusion emphasizes subtle shadowing within the folds and layered debris enhancing contrast and depth perception. Height or Displacement maps highlight the raised leaf litter and twig structures enabling realistic parallax effects when viewed at close range. This texture’s seamless pattern repeat is engineered for large surfaces without visible edges ensuring consistent camouflage coverage in any environment.
Optimized for seamless integration this khaki brown ghillie style 3D texture is fully compatible and Unreal Blender and Unity ready allowing artists and developers to achieve highly realistic camouflage fabrics in their projects effortlessly. The high 8K resolution preserves fine details even in close-up renders or VR applications making it ideal for simulating hunting apparel military concealment clothing or nature-inspired gear where authentic blending with natural surroundings is paramount. For best results adjusting the UV scale to match actual fabric proportions and fine-tuning the roughness can enhance the organic feel while subtle height map parallax improves visual depth without compromising performance.
Import the texture maps into Blender with sRGB color space for albedo/base color and Non-Color for normal, roughness, metallic, AO, height, and ORM maps. Connect normal maps through a Normal Map node, then adjust UV scale with a Mapping node so the material repeats naturally on your model.
For the full step-by-step setup, see How to Use Seamless Textures in Blender. Browse related material examples in wood, concrete, and metal.
Yes. This texture is designed as a seamless tileable PBR material, so it can repeat across large surfaces without visible borders.
You can download PNG/WEBP versions and use 1K, 2K, 4K and 8K download options when available on the page.
Yes. The download options and engine-mapped ZIP workflow are designed for Blender, Unreal Engine, Unity Standard, URP and HDRP material pipelines.
Yes. The texture is available under the AITextured free commercial license. Review the license page for redistribution and AI-training restrictions.
Generate, preview, and export seamless PBR materials for Blender, Unity, and Unreal Engine—directly in your browser.
AI text-to-texture: type a prompt and get a seamless, tileable base image ready for PBR workflows (great starting point for materials).
Create a full PBR set (Normal, Roughness, AO, Metallic, etc.) from a single image. Seamless and tiling-friendly.
Instant WebGL viewer: inspect materials on a sphere, plane, and cube. Check tiling and lighting in real time.
Re-packages maps per engine: Unreal (BaseColor + ORM), Unity (Mask/MetallicSmoothness), Blender (separate channels).
PNG ↔ JPG ↔ SVG: fast convert, SVG rasterize, embed/trace options, quality & background controls.