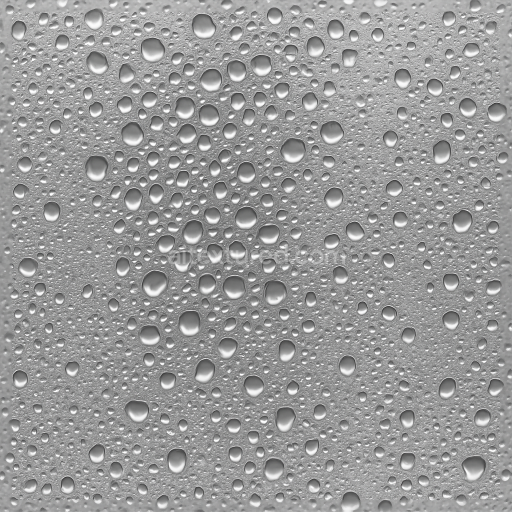
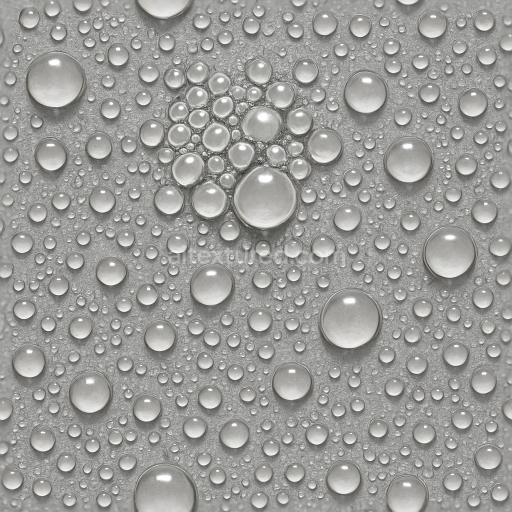
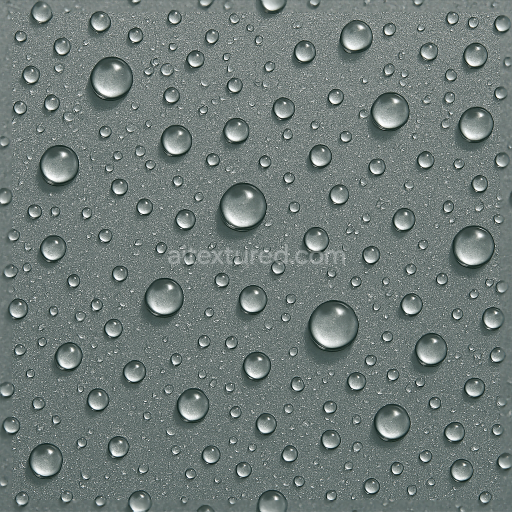
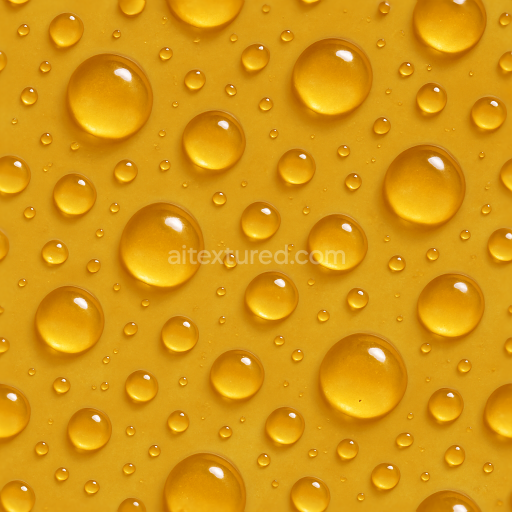
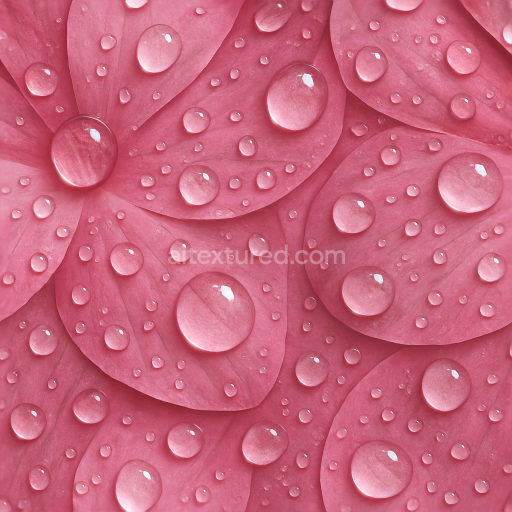
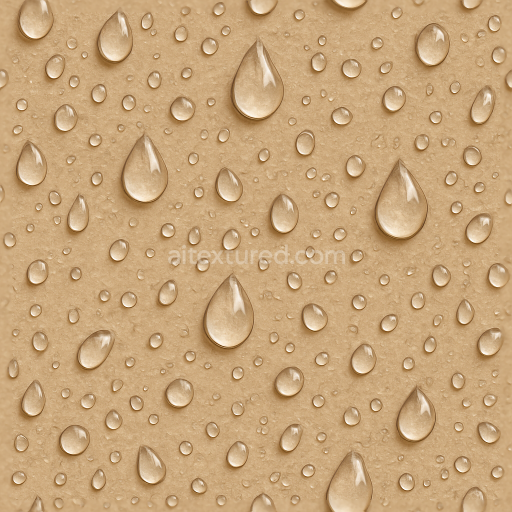
Dense Condensation Droplets On Glass
Seamless texture (tileable) · PNG, WEBP, PBR ZIP. License: AITextured Free Commercial License (FCL) v1.1. Free personal and commercial use. Raw resale, standalone redistribution, mirroring/scraping, competing asset packs, and AI/ML training are not allowed without written permission. Attribution is not required, but appreciated..

| ID | seamless-3d-texture-pbr-8k-water-droplets-on-wet-plastic-surface |
|---|---|
| Category | Drops |
| Formats | PNG, WEBP, PBR ZIP |
| Size | 1k (1024x1024px), 2k (2048x2048px), 4k (4096x4096px), 8k (8192x8192px) |
| Color | sRGB |
| Tileable | Yes |
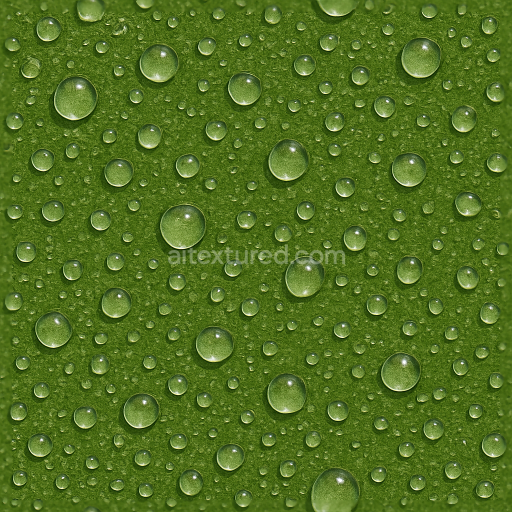
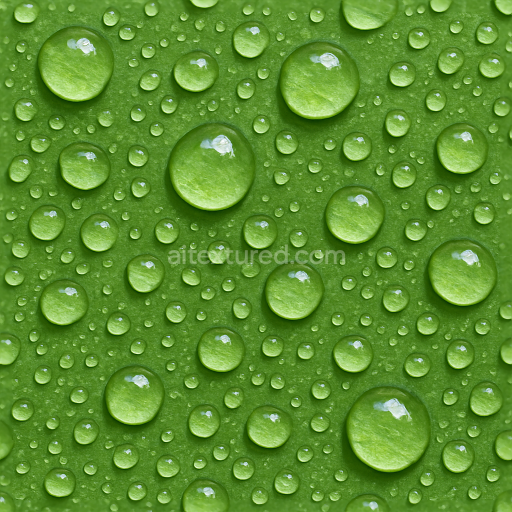
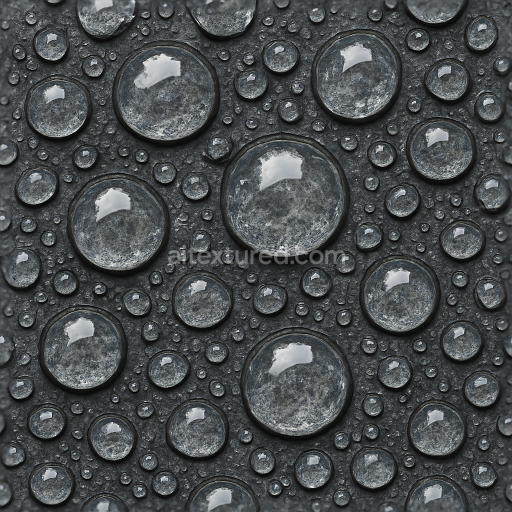
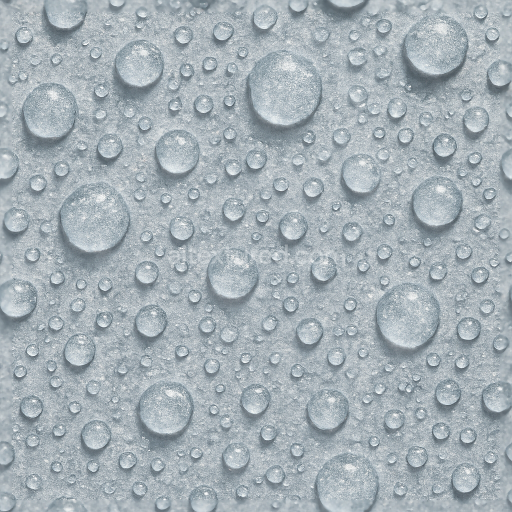
This seamless 8K resolution 3D PBR texture authentically represents water droplets on a wet plastic surface capturing the intricate interplay between moisture and synthetic polymer materials. The base substrate is a smooth plastic polymer characterized by its non-porous slightly glossy finish that reflects light realistically. The wet plastic surface appears coated with a thin film of moisture where water droplets of varied sizes and shapes adhere due to surface tension effects. These droplets exhibit precise droplet reflections and highlights emphasizing the natural wetness gradient and subtle refractive qualities unique to water on plastic. The texture’s photorealistic composition simulates the polymer’s semi-translucent colorants and smooth surface finish conveying believable wet plastic with dynamic light interaction.*
In terms of PBR channel mapping the BaseColor (Albedo) channel shows the underlying plastic’s subtle color variations enhanced by the moisture’s darkening effect and transparent water droplets. The Normal map expertly encodes the micro-relief of individual droplets and the slightly uneven wet surface adding depth and tactile realism. Roughness values vary across the texture with wet areas appearing smooth and reflective while dry plastic regions retain a matte finish. The Metallic channel remains minimal or null as plastic is non-metallic ensuring accurate light absorption and reflection behavior. Ambient Occlusion subtly accentuates droplet edges and surface crevices while the Height/Displacement map conveys droplet volume and surface tension bulges for enhanced parallax effects.*
This texture is optimized for high-fidelity product visualization environmental renders and realistic material creation in Blender Unreal Engine and Unity. Its seamless tileability ensures clean repetition across large surfaces without visible seams. For best results adjusting the UV scale to match the physical size of droplets enhances realism while fine-tuning roughness can simulate varying degrees of wetness from freshly sprayed moisture to drying plastic. The Height/Displacement channel supports parallax occlusion mapping adding convincing depth to droplets without heavy geometry.*
Whether used for showcasing wet plastic packaging simulating rainy or humid environments or creating detailed synthetic surface effects this seamless water droplets on wet plastic 3D texture delivers superior detail and realism. Its 8K resolution and comprehensive PBR workflow compatibility make it a versatile asset for any project requiring believable detailed moisture interaction on synthetic polymer surfaces. The subtle integration of droplet reflection wetness gradients and surface finish nuances ensures visually compelling physically accurate renderings in any modern 3D engine or renderer.*
Import the texture maps into Blender with sRGB color space for albedo/base color and Non-Color for normal, roughness, metallic, AO, height, and ORM maps. Connect normal maps through a Normal Map node, then adjust UV scale with a Mapping node so the material repeats naturally on your model.
For the full step-by-step setup, see How to Use Seamless Textures in Blender. Browse related material examples in wood, concrete, and metal.
Yes. This texture is designed as a seamless tileable PBR material, so it can repeat across large surfaces without visible borders.
You can download PNG/WEBP versions and use 1K, 2K, 4K and 8K download options when available on the page.
Yes. The download options and engine-mapped ZIP workflow are designed for Blender, Unreal Engine, Unity Standard, URP and HDRP material pipelines.
Yes. The texture is available under the AITextured free commercial license. Review the license page for redistribution and AI-training restrictions.


Generate, preview, and export seamless PBR materials for Blender, Unity, and Unreal Engine—directly in your browser.
AI text-to-texture: type a prompt and get a seamless, tileable base image ready for PBR workflows (great starting point for materials).
Create a full PBR set (Normal, Roughness, AO, Metallic, etc.) from a single image. Seamless and tiling-friendly.
Instant WebGL viewer: inspect materials on a sphere, plane, and cube. Check tiling and lighting in real time.
Re-packages maps per engine: Unreal (BaseColor + ORM), Unity (Mask/MetallicSmoothness), Blender (separate channels).
PNG ↔ JPG ↔ SVG: fast convert, SVG rasterize, embed/trace options, quality & background controls.