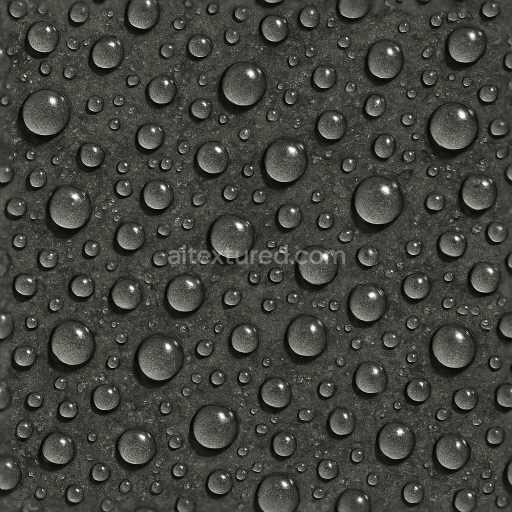
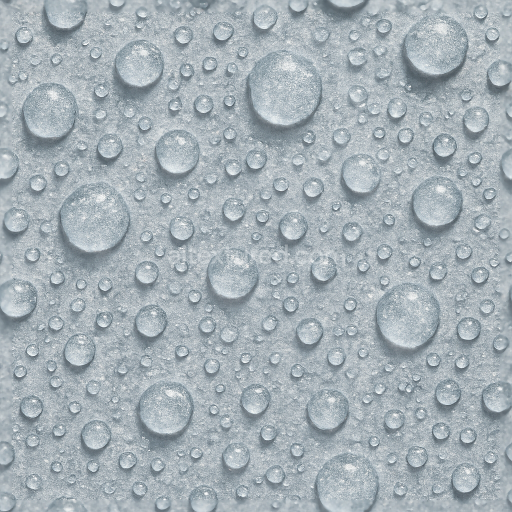
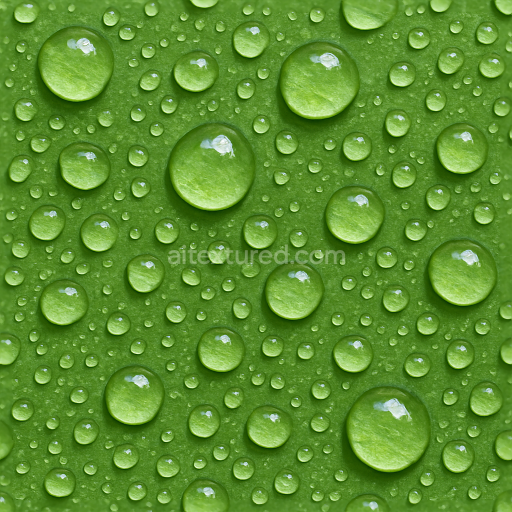
Clustered Water Droplets On Wet Stone
Seamless texture (tileable) · PNG, WEBP, PBR ZIP. License: AITextured Free Commercial License (FCL) v1.1. Free personal and commercial use. Raw resale, standalone redistribution, mirroring/scraping, competing asset packs, and AI/ML training are not allowed without written permission. Attribution is not required, but appreciated..

| ID | seamless-3d-texture-pbr-8k-drip-trail-patterns-on-wet-pavement-surface |
|---|---|
| Category | Drops |
| Formats | PNG, WEBP, PBR ZIP |
| Size | 1k (1024x1024px), 2k (2048x2048px), 4k (4096x4096px), 8k (8192x8192px) |
| Color | sRGB |
| Tileable | Yes |
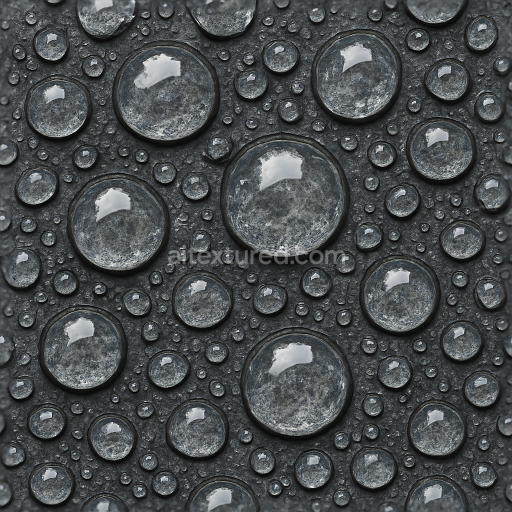
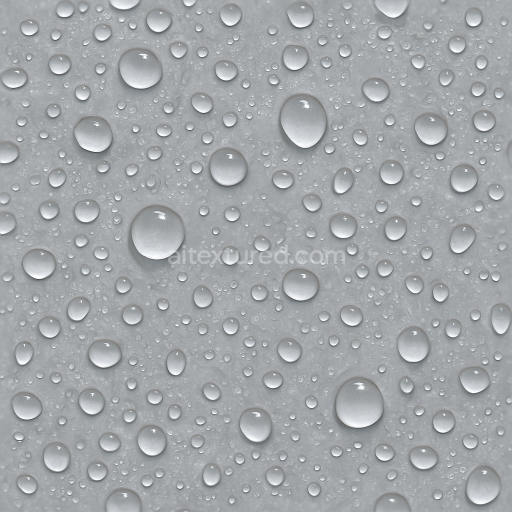
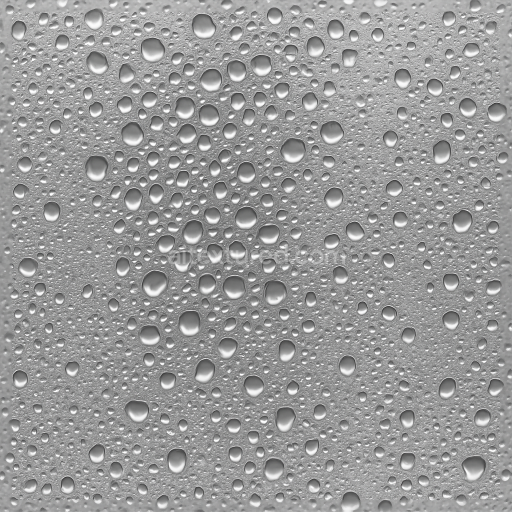
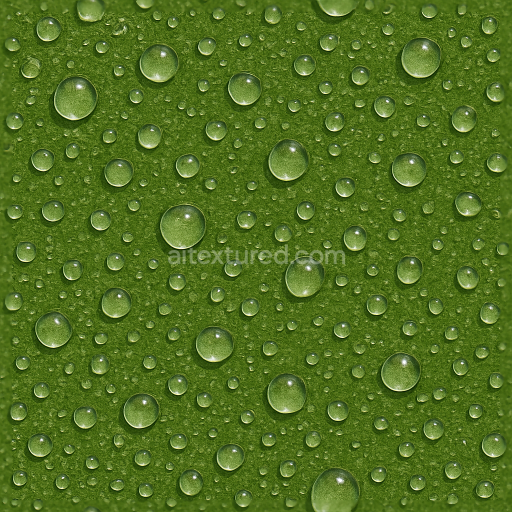
This seamless 8k resolution PBR 3d texture meticulously captures the natural drip trail patterns formed by water droplets on a wet pavement surface delivering photorealistic detail suitable for high-end architectural visualization and outdoor scene rendering. The base substrate mimics aged urban concrete characterized by a mineral-rich composition with subtle aggregates and micro-grain orientation that contribute to its slight roughness and natural porosity. Weathering effects are evident in the texture’s surface finish which combines a worn matte concrete look with intermittent polished patches where water accumulation has caused subtle surface tension and moisture pooling. Colorants are represented through finely balanced pigments simulating concrete’s natural gray tones interspersed with darker patches indicating wetness and moisture saturation. This complex material layering is reflected across the PBR channels for a realistic rendering outcome.
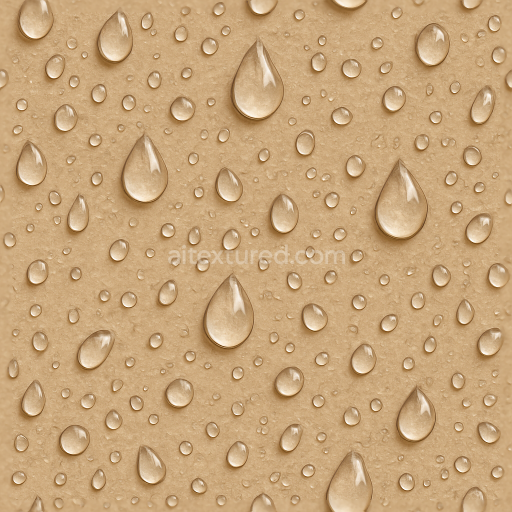
In the BaseColor/Albedo channel the texture shows nuanced variations of gray cement with darker almost black drip trails tracing paths of dripping water. Normal maps emphasize the micro-texture of the pavement surface highlighting roughness variations around the droplets and subtle indentations from accumulated moisture. The Roughness channel is expertly tuned to simulate the glistening wetness created by the droplets balancing glossy highlights with matte concrete areas to enhance realism. The Metallic channel remains low reflecting the non-metallic nature of concrete while the Ambient Occlusion map deepens shadowed crevices and enhances visual depth along the drip trails. Height or Displacement maps add dimensionality by subtly elevating the droplet shapes and channel depressions enhancing the sense of moisture accumulation and surface tension effects.
This texture is fully optimized and ready for seamless integration in Blender Unreal Engine and Unity projects supporting ultra-high-definition workflows with its native 8k resolution. It is ideal for simulating wet pavement surfaces in urban environments outdoor scenes and architectural visualizations requiring authentic wetness and natural water drip effects. For practical use adjusting the UV scale to match the specific scene scale will ensure the drip trails retain their realistic proportions while fine-tuning the roughness map can help balance the wet and dry areas for desired reflectivity and glossiness.
Import the texture maps into Blender with sRGB color space for albedo/base color and Non-Color for normal, roughness, metallic, AO, height, and ORM maps. Connect normal maps through a Normal Map node, then adjust UV scale with a Mapping node so the material repeats naturally on your model.
For the full step-by-step setup, see How to Use Seamless Textures in Blender. Browse related material examples in wood, concrete, and metal.
Yes. This texture is designed as a seamless tileable PBR material, so it can repeat across large surfaces without visible borders.
You can download PNG/WEBP versions and use 1K, 2K, 4K and 8K download options when available on the page.
Yes. The download options and engine-mapped ZIP workflow are designed for Blender, Unreal Engine, Unity Standard, URP and HDRP material pipelines.
Yes. The texture is available under the AITextured free commercial license. Review the license page for redistribution and AI-training restrictions.


Generate, preview, and export seamless PBR materials for Blender, Unity, and Unreal Engine—directly in your browser.
AI text-to-texture: type a prompt and get a seamless, tileable base image ready for PBR workflows (great starting point for materials).
Create a full PBR set (Normal, Roughness, AO, Metallic, etc.) from a single image. Seamless and tiling-friendly.
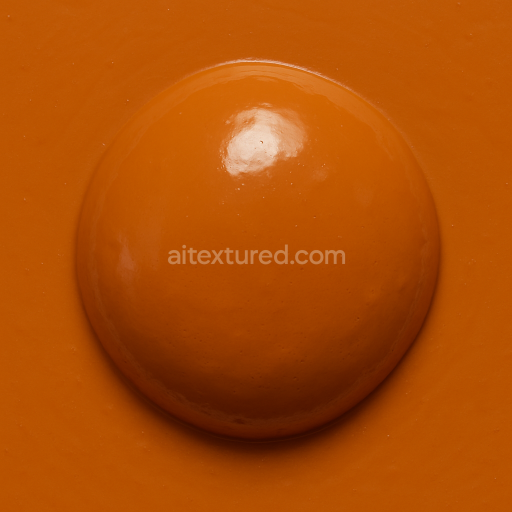
Instant WebGL viewer: inspect materials on a sphere, plane, and cube. Check tiling and lighting in real time.
Re-packages maps per engine: Unreal (BaseColor + ORM), Unity (Mask/MetallicSmoothness), Blender (separate channels).
PNG ↔ JPG ↔ SVG: fast convert, SVG rasterize, embed/trace options, quality & background controls.