
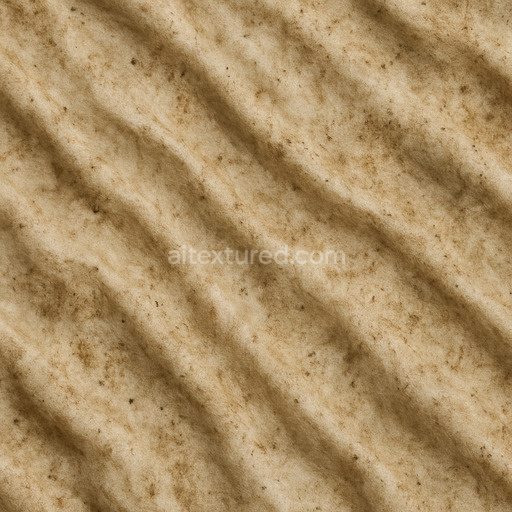
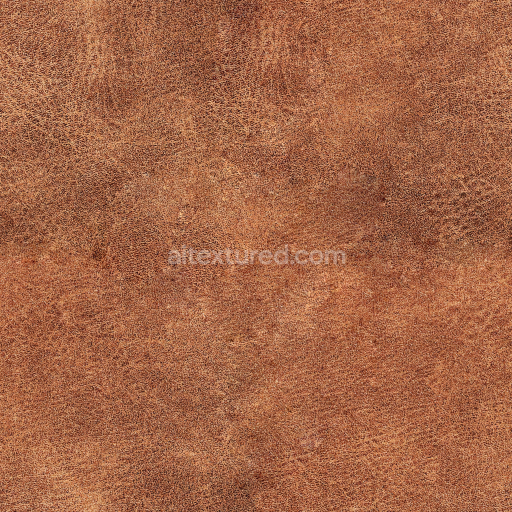
Smooth Fabric Seamless Texture
Seamless texture (tileable) · PNG, WEBP, PBR ZIP. License: AITextured Free Commercial License (FCL) v1.1. Free personal and commercial use. Raw resale, standalone redistribution, mirroring/scraping, competing asset packs, and AI/ML training are not allowed without written permission. Attribution is not required, but appreciated..

| ID | cloth-clothes-fabric-lace-lingerie-x6 |
|---|---|
| Category | Fabric |
| Formats | PNG, WEBP, PBR ZIP |
| Size | 1k (1024x1024px), 2k (2048x2048px), 4k (4096x4096px), 8k (8192x8192px) |
| Color | sRGB |
| Tileable | Yes |
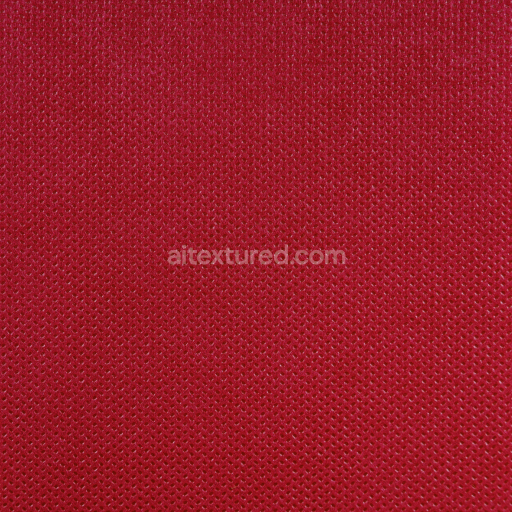
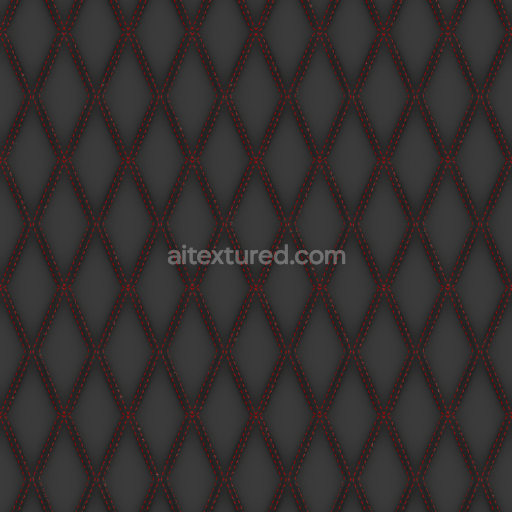
This Cloth Clothes Fabric Lace Lingerie seamless PBR texture is meticulously designed to capture the delicate and intricate nature of fine lace fabric used in lingerie and high-quality clothing. The base substrate emulates a soft organic textile fiber with tightly woven threads arranged in a subtle directional weave creating a lightweight yet durable surface. This fabric’s porous and breathable structure is expertly conveyed through finely detailed normal and height maps which reveal the gentle undulations and intricate lace patterns essential to its composition. The colorants consist of natural dyes that produce a consistent muted tone across the BaseColor/Albedo channel enhancing the fabric’s authentic appearance. The surface finish is matte with a slight sheen accurately represented in the Roughness map to replicate the gentle reflection and diffuse scattering of light on soft fibers. As with all organic cloth materials the Metallic channel remains black reinforcing the non-metallic natural fiber composition. Ambient Occlusion adds realistic depth and shadowing within the weave and lace apertures significantly enriching the tactile and visual realism of the fabric.
Prepared for physically based rendering workflows this high-resolution texture set includes all essential PBR maps—BaseColor Normal Roughness Metallic Ambient Occlusion and Height/Displacement—available at resolutions up to 8K. This ensures exceptional detail and fidelity for both close-up renders and wide surface applications making it ideal for use in architectural visualization real-time engines and offline renderers such as Blender Unreal Engine and Unity. The seamless design allows for perfect tiling without visible borders enabling flawless replication of cloth clothes fabric lace and lingerie surfaces in digital environments. The carefully calibrated gamma response guarantees consistent color reproduction across diverse lighting conditions and rendering pipelines.
For optimal application it is advisable to adjust the UV scale to maintain an appropriate balance of detail density depending on camera distance ensuring the lace patterns remain visible without overwhelming the scene. Fine-tuning the Roughness values allows control over the fabric’s reflectivity—lower values enhance the subtle sheen on the lace fibers while higher values emphasize a soft matte finish typical of natural textiles. Additionally utilizing the Height/Displacement map for parallax occlusion or tessellation can add realistic surface depth further accentuating the intricate weave and delicate nature of lace lingerie and fabric in your visualizations and game assets.
Import the texture maps into Blender with sRGB color space for albedo/base color and Non-Color for normal, roughness, metallic, AO, height, and ORM maps. Connect normal maps through a Normal Map node, then adjust UV scale with a Mapping node so the material repeats naturally on your model.
For the full step-by-step setup, see How to Use Seamless Textures in Blender. Browse related material examples in wood, concrete, and metal.
Yes. This texture is designed as a seamless tileable PBR material, so it can repeat across large surfaces without visible borders.
You can download PNG/WEBP versions and use 1K, 2K, 4K and 8K download options when available on the page.
Yes. The download options and engine-mapped ZIP workflow are designed for Blender, Unreal Engine, Unity Standard, URP and HDRP material pipelines.
Yes. The texture is available under the AITextured free commercial license. Review the license page for redistribution and AI-training restrictions.


Build, preview, and export seamless PBR materials. Generate full map sets from a single image, inspect them in a real-time WebGL viewer, and re-package maps for Unreal, Unity, and Blender—directly in your browser.
AI text-to-texture: type a prompt and get a seamless, tileable base image ready for PBR workflows (great starting point for materials).
Create a full PBR set (Normal, Roughness, AO, Metallic, etc.) from a single image. Seamless and tiling-friendly.
Instant WebGL viewer: inspect materials on a sphere, plane, and cube. Check tiling and lighting in real time.
Re-packages maps per engine: Unreal (BaseColor + ORM), Unity (Mask/MetallicSmoothness), Blender (separate channels).
PNG ↔ JPG ↔ SVG: fast convert, SVG rasterize, embed/trace options, quality & background controls.