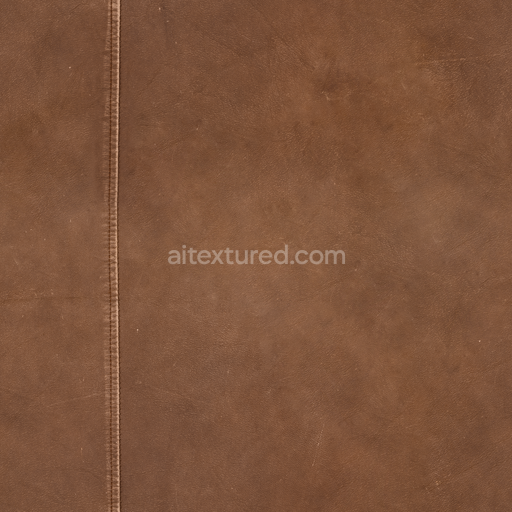
Leather Couch Seat
Seamless texture (tileable) · PNG, WEBP, PBR ZIP. License: AITextured Free Commercial License (FCL) v1.1. Free personal and commercial use. Raw resale, standalone redistribution, mirroring/scraping, competing asset packs, and AI/ML training are not allowed without written permission. Attribution is not required, but appreciated..

| ID | granular-wool-seamless-texture |
|---|---|
| Category | Fabric |
| Formats | PNG, WEBP, PBR ZIP |
| Size | 1k (1024x1024px), 2k (2048x2048px), 4k (4096x4096px), 8k (8192x8192px) |
| Color | sRGB |
| Tileable | Yes |
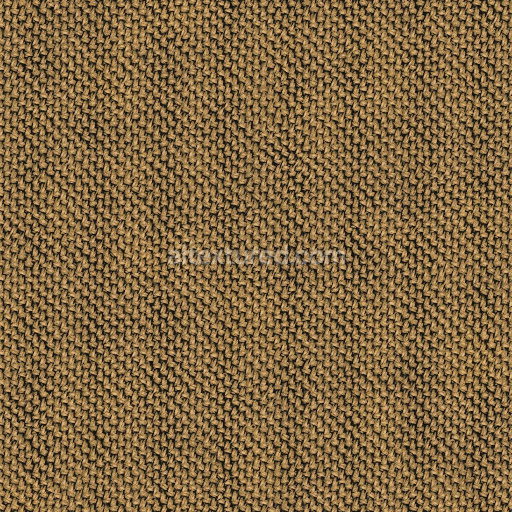
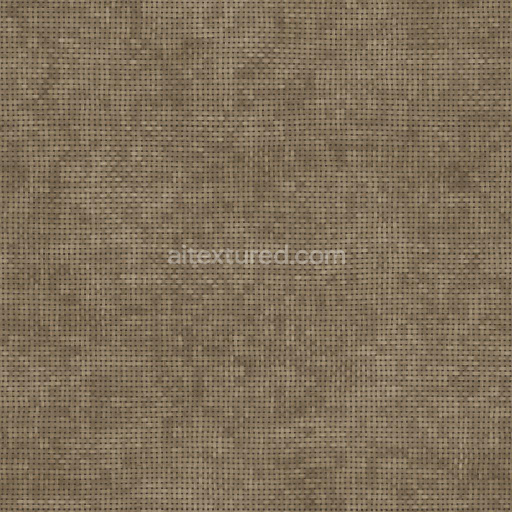
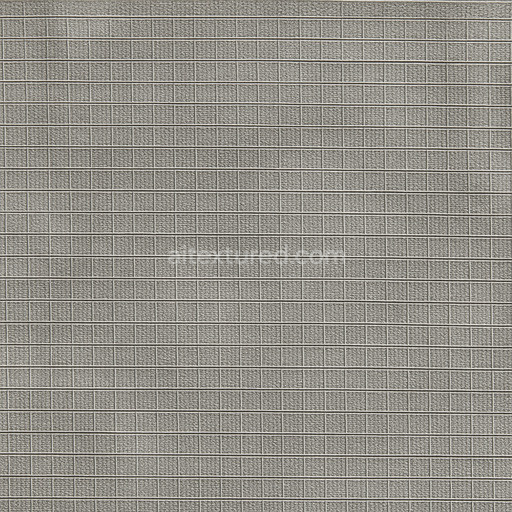
The Granular Wool Seamless Texture is a meticulously crafted tileable fabric texture designed to bring organic depth and tactile realism to 3D surfaces. Originating from a natural wool substrate this texture captures the fine granularity and fibrous structure characteristic of wool fibers intertwined in a dense yet soft textile weave. The composition reflects the subtle irregularities in fiber orientation and porosity with natural pigments and dyes imparting a muted earthy color palette that enhances the fabric’s authenticity. The surface finish mimics the slight fuzziness and matte softness typical of untreated wool avoiding any glossy or synthetic shine which contributes to its natural cozy appeal in renderings and visualizations.
In terms of physically based rendering (PBR) channels the BaseColor/Albedo map faithfully reproduces the warm granular tones and subtle color variations found in wool while the Normal map emphasizes the intricate fiber patterns and surface micro-relief adding dimensionality to the fabric’s weave. The Roughness channel reflects the soft matte finish of wool ensuring that light scatters diffusely without unwanted specular highlights enhancing realism under varied lighting conditions. The Metallic map is negligible as wool is non-metallic and the Ambient Occlusion layer provides gentle shadows within the fiber clusters to accentuate depth. Height/Displacement maps simulate the subtle elevation changes from the granular fiber texture which can be fine-tuned for enhanced parallax effects in close-up shots.
This high-resolution texture available up to 8K is optimized for seamless tiling allowing it to scale elegantly across large surfaces without visible seams or repetition artifacts. It integrates smoothly into popular 3D software such as Blender Unreal Engine and Unity supporting fast iteration cycles for look development environment art architectural visualization and concept prototyping. For optimal results adjusting the UV scale to match your model’s dimensions is recommended alongside fine-tuning roughness values to align with specific lighting rigs ensuring the granular wool texture remains grounded and believable within any scene context. This tileable granular wool seamless texture offers a production-ready solution for anyone seeking authentic fabric textures with detailed microstructure and structural consistency.
The PBR texture granular wool seamless texture offers a highly detailed granular wool seamless texture with a realistic PBR appearance allowing for an accurate 3D preview of the material’s seamless granular wool seamless texture composition.
Import the texture maps into Blender with sRGB color space for albedo/base color and Non-Color for normal, roughness, metallic, AO, height, and ORM maps. Connect normal maps through a Normal Map node, then adjust UV scale with a Mapping node so the material repeats naturally on your model.
For the full step-by-step setup, see How to Use Seamless Textures in Blender. Browse related material examples in wood, concrete, and metal.
Yes. This texture is designed as a seamless tileable PBR material, so it can repeat across large surfaces without visible borders.
You can download PNG/WEBP versions and use 1K, 2K, 4K and 8K download options when available on the page.
Yes. The download options and engine-mapped ZIP workflow are designed for Blender, Unreal Engine, Unity Standard, URP and HDRP material pipelines.
Yes. The texture is available under the AITextured free commercial license. Review the license page for redistribution and AI-training restrictions.


Build, preview, and export seamless PBR materials. Generate full map sets from a single image, inspect them in a real-time WebGL viewer, and re-package maps for Unreal, Unity, and Blender—directly in your browser.
AI text-to-texture: type a prompt and get a seamless, tileable base image ready for PBR workflows (great starting point for materials).
Create a full PBR set (Normal, Roughness, AO, Metallic, etc.) from a single image. Seamless and tiling-friendly.
Instant WebGL viewer: inspect materials on a sphere, plane, and cube. Check tiling and lighting in real time.
Re-packages maps per engine: Unreal (BaseColor + ORM), Unity (Mask/MetallicSmoothness), Blender (separate channels).
PNG ↔ JPG ↔ SVG: fast convert, SVG rasterize, embed/trace options, quality & background controls.